Node Inspector
Node Inspector is the section appearing on the right whenever you click to edit any node. It is the place where you can set your message triggers and responses.
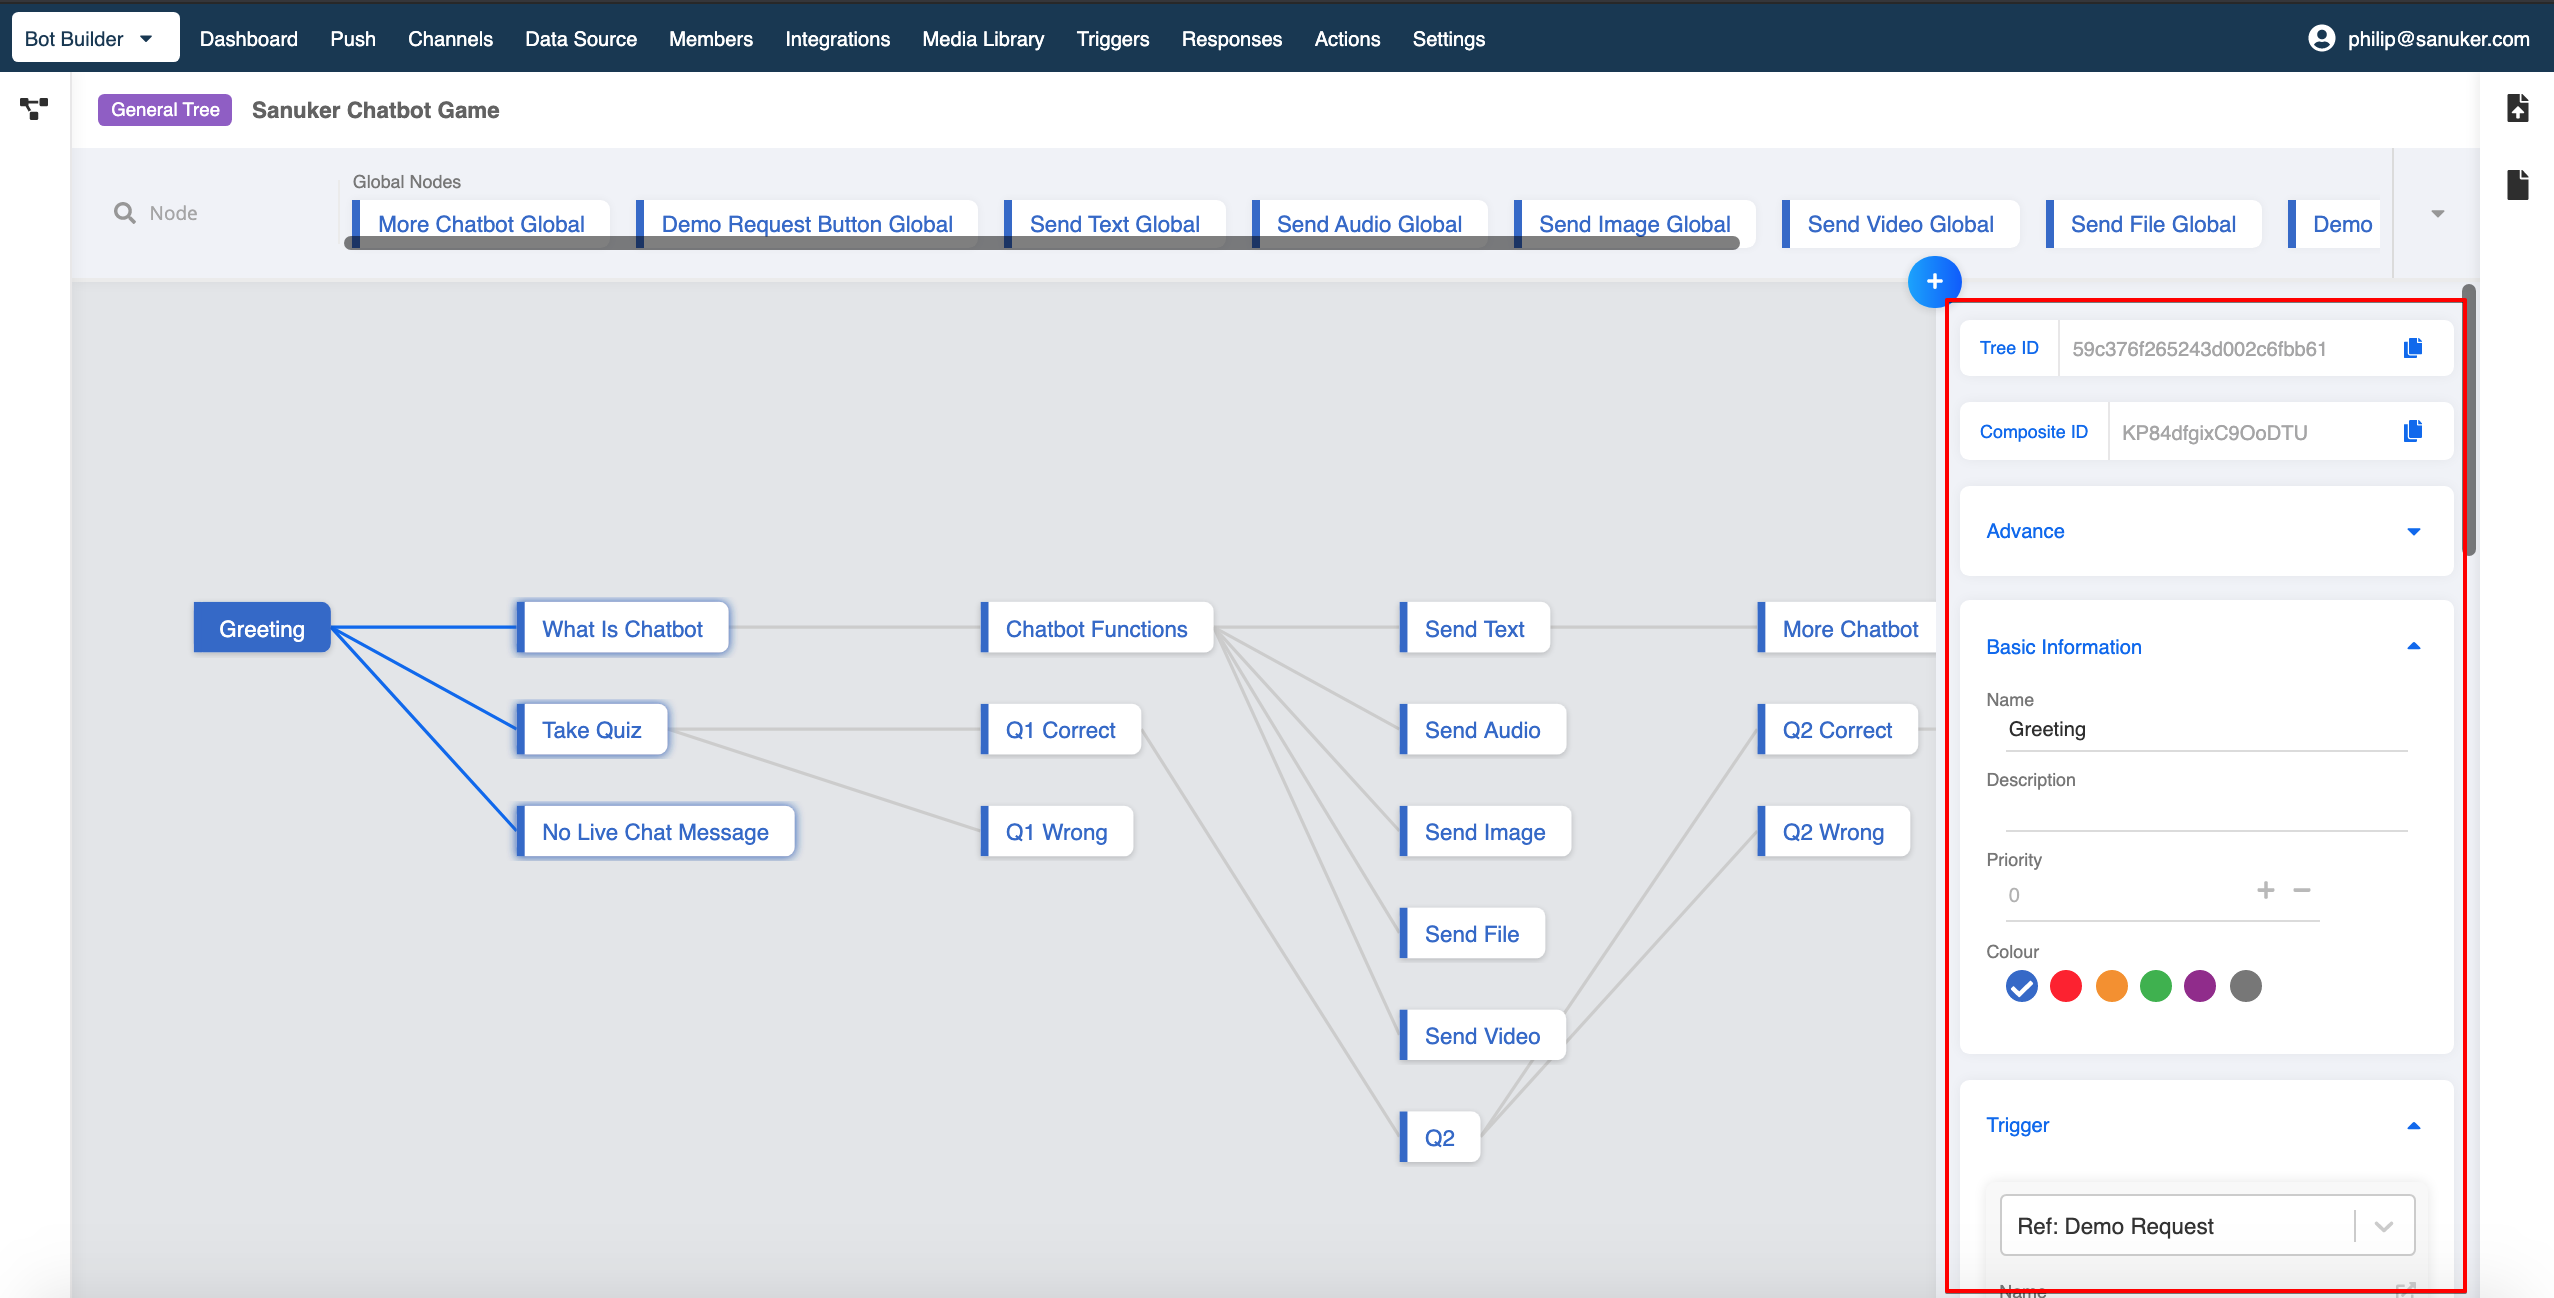
Basic Information
| Property | Description | Required |
|---|---|---|
| Name | The name of this node | Y |
| Description | Description of this node | N |
| Priority | The sequence of node order, smaller the number earlier the order | N |
| Color | Label this node with a color | N |
Tips:
- Priority must be whole numbers
- You may categorize different nodes into groups by colors
Triggers
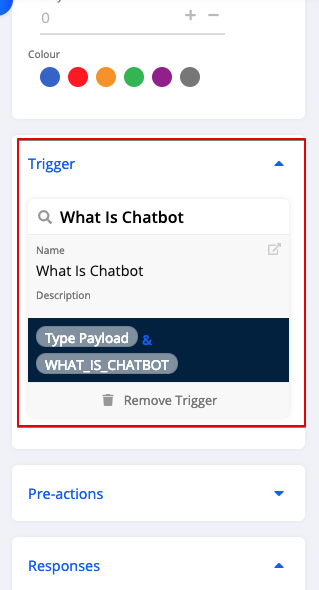
A Trigger is a way to notify the chatbot to send respective messages. Usually, there are five ways of calling a node:
- Developer-defined payload (Payload Triggers)
- Keyword entered by users (Keywords Triggers)
- Intent matches with user input (NLP Triggers)
- User comment on Facebook post (Referral Triggers)
- URL parameters in m.me short link (Comment Triggers)
For different types of triggers, please see Triggers.
It is possible for one node to have multiple triggers. However, if the triggers are of different types, it is suggested to break them down into different global nodes so as to better track user journey.
Responses
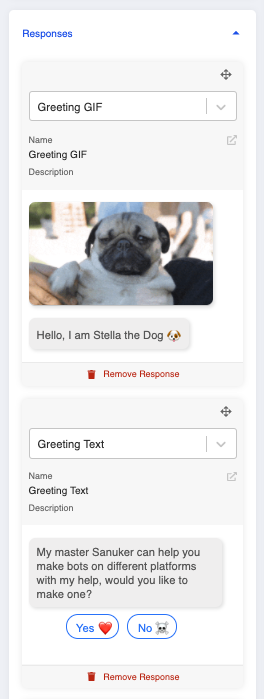
A Response is the message your chatbot would send to your users once they trigger this node. You may set one or more responses in one single node.
For different types of response objects, please see Messages Types of different platforms.
Tips:
- Set no more than 3 responses in one node, otherwise the user will receive a bunch of messages at one time
Actions
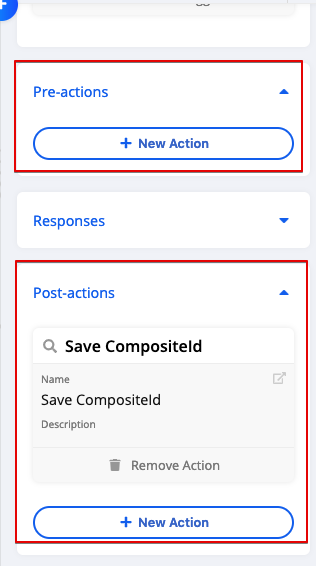
Actions are divided into two types:
- Pre-action: Set pre-action if there is any action you would like to perform BEFORE sending responses to users
- Post-action: Set post-action if there is any action you would like to perform AFTER sending responses to users.
For more details, please see Actions.
Redirect
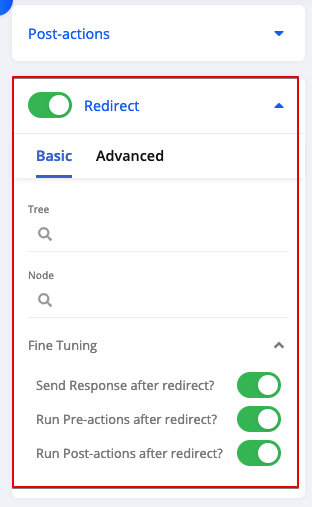
Set Redirect if you want to redirect to any of the other nodes in the same or any other trees. This item is not compulsory and is only applicable when you want to send responses of other nodes within or across trees.
| Property | Description | Required |
|---|---|---|
| Tree | The tree you want to redirect to | Y |
| Node | The node you want to redirect to | Y |
There are Fine Tuning options to set actions after redirect, you could use the switch to toggle on or off for below actions:
- Send Response after redirect
- Run Pre-actions after redirect
- Run Post-actions after redirect
Member Tagging
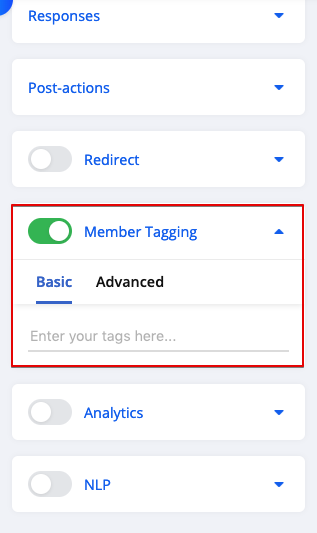
Set Member Tagging if you want to give a customized tag to members once they enter this node. We could use the tag for analytics and send push in push panel.
Tips:
- Remember to press Enter after naming the tag
Analytics
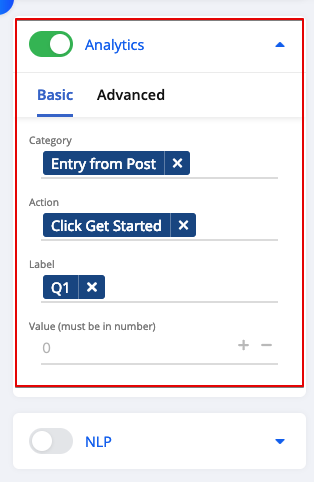
Set Analytics if you want to count the action performed. You could set customized category, action and label for each action.
Tips:
- Remember to press Enter after naming the category, action and label
NLP
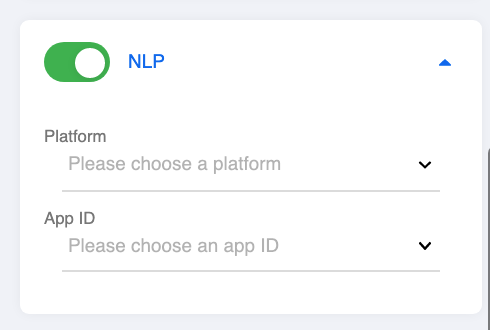
You can enable various additional functionalities in NLP (Natural Language Processing) to make your chatbot more intelligent and dynamic. We now open up integrations to the following third-party NLP softwares:
You must select the correct integrations you have set on Stella.
Advance
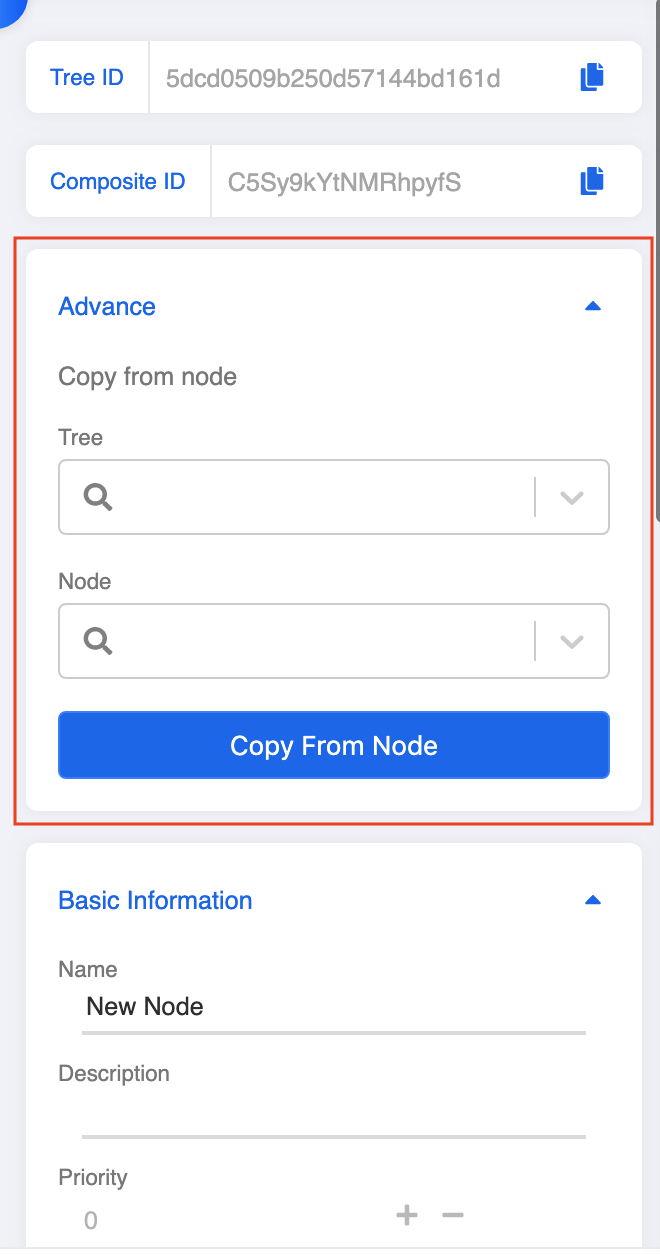
Here is a tip for creating your node real quick: copying from another node you have created before.
Click on "Advance" and you will be able to select to copy one node from the same tree or another different tree under the same Stella app.
Click "Copy From Node" after you have selecting the corresponding tree and node.
All the details from basic information to NLP will be automatically filled in just like the node you copy from.