Facebook Deployment
Connecting to Facebook Page
Select "Channels" at the top menu bar.
Click "+ New Channel".
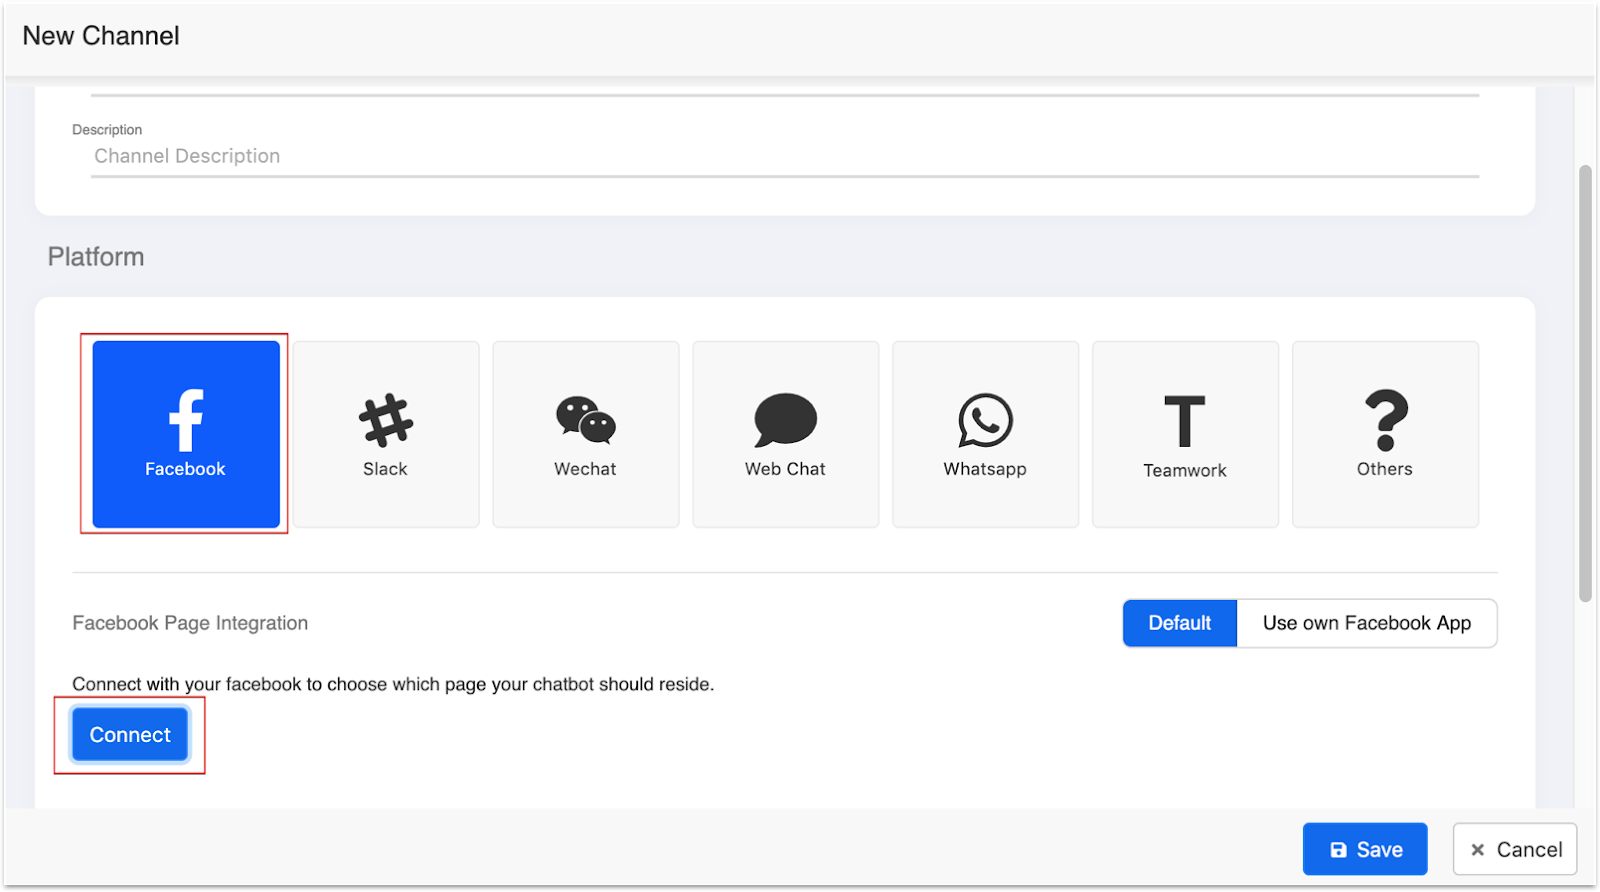
Name your new channel and select Facebook as your deployment platform and then click "Connect".
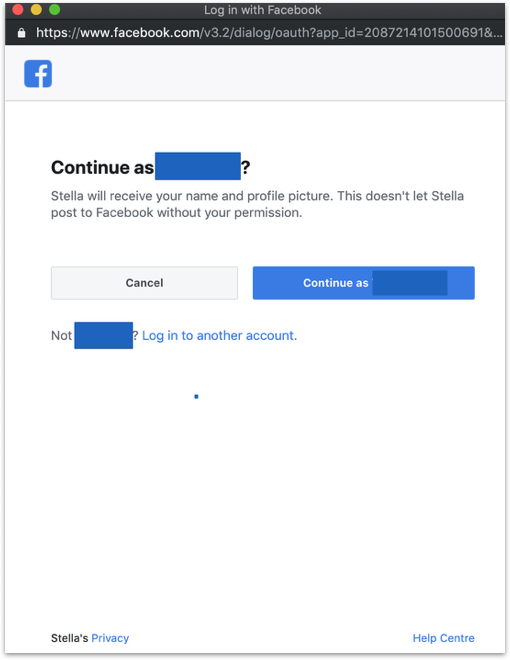
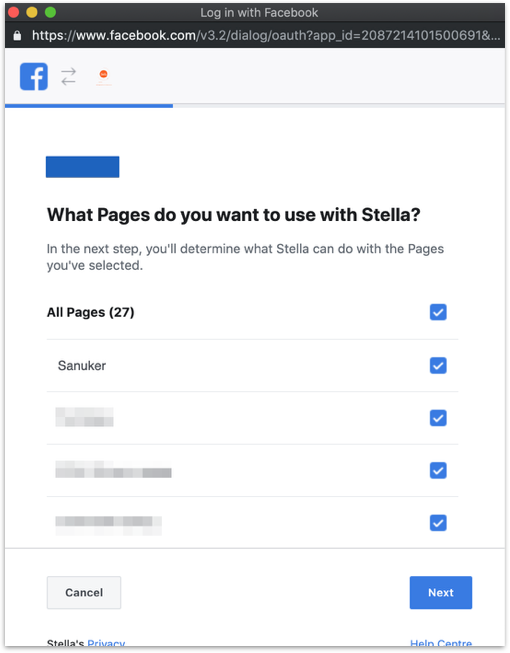
Log in with your Facebook Account and grant access to Stella.


- Select your Facebook page in the drop down menu and click "Subscribe".
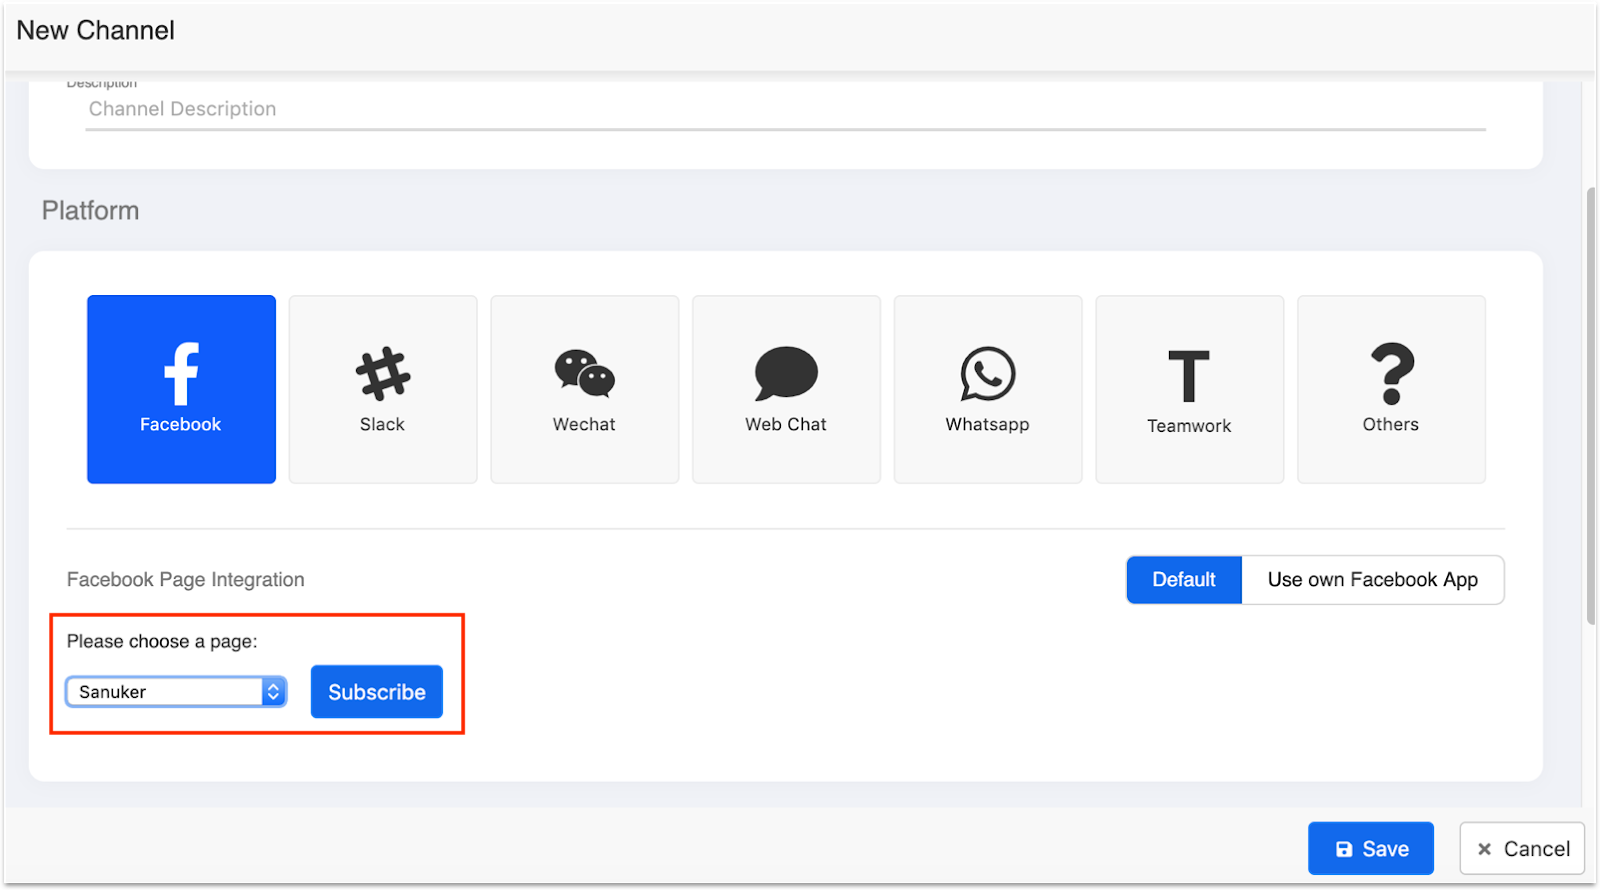
Your page is now connected to Stella! 🎉🎉
You can start building your bot in the Bot Builder workspace.
If you would also like to create Comment Reply chatbot, please also click "Allow" to activate the function of Comment-Reply Automation.

You should always separate testing and production environments into two different channels.
Setup Persistent Menu
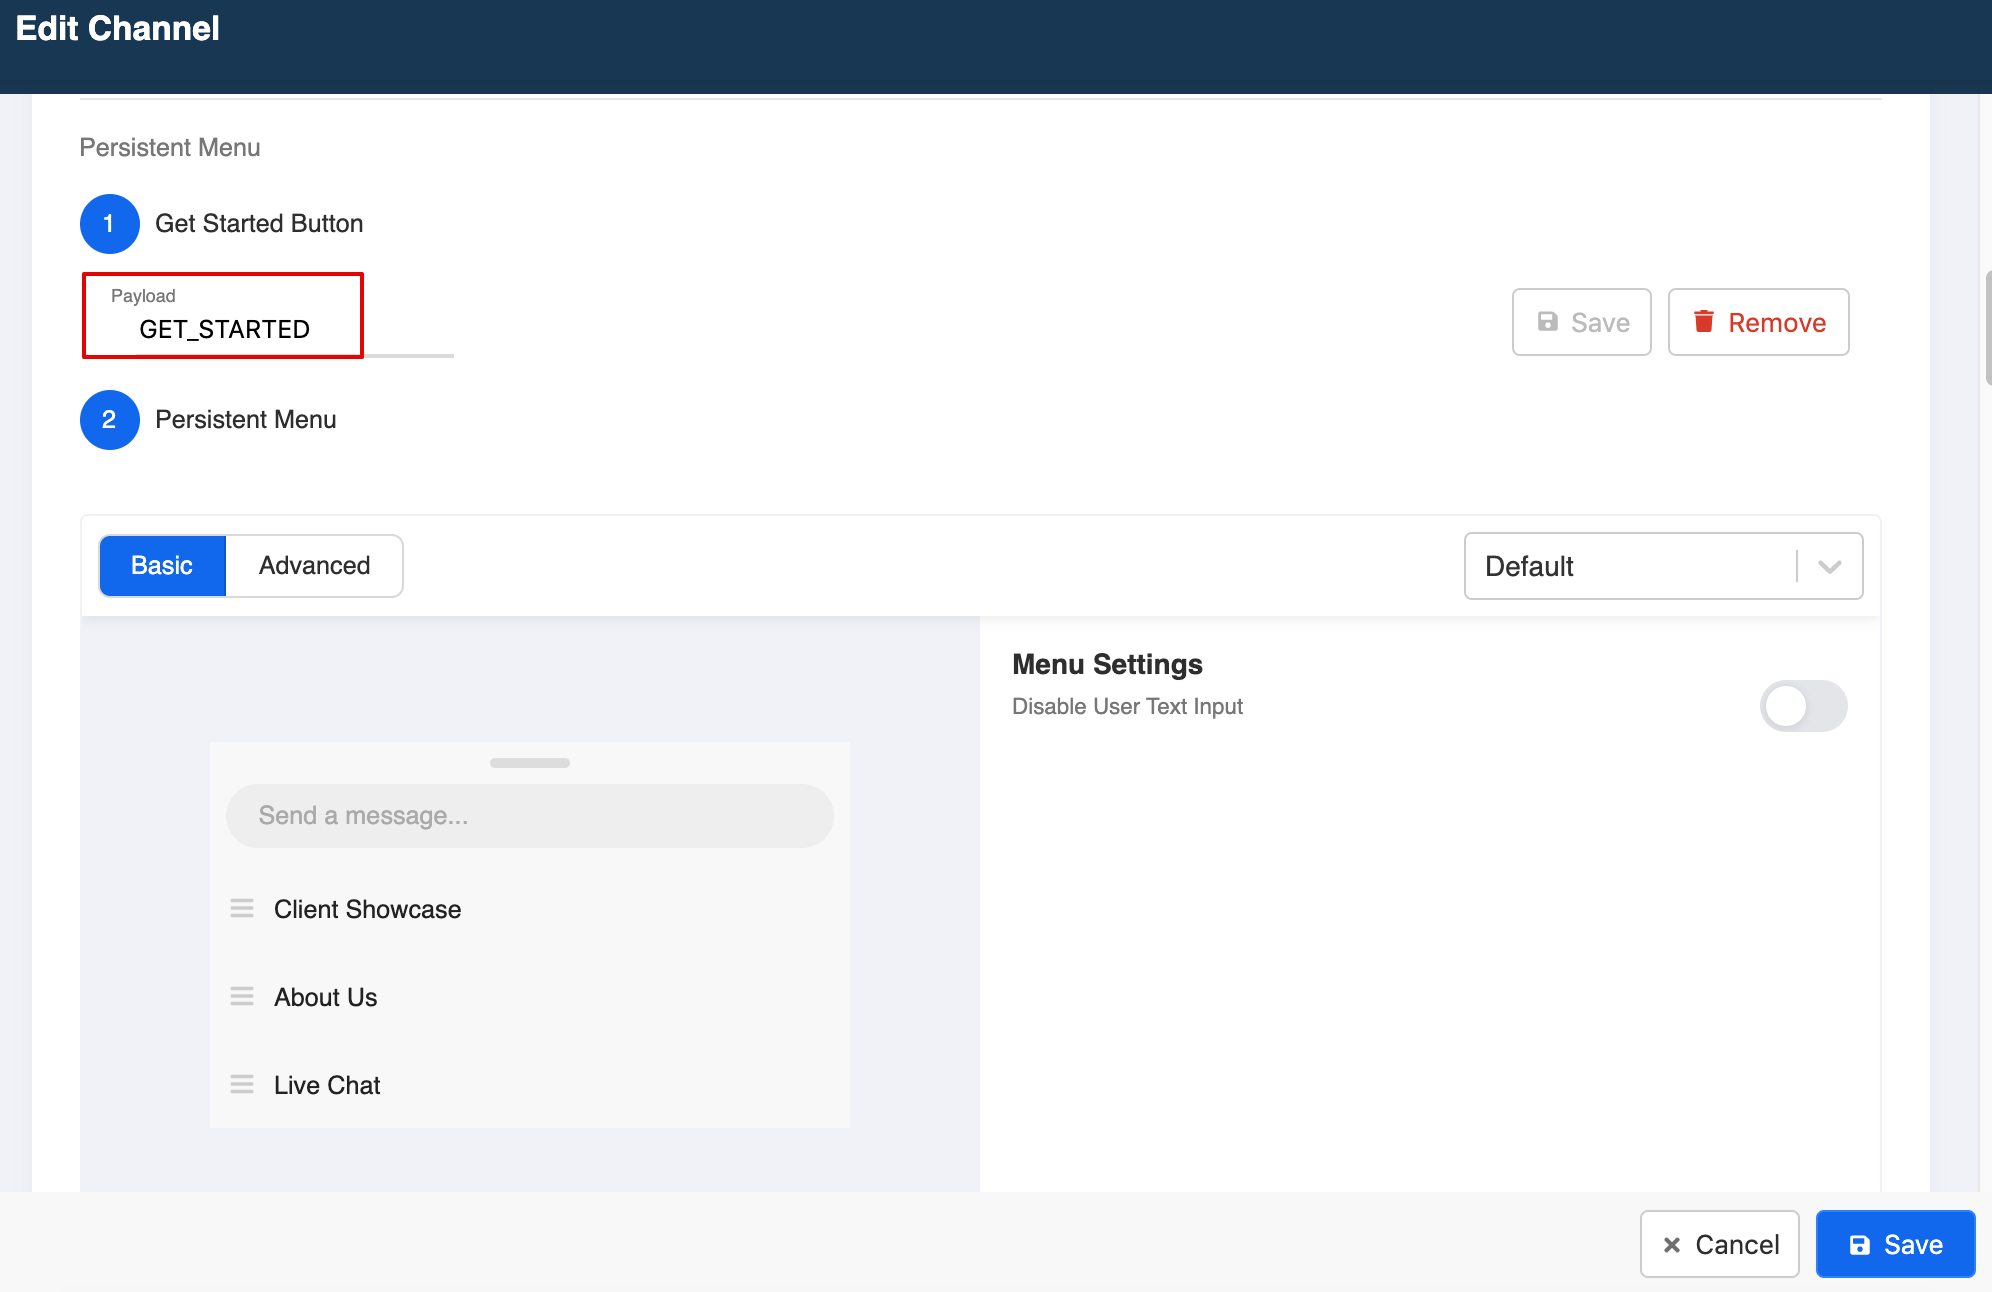
Get Started button
After you have subscribed to your page, set your Get Started button in the Persistent Menu section to start your chatbot. Click "Save" after you have inputted the payload trigger (e.g. GET_STARTED).
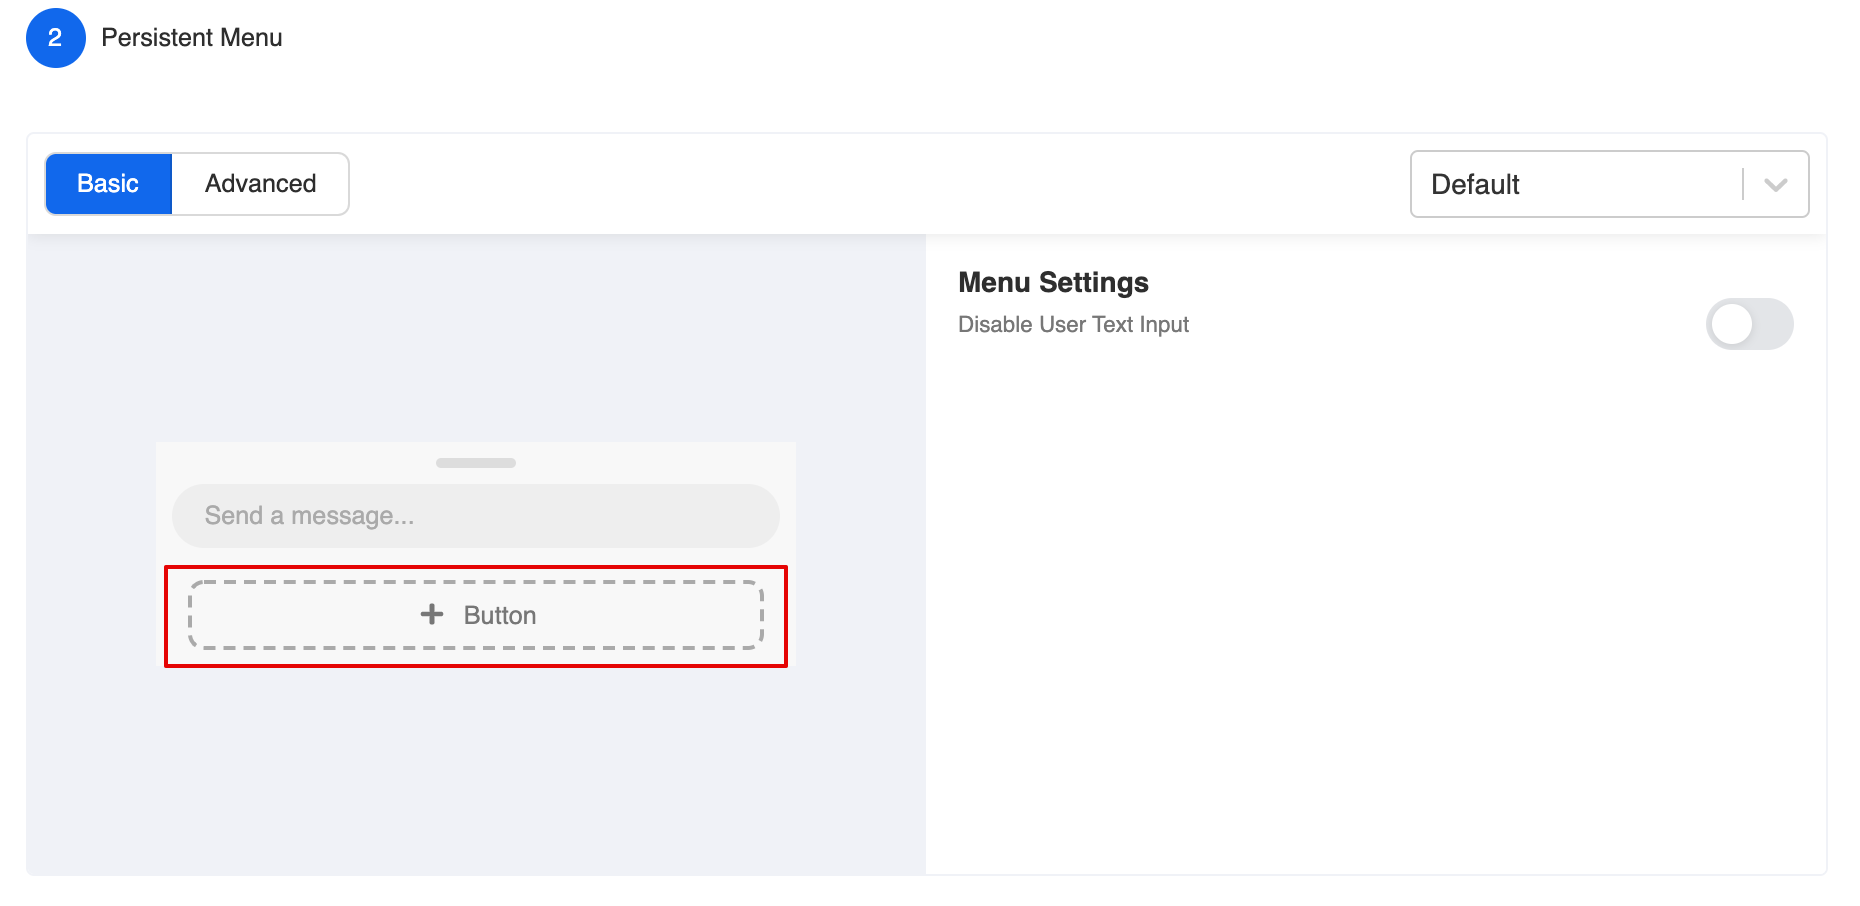
Persistent Menu
- Click "+ Button" to create a persistent menu button.
- Click on the created button and select the correct button type from the dropdown menu at the Button Settings.
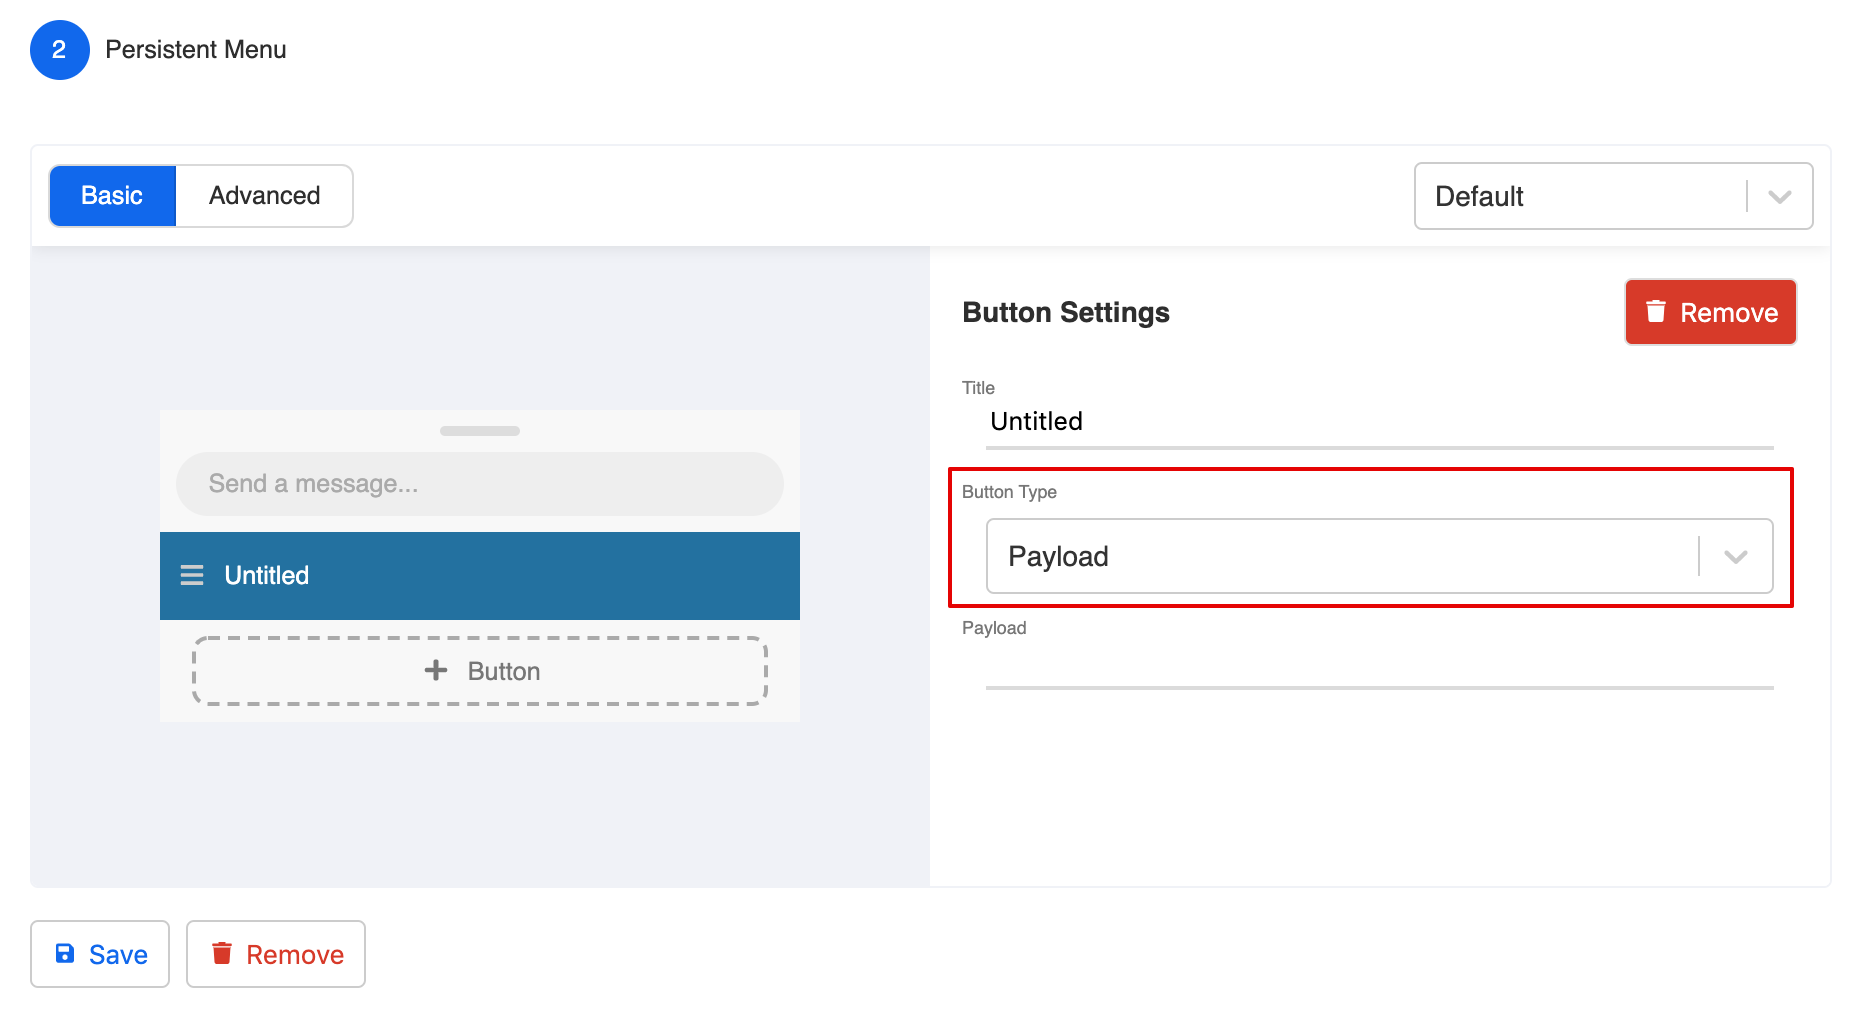
- There are two supported button types in the persistent menu:
For Payload button, fill in the Title and Payload trigger

For URL button, fill in the Title and the website URL. You could also set the Webview Height Ratio.

- Click "Save" when you have finished editing.
For more details, please see Persistent Menu.
Add Trees and Global Nodes in Channel
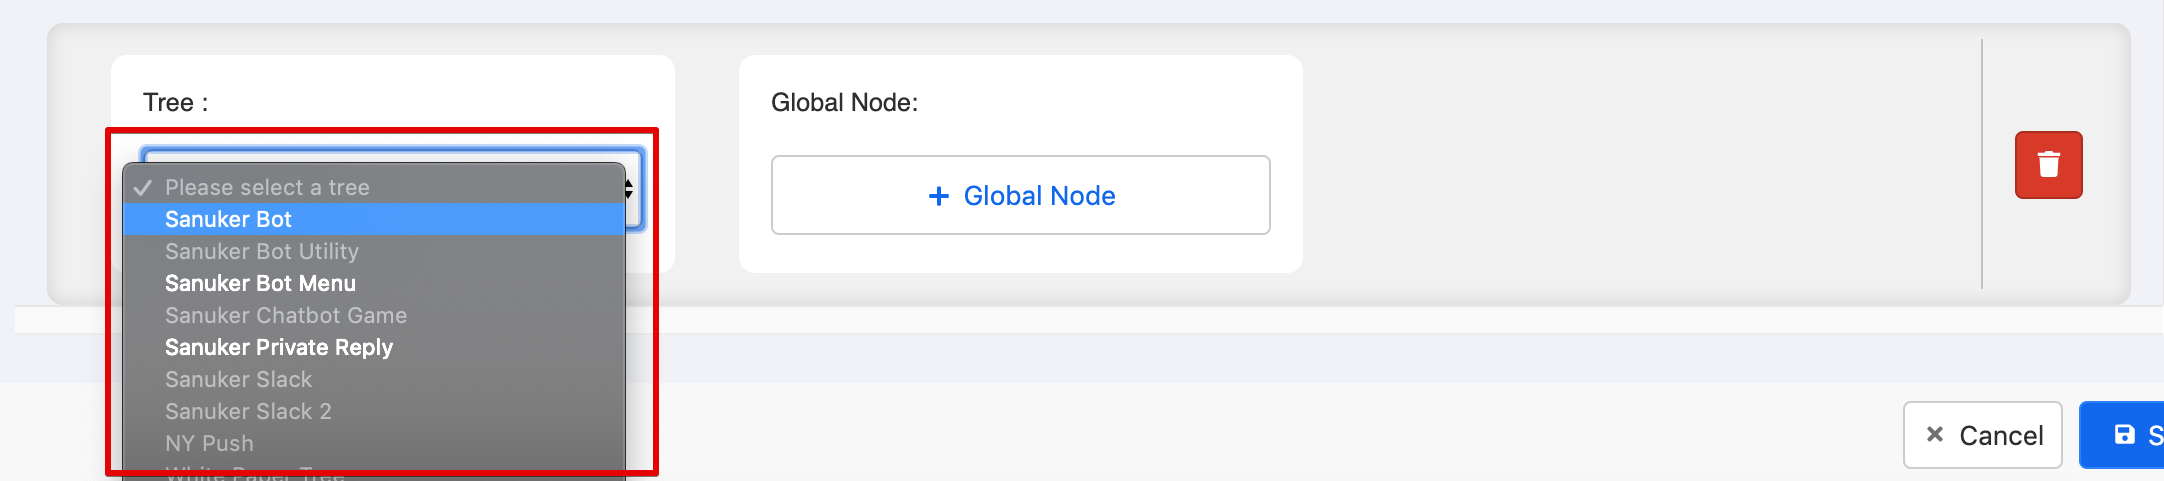
- Now scroll to the bottom and click "+ New Tree" in the Configuration section.
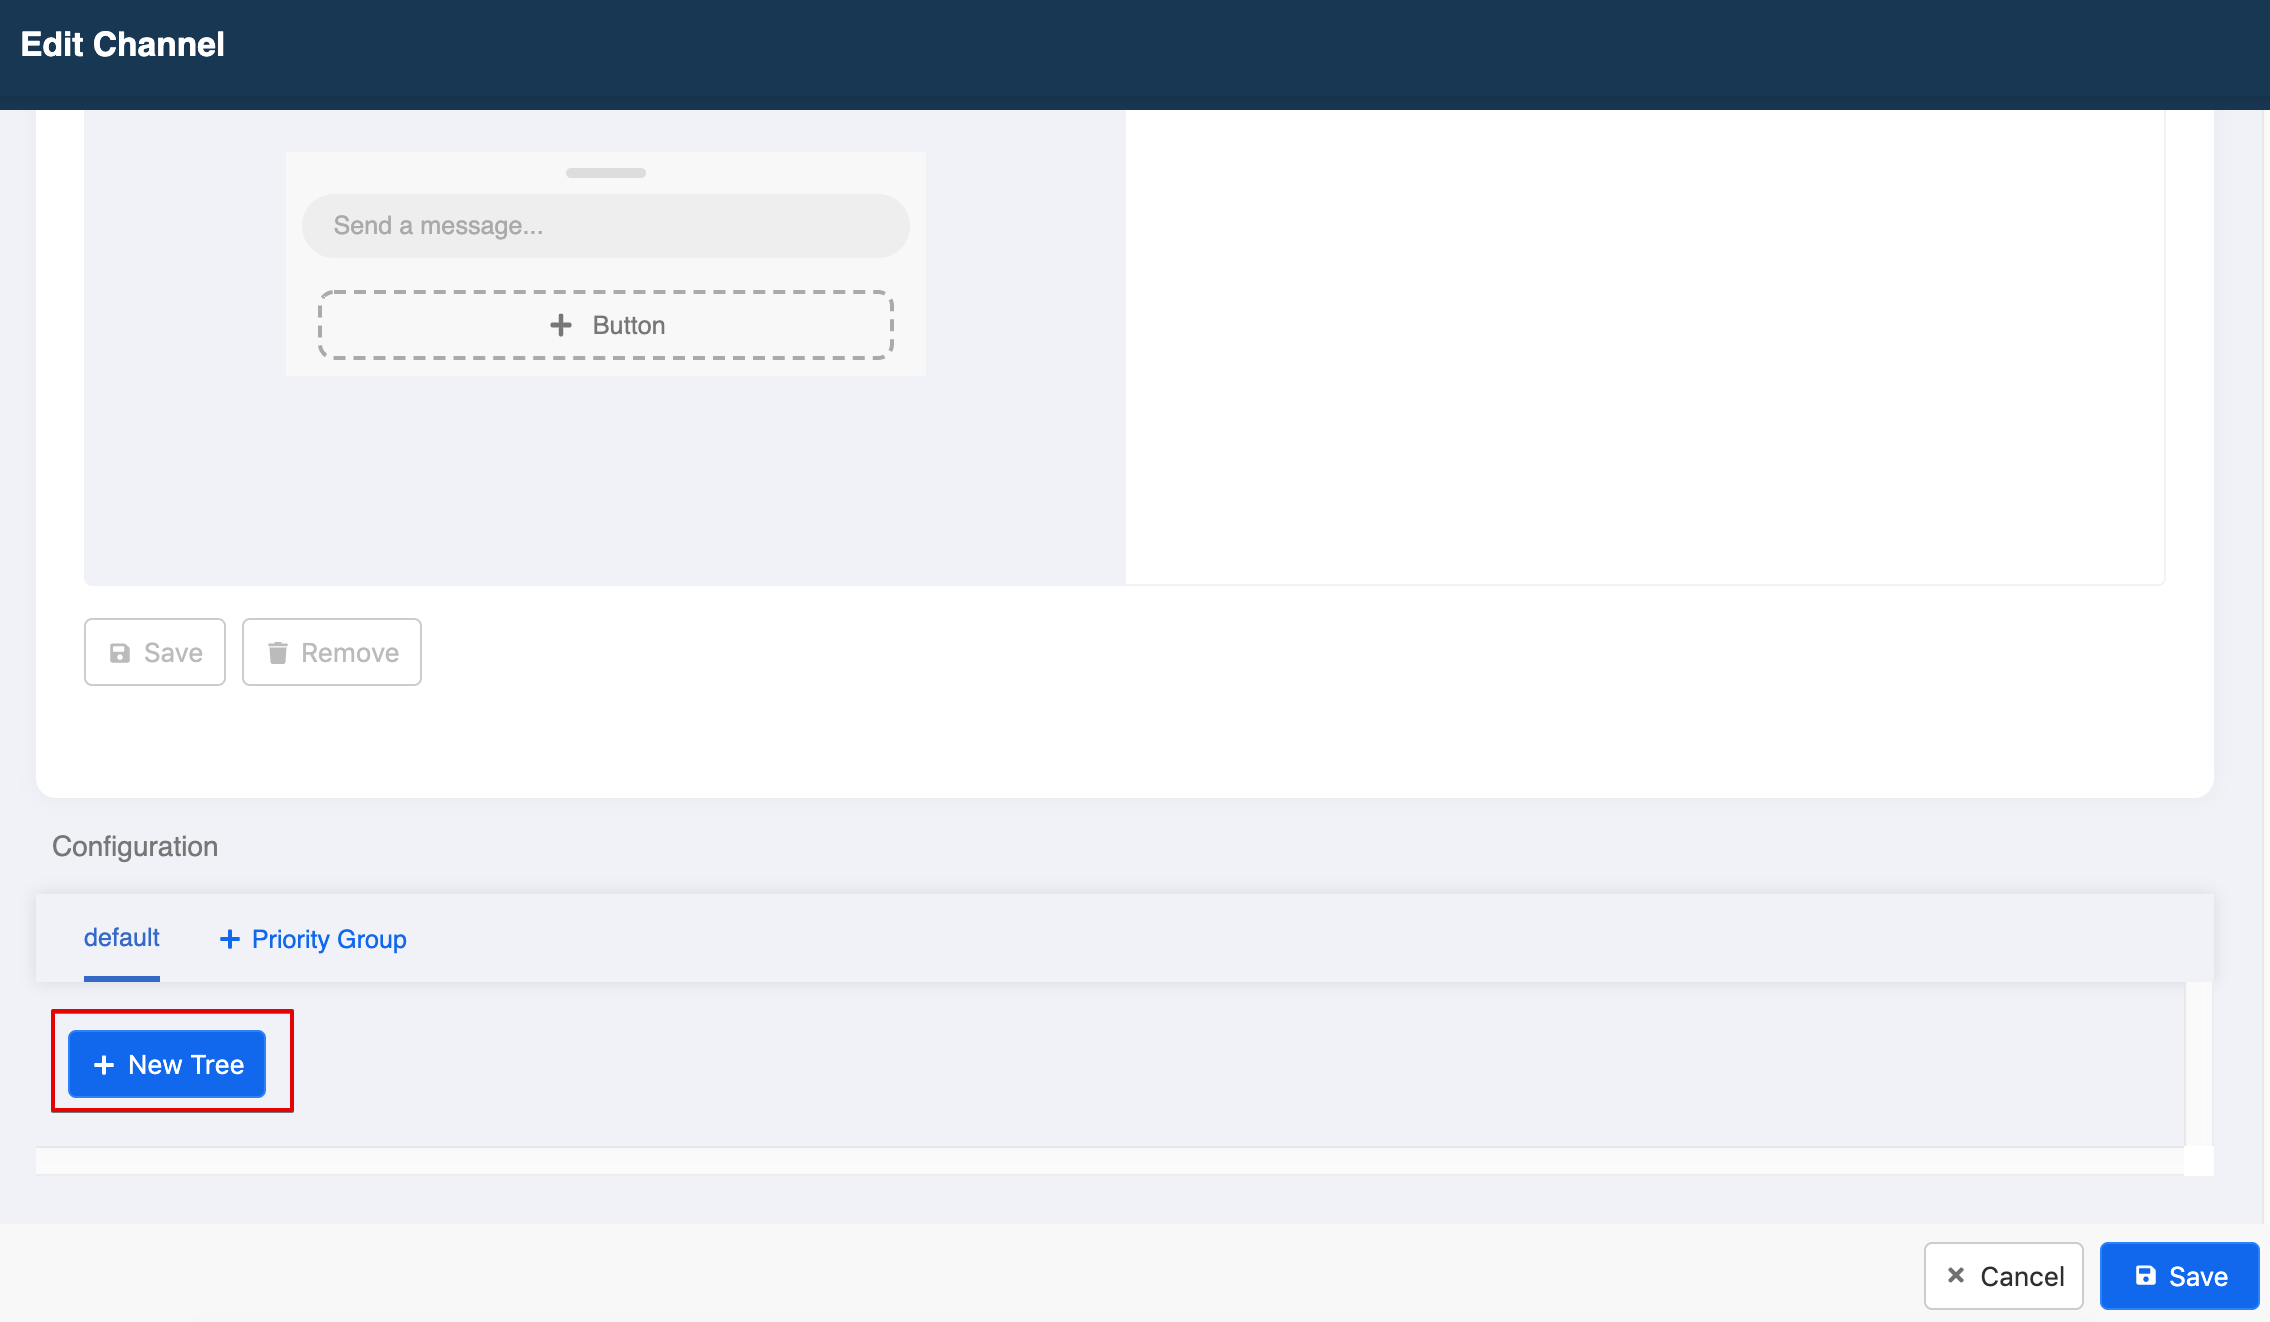
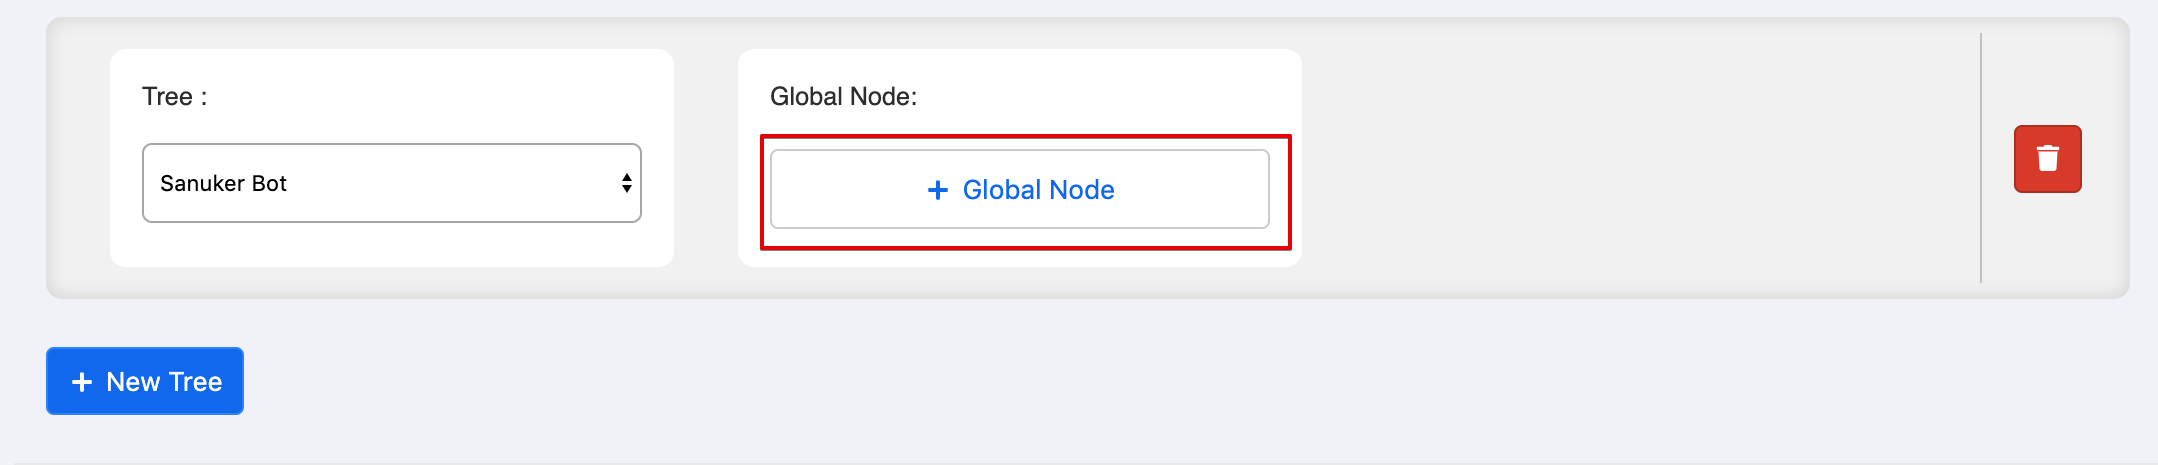
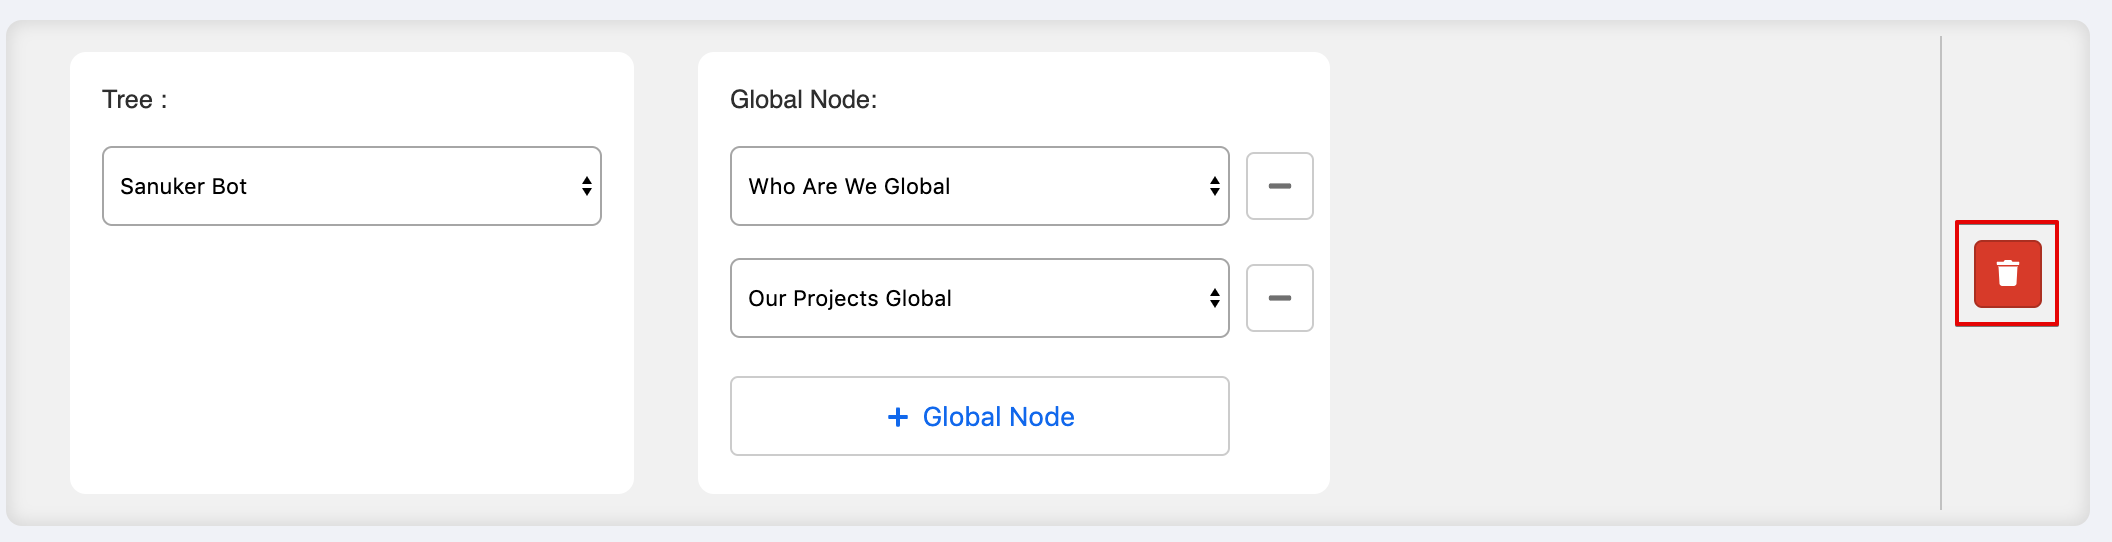
- Select the Tree you would like to activate on the chatbot from the dropdown menu.
- After selecting the Tree, click "+ Global Node".
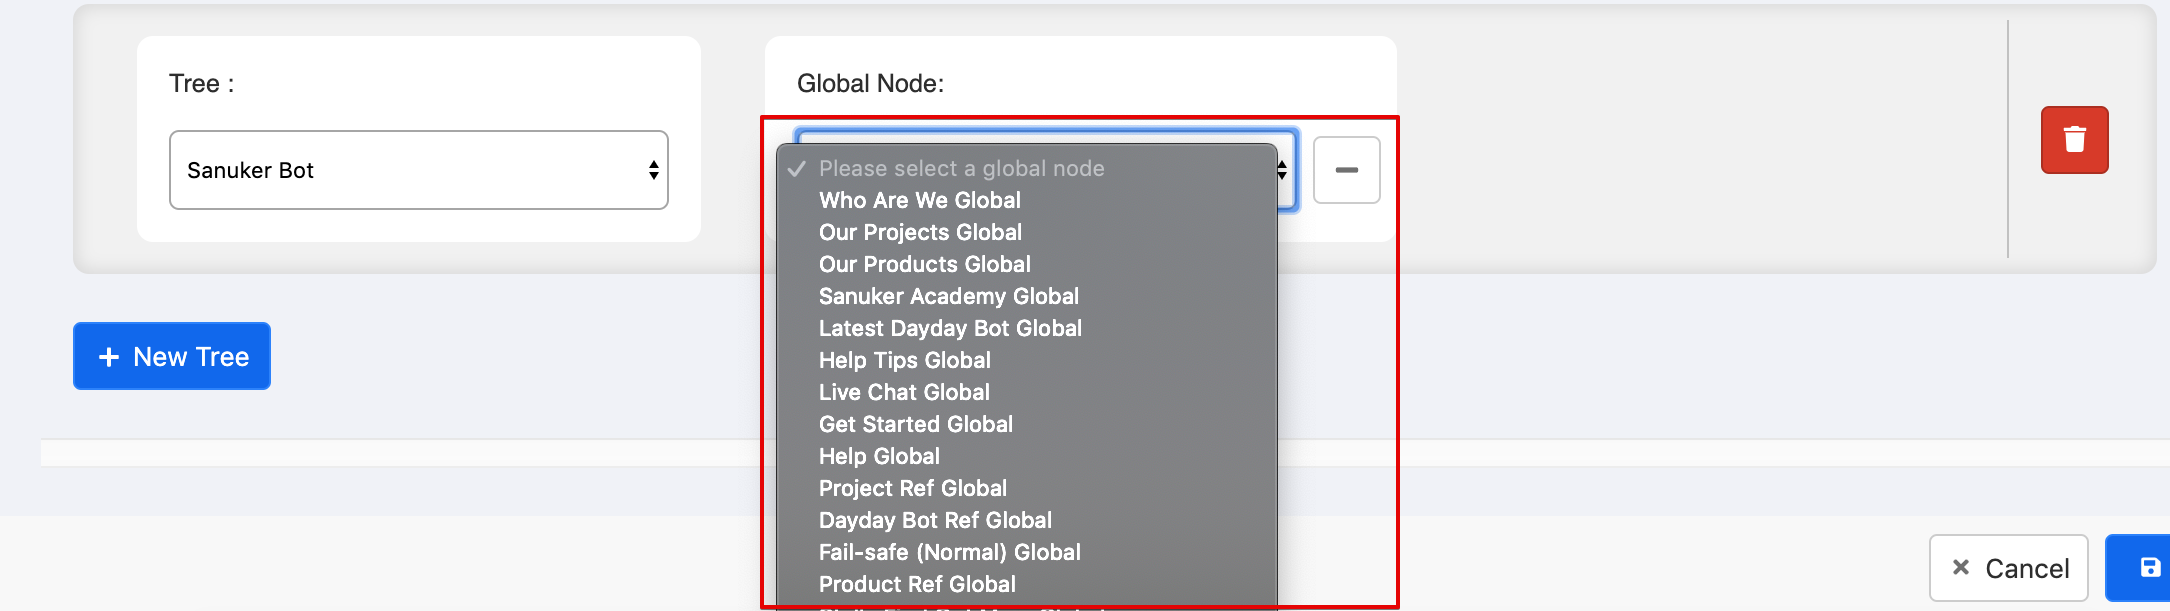
- Select the Global Node you would like to activate on the chatbot from the dropdown menu.
- You could delete the selected Global Node by clicking on the "-" button.
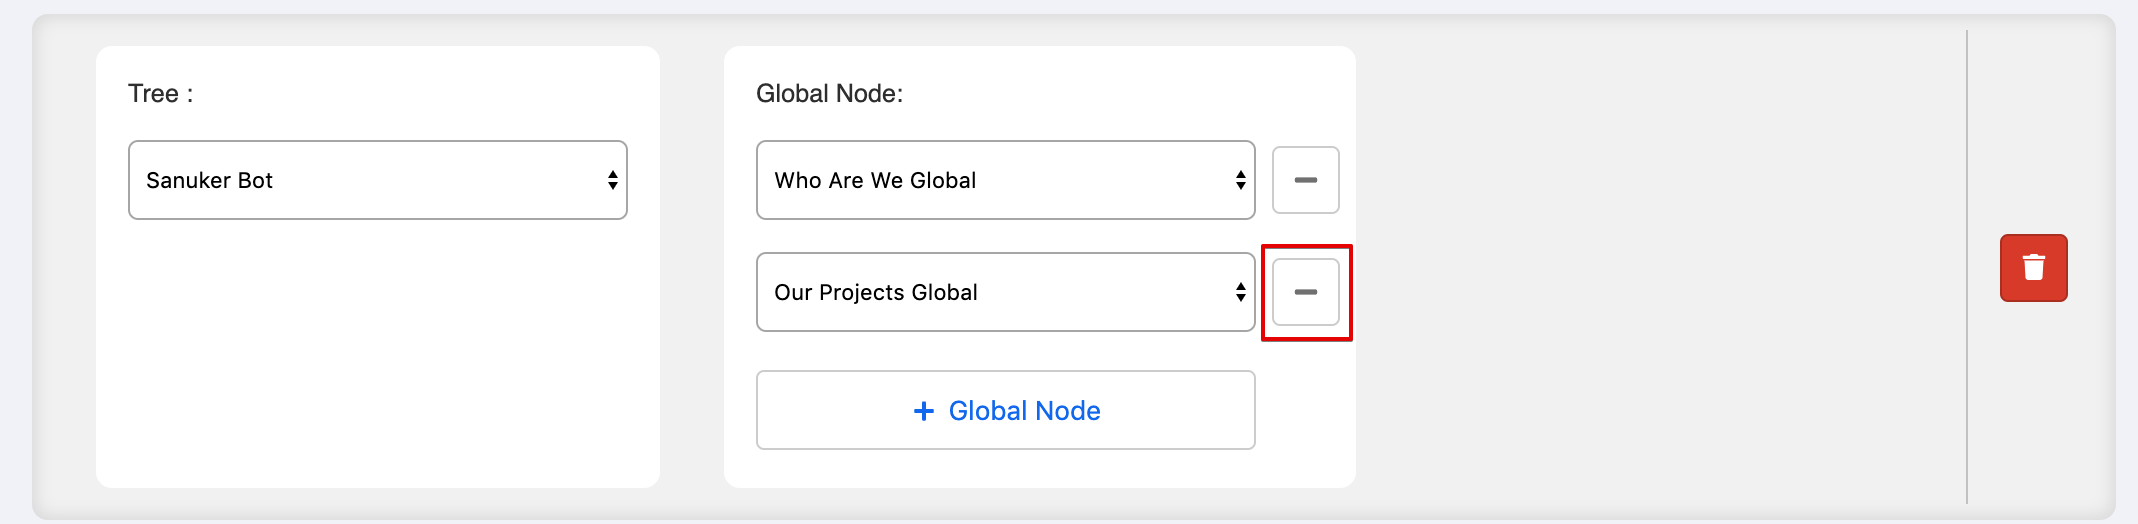
- You could also delete the selected Tree by clicking on the "bin" button at the right.
- Click "Save" when you have finished editing.

You can now test your chatbot on Facebook Messenger! 🎉🎉