Push Content
Currently, Push Panel only supports sending subscription messages to users on Facebook and WhatsApp. The types of push message you can send out to your subscribers are the same as those listed in Facebook Message Types or the WhatsApp approved Templated Messages.
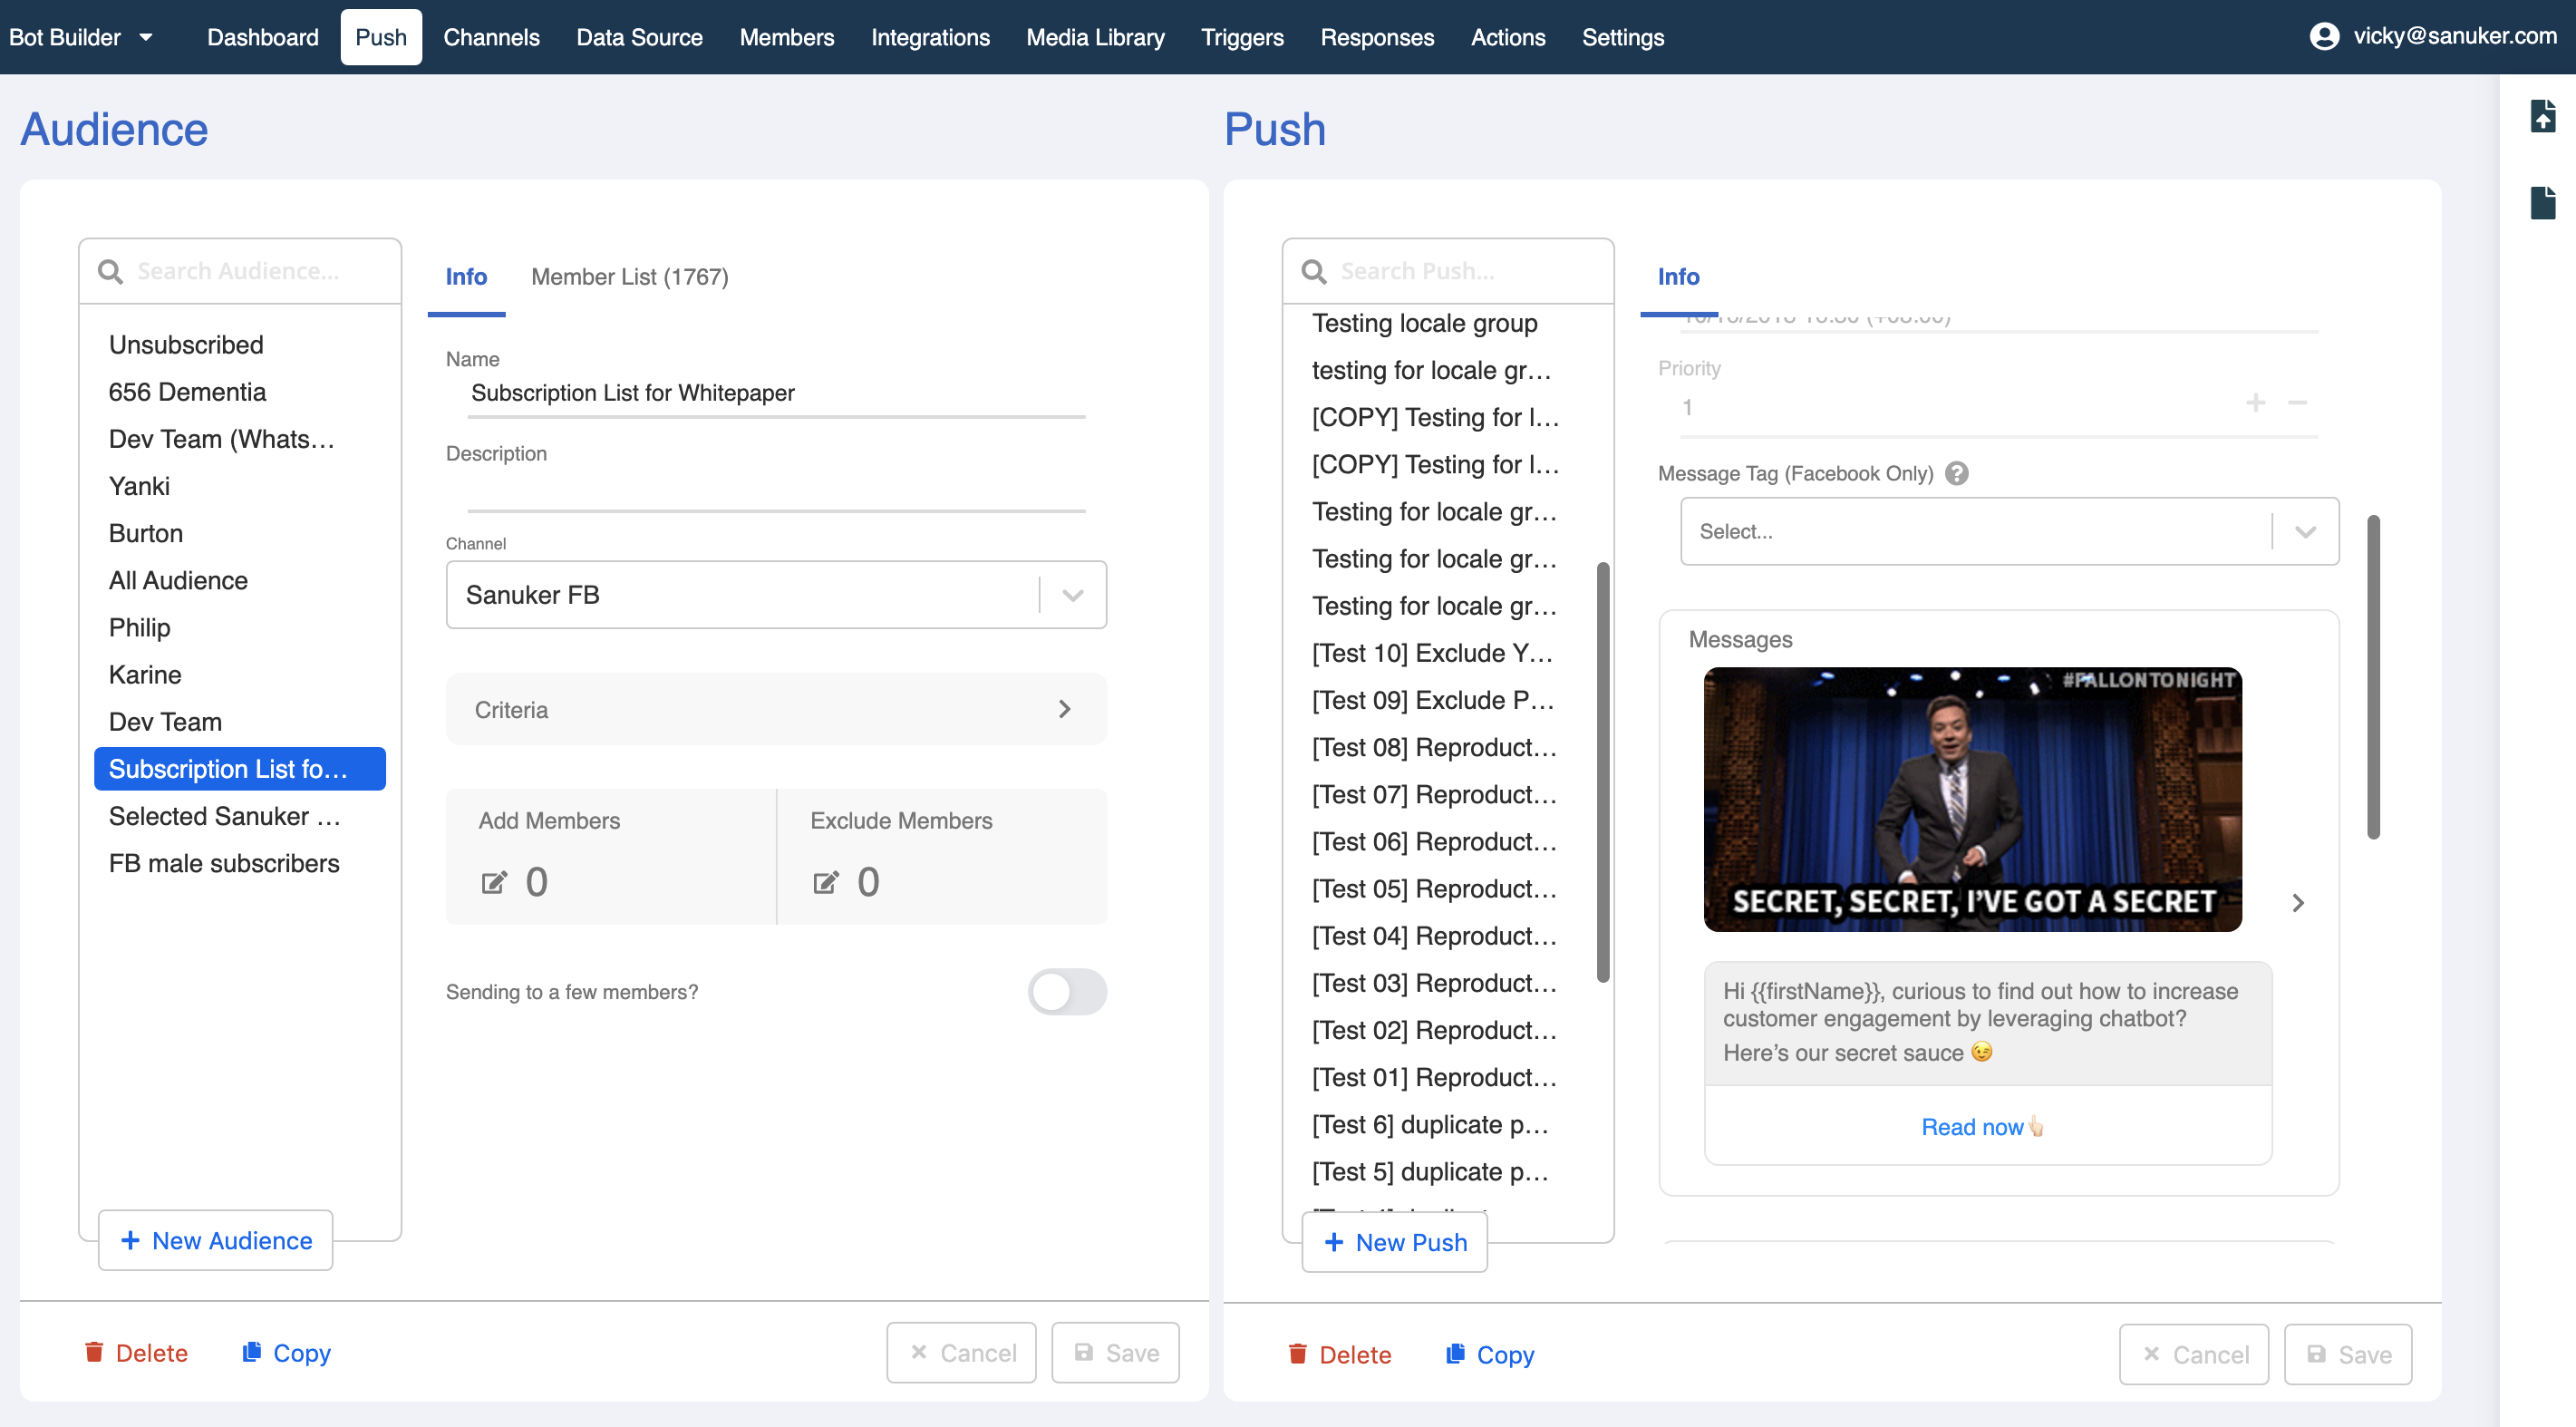
The Push Panel consists of two sections: Audience and Push.
You can open your Push Panel here.
Push Info
You need to specify a number of fields in Push Info to create your customized push content.
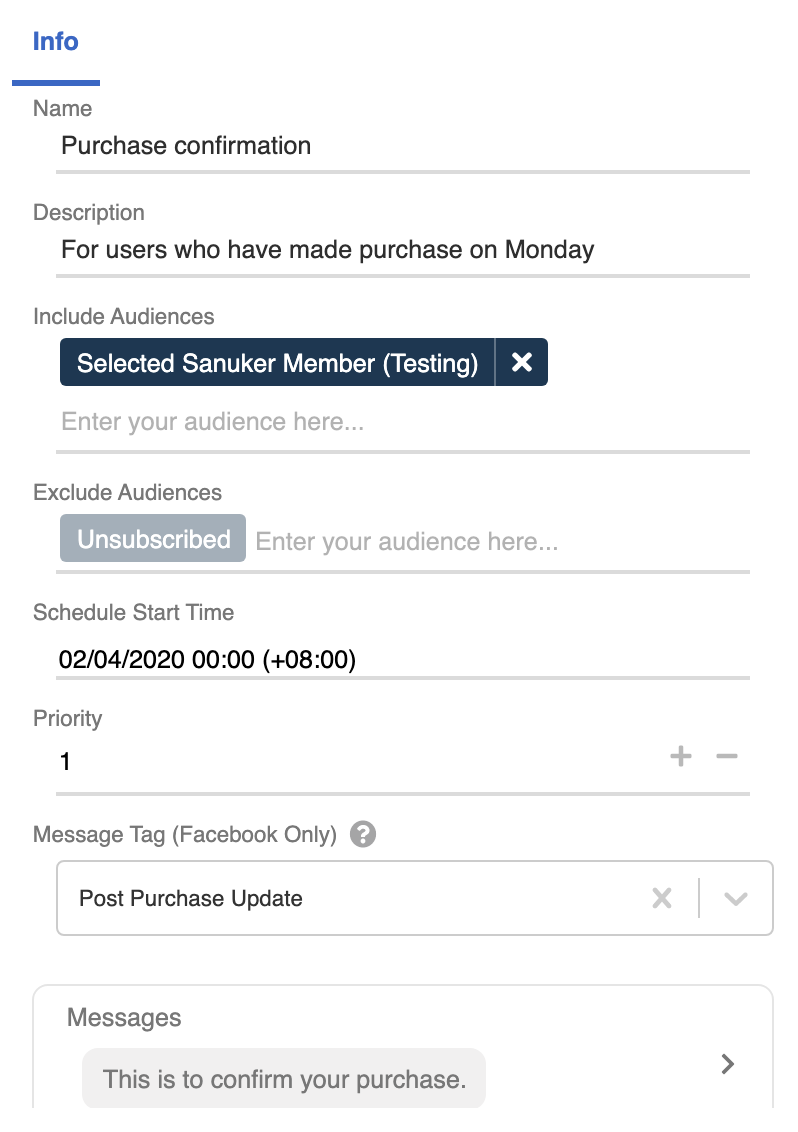
Name & Description
You must give a name to your push message. Description, however, is not compulsory.
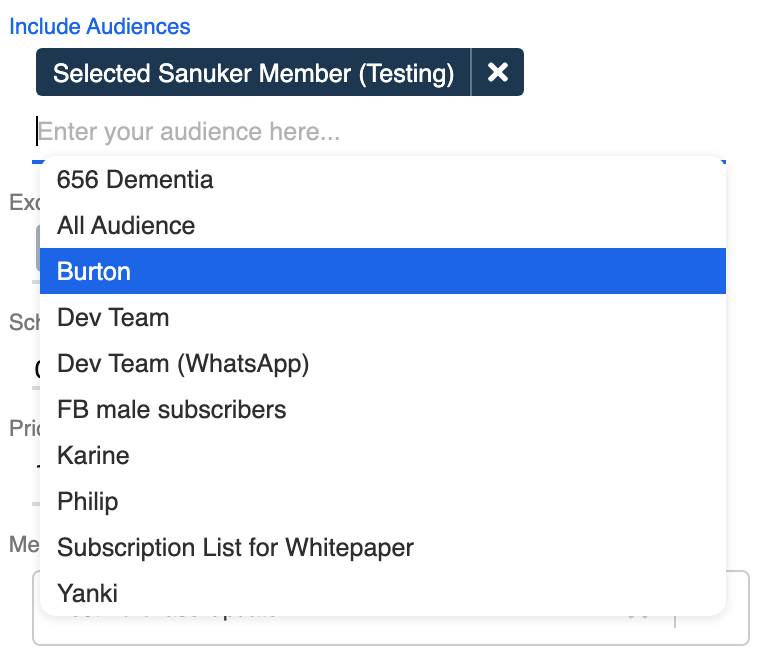
Include/Exclude Audiences
This is where you could set the audiences to be included/excluded for a specific push message. You may add multiple audience groups in both "Include Audiences" and "Exclude Audiences" to divide the subscribers into groups.
Unsubscribed audience is set as default in "Exclude Audiences" because they have expressed their preferences to unsubscribe from your chatbot.
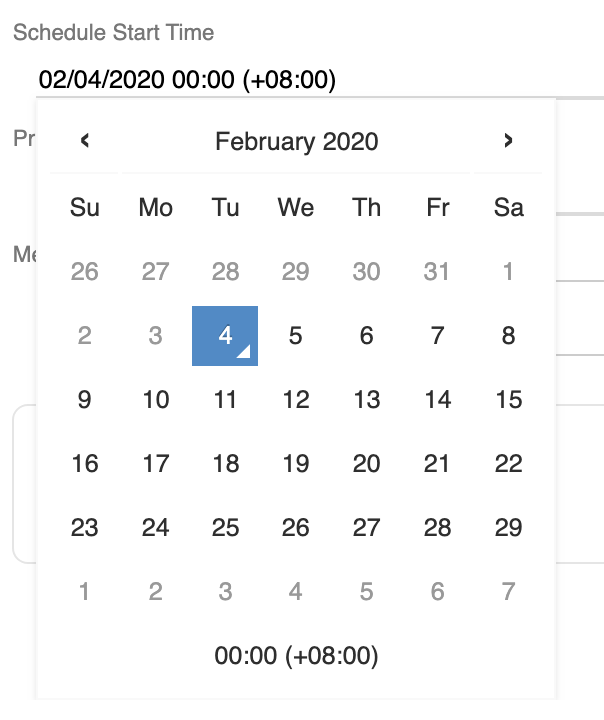
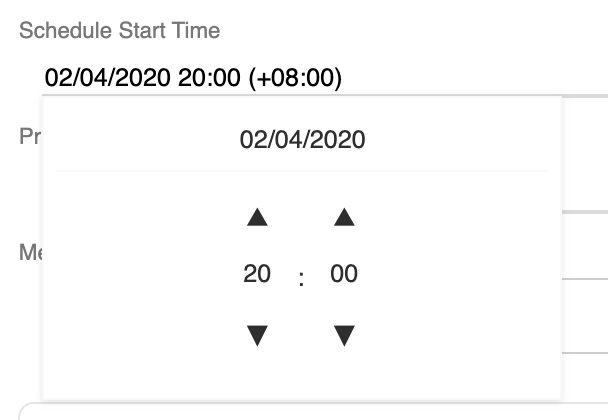
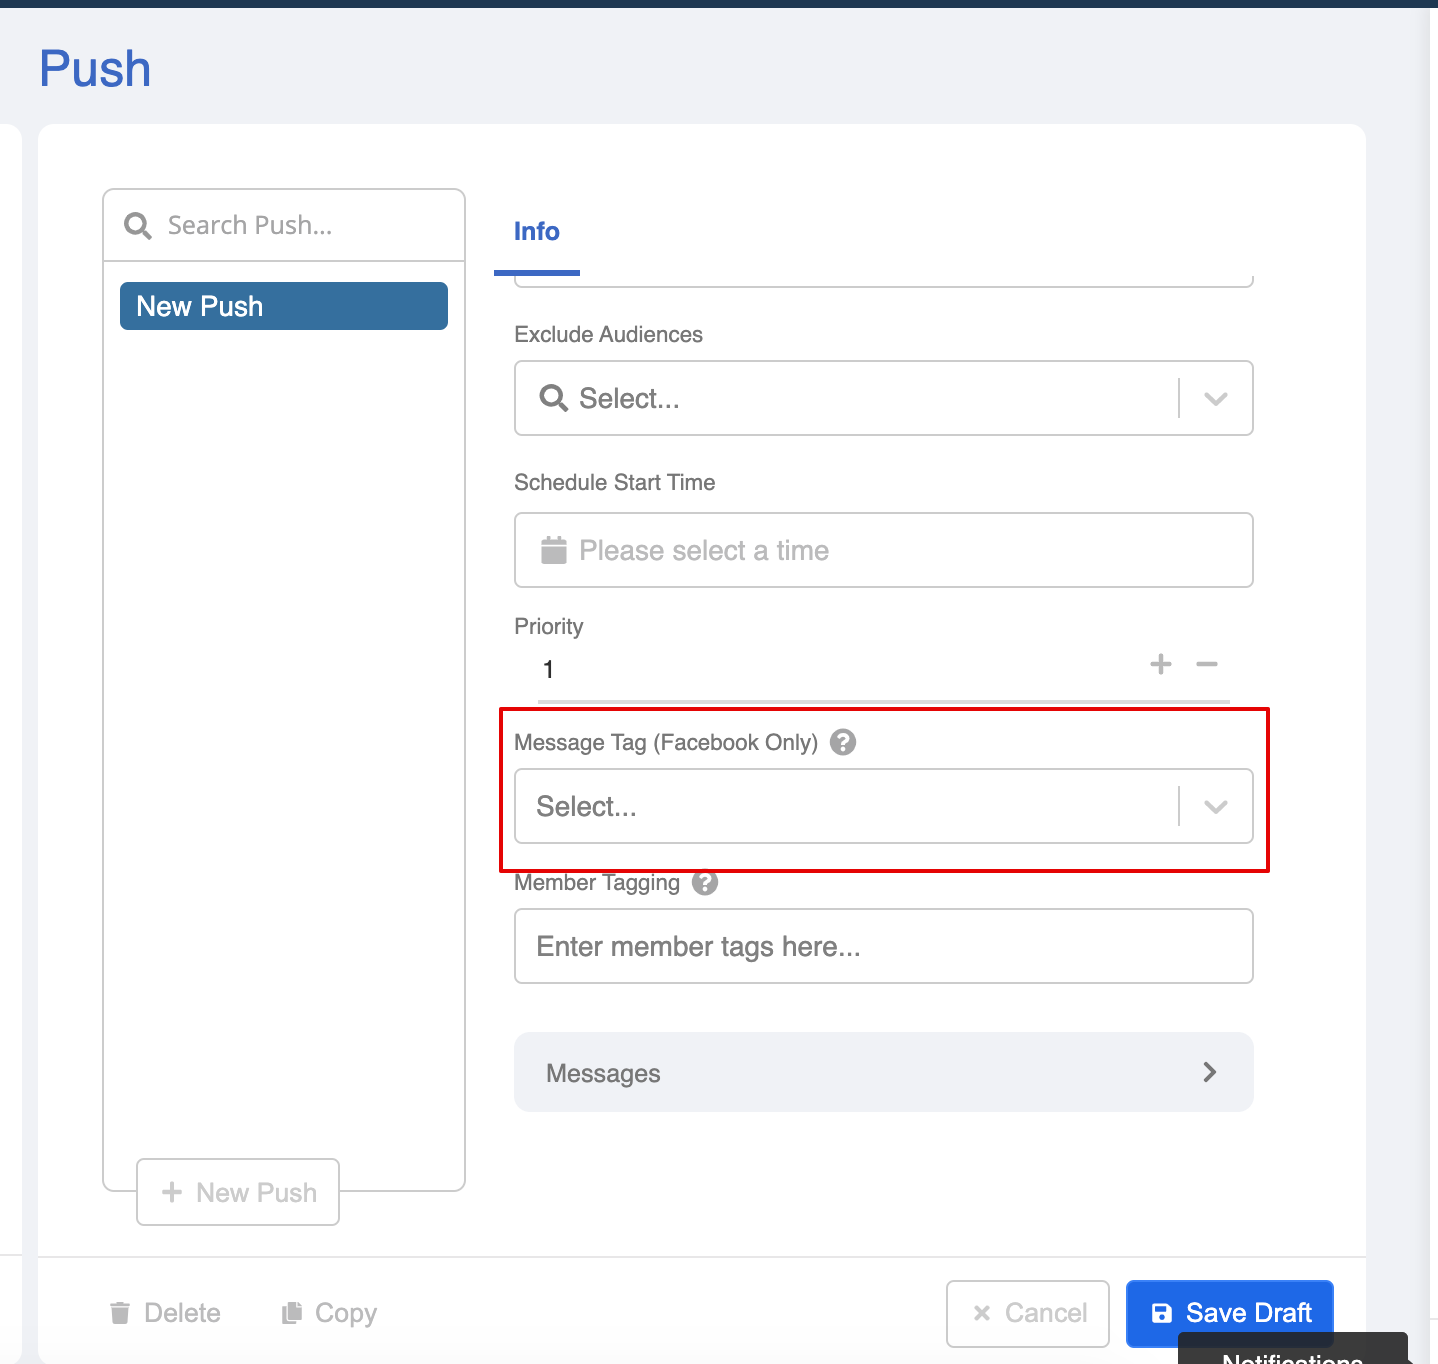
Schedule Start Time
Every push message has to have a start time so that our system will start blasting out the message for you. The convention of time is GMT +8 offset (i.e. Hong Kong Time) under 24-hour clock system. You can specify the start time precisely to a minute.
If you don't set any start time (or set a start time that has past already), the push message will be sent out immediately starting from the current time.
Priority
Priority is used when you have two or more push messages on your sending list.
For example, if you are sending out Push A to your subscribers and would like to send an ad-hoc Push B to the subscribers because Push B is more important. In this case, you need to set a higher priority for Push B and it will interrupt the sending order and get pushed before Push A.
Message Tag
This field is only applicable to Facebook platform only. You have to select the correct message tag for each of your push content to make sure your push is important and personally relevant to your users.
There are three types of message tags now:
- Confirmed Event Update
- Post Purchase Update
- Account Update
Please note that you DO NOT need to select the message tag if you are sending One-Time Notification (OTN).
Messages
This is the part you customize your push content. Please refer to the documentation below:
Sending Push
Once you clicked the "Save" button at the bottom right, the push content will be scheduled/sent. So please be sure that you have filled in all the necessary details before clicking the final button!
You may also refer to the analytics section for the push result.
Retry Audience Group Creator
After your push has completed and if there're some failure cases, a button called "Create Retry Audience" will be created automatically at the bottom of the push result.
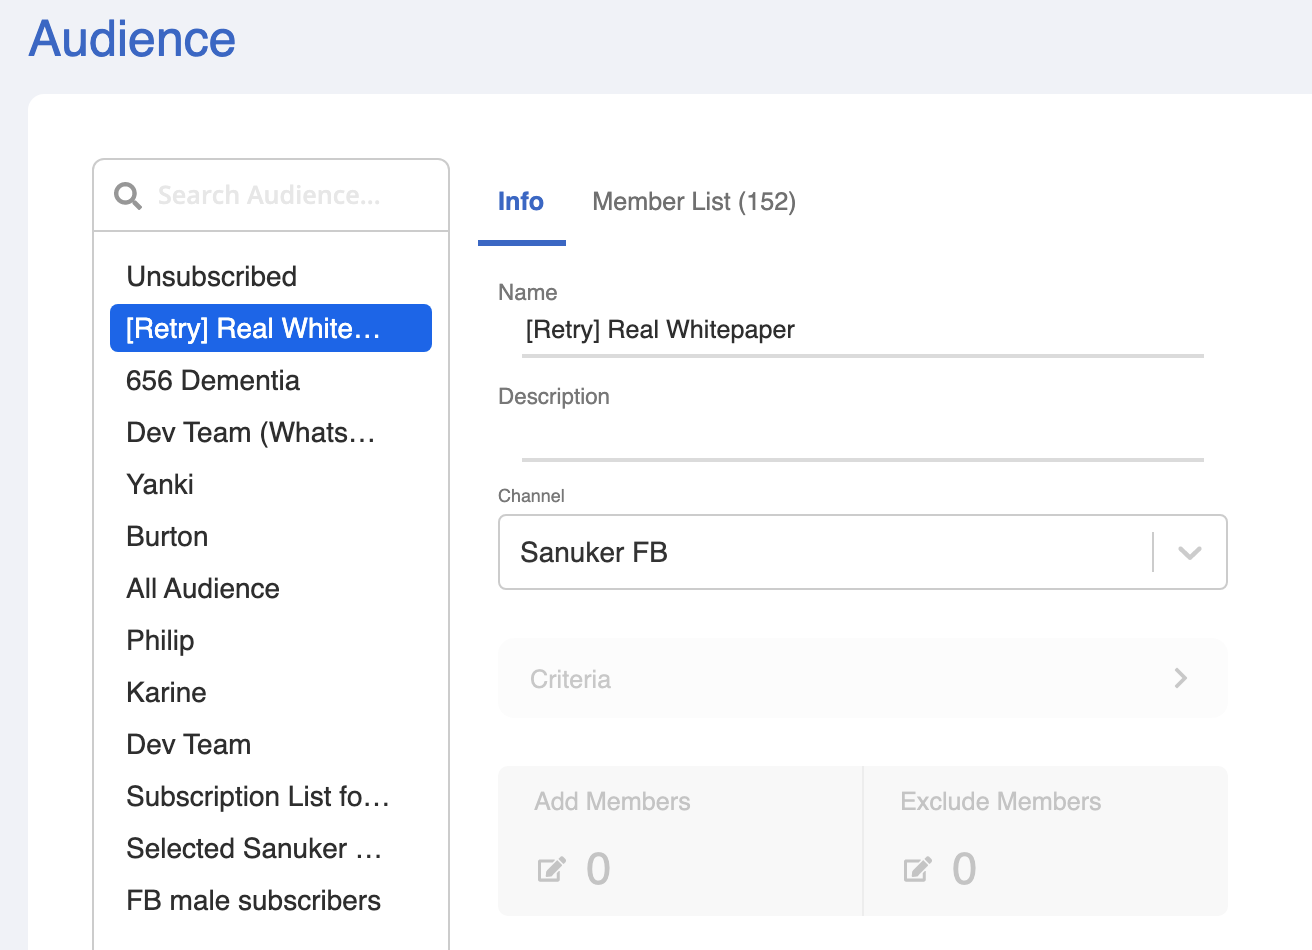
This is the Retry Audience Group Creator. This button will automatically generate a new audience group for those users who have failed to receive that specific push message.
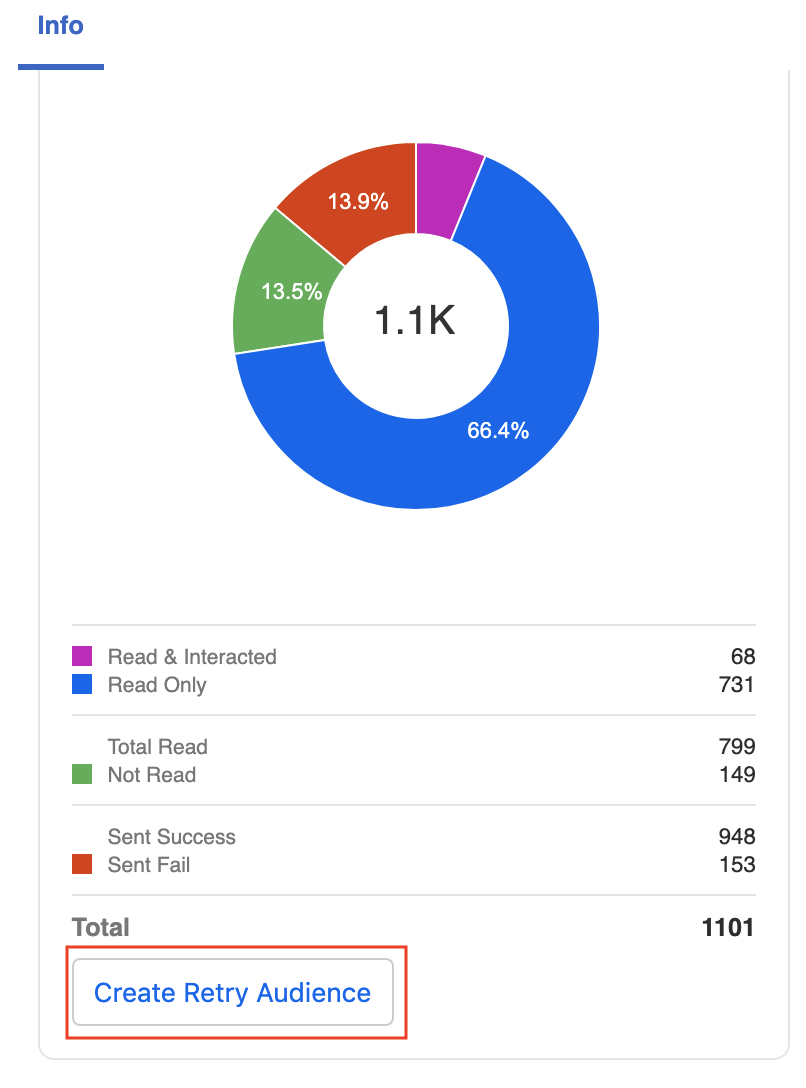
Click the "Create Retry Audience" button to create a new audience group for the failure cases.
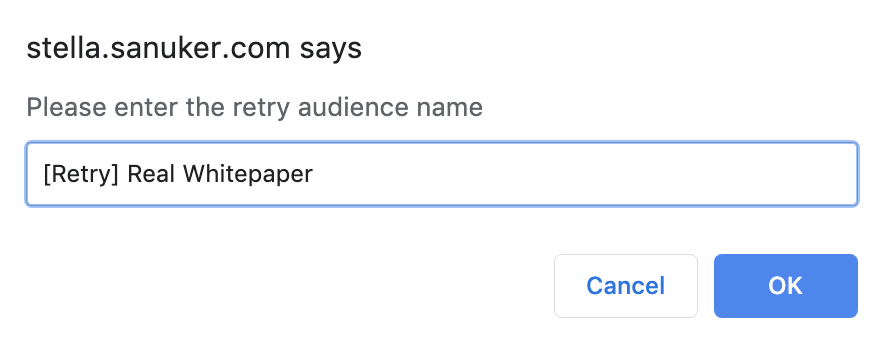
Name the retry audience group and click "OK" to save.
- You can now find the newly created retry group in the audience group list.
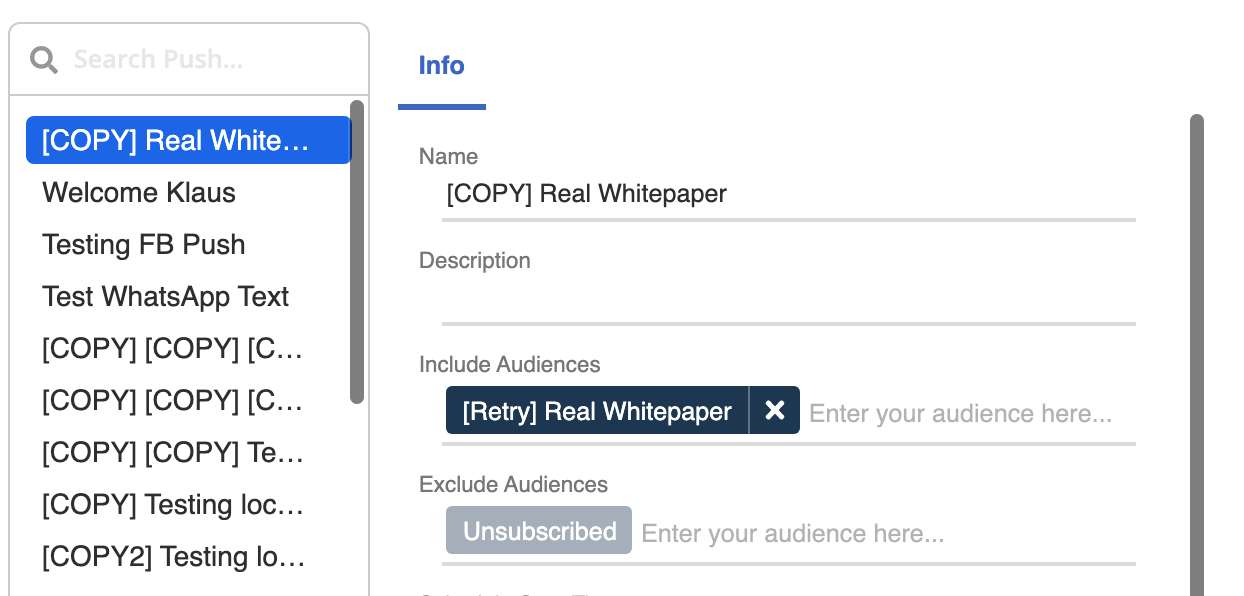
- Now go back to the push content and click the "Copy" button under the selected push to create a new push draft with the same content.

- The push content is now duplicated. You may find it in the top of your push content list. Include the new retry audience group and schedule the start time again to resend the push message. Click "Save" and wait for it.
You can create retry audience group as many times as you want as long as there are failure cases in that push. If all messages are delivered safe and sound, then the Retry Audience Group Creator will not be displayed.