WhatsApp Channel
WhatsApp Deployment
Embedded Signup Flow
Once you have subscribed to our reserved plan or a WhatsApp channel, you can now connect your WABA in "Channels".
In "Channels", a WhatsApp channel should be ready. You can select "Start WABA Setup" to start the embedded signup flow.
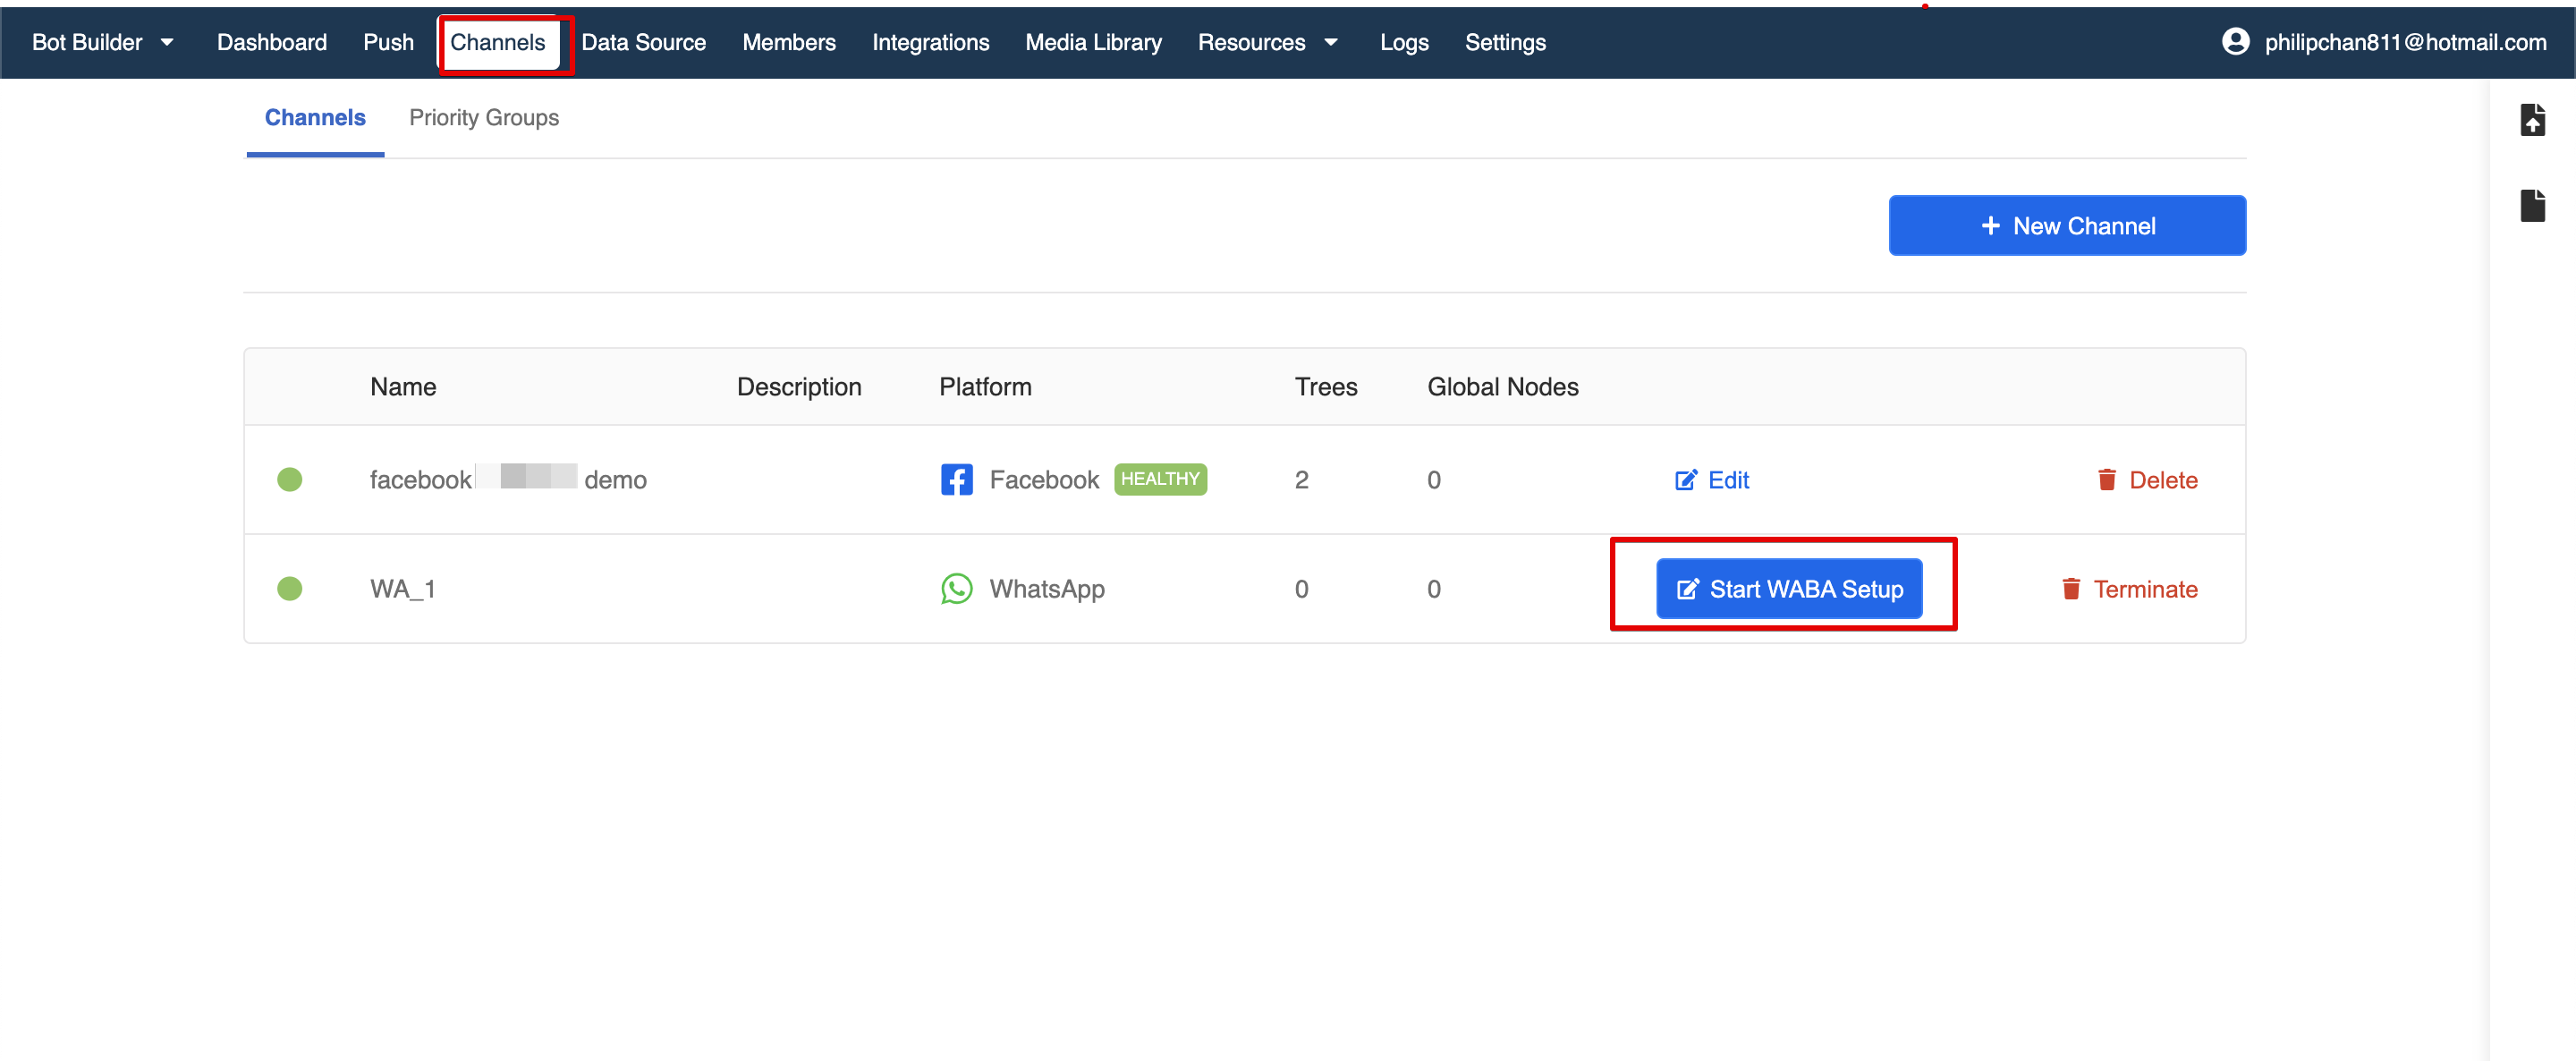
- Please follow Connect WABA to Stella for the complete proceudres.
Health Check Tool
- Click "Check Health Status" to check the server status. It should show "Connected" if things are properly set.

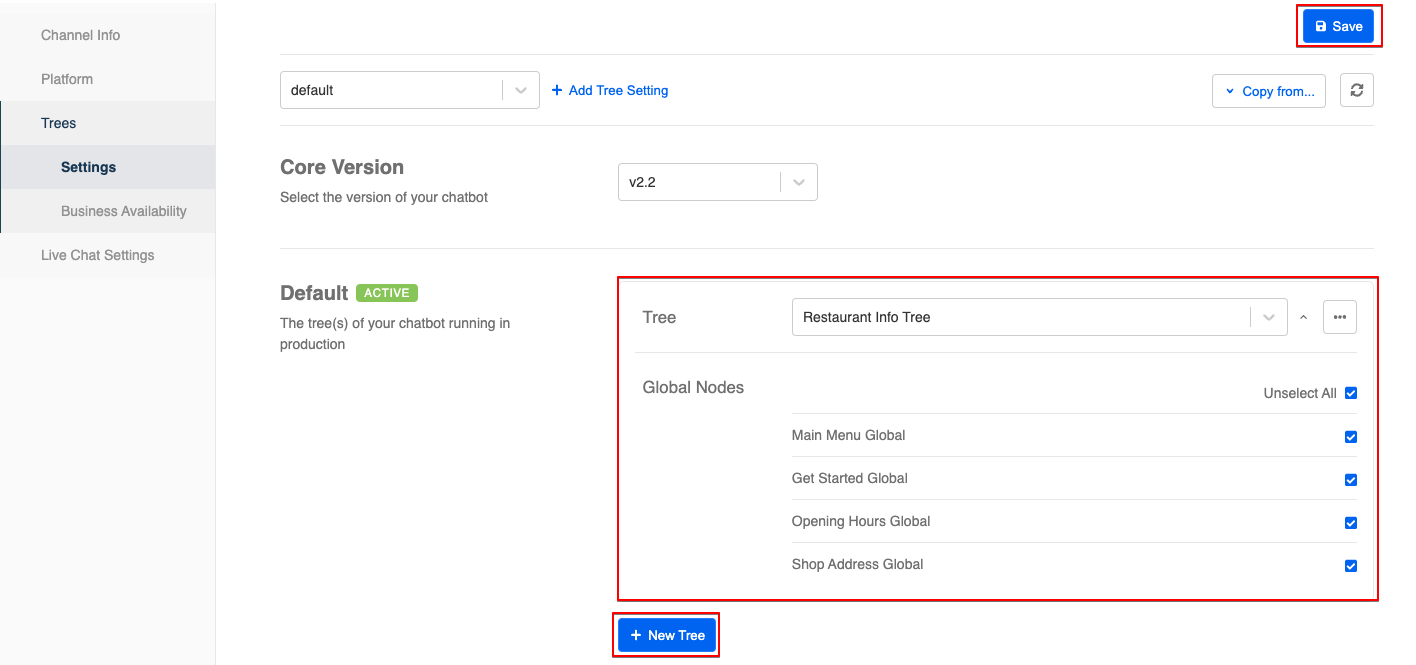
Adding Trees & Global Nodes
- In the WhatsApp channel, head to "Trees" and then "Settings". Add the specific trees and global nodes that you would like to include in the WhatsApp channel. You can add multiple trees and global nodes into one channel.
WhatsApp Profile Setup
You can personalize your WhatsApp Business Profile via Stella. Follow the steps below to update your profile.
Profile Photo
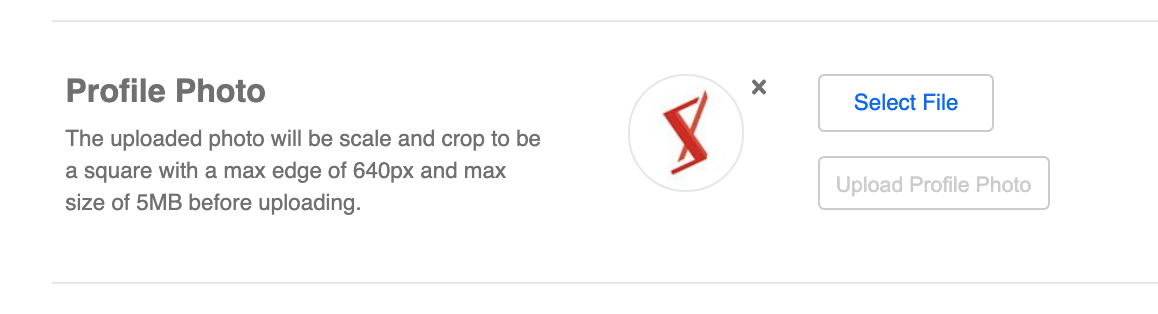
- Click "Upload Profile Photo"
The photo will be scaled and cropped into a square with a max edge of 640px and max size of 5MB before uploading.
- If you have uploaded a profile photo before, please click "Select File" instead.

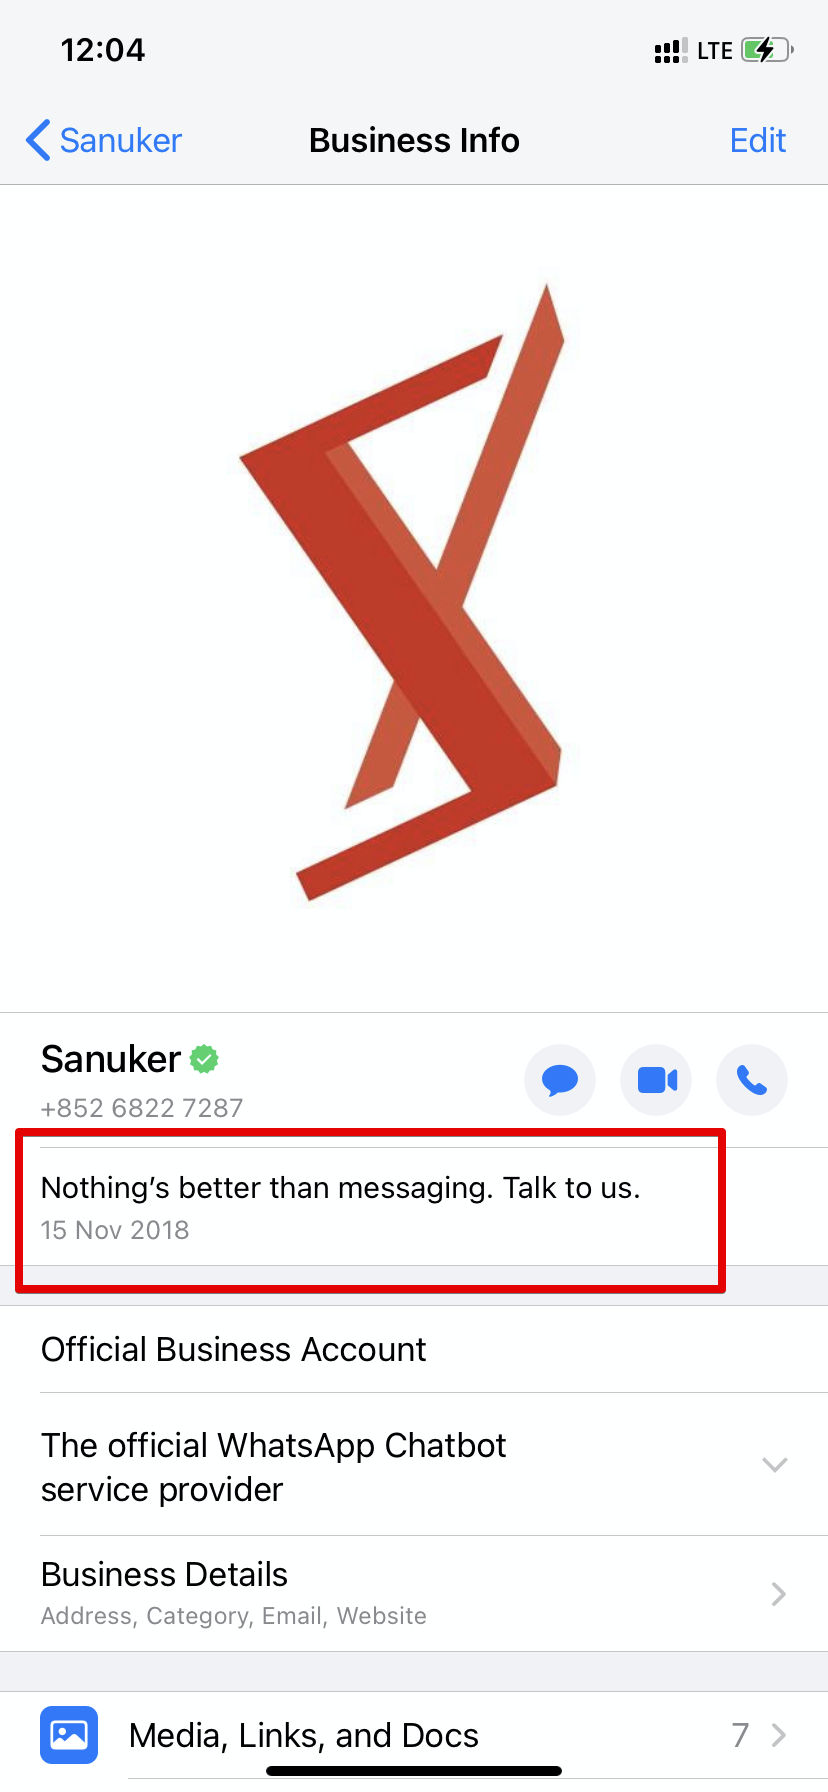
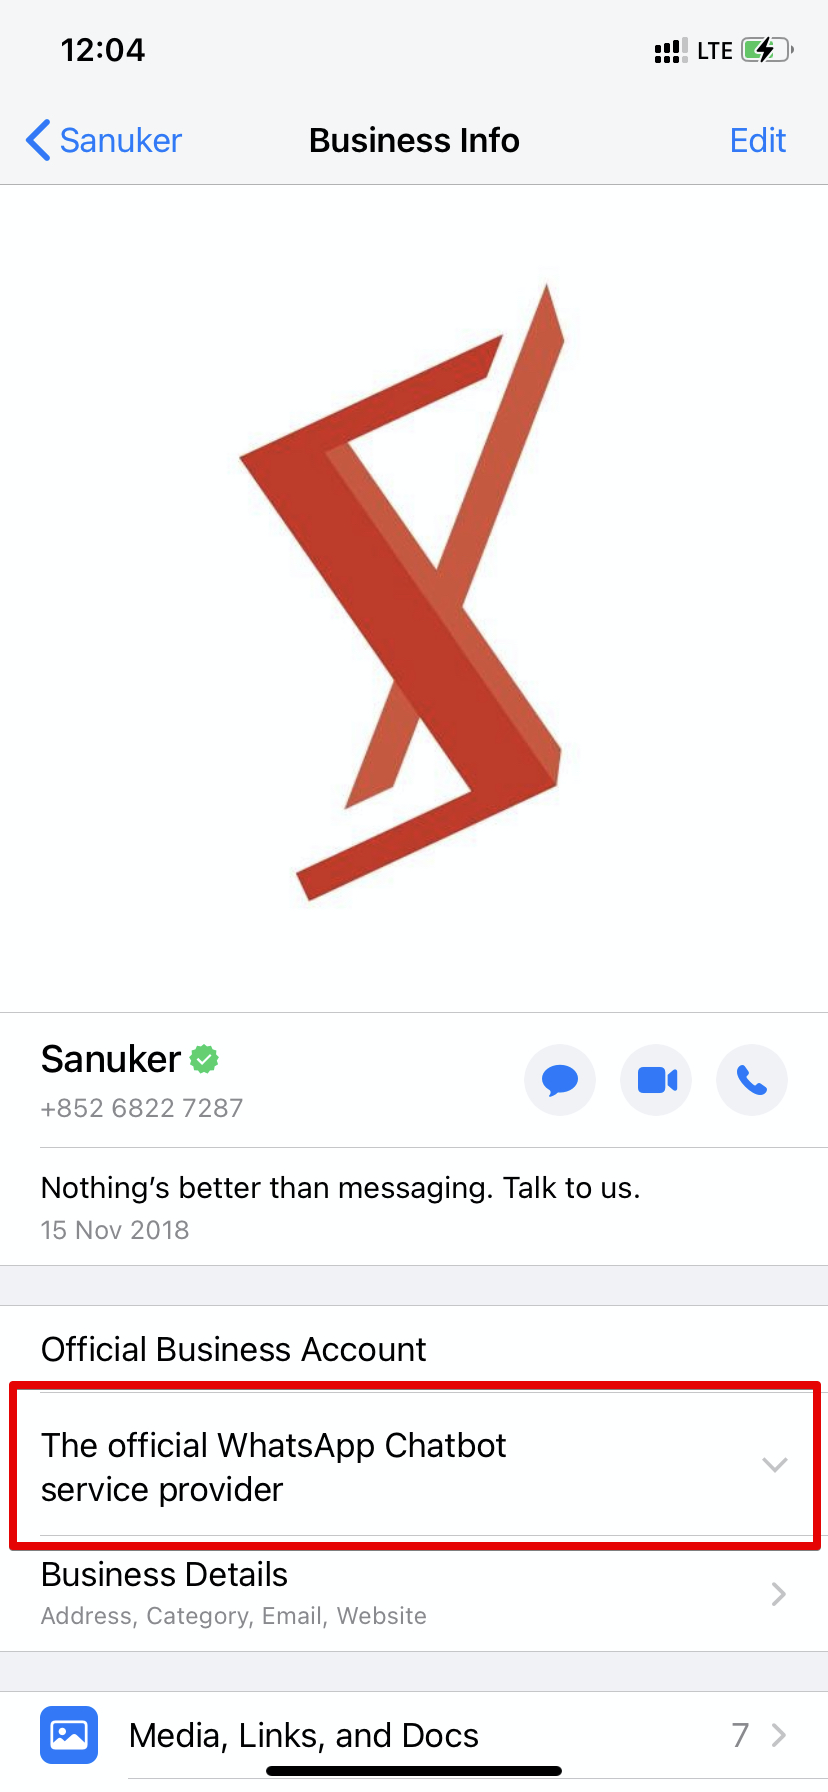
Profile: About

- Describe your business or WhatsApp Account in "About".
Character limit for Profile: About is 139 characters.
- Click "Update Your Profile About".
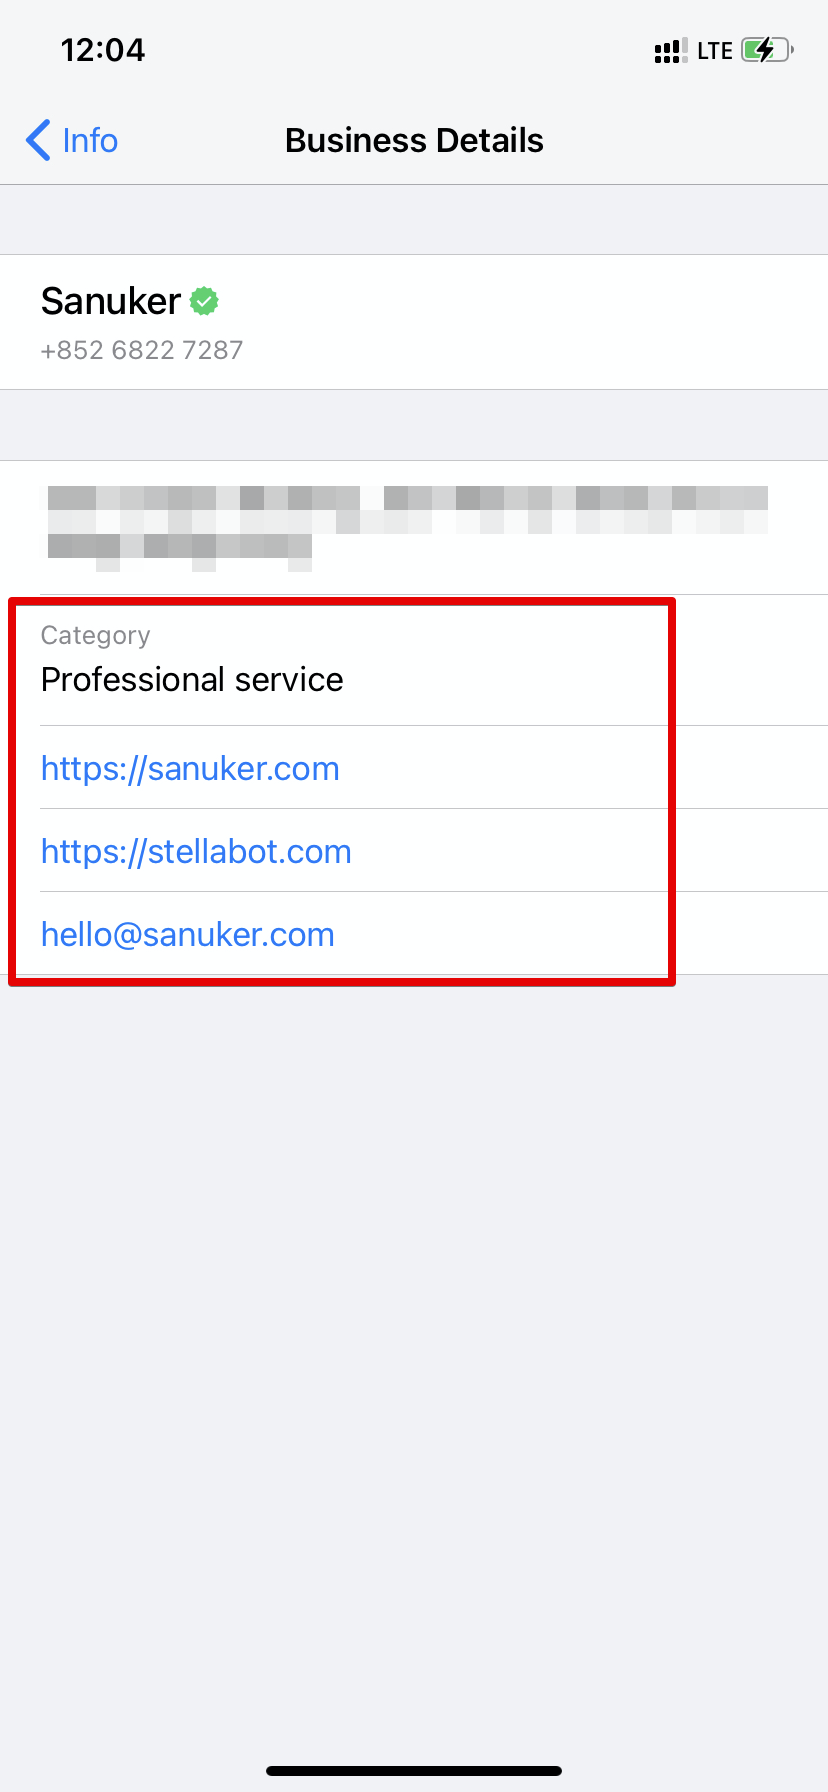
Business Profile Settings
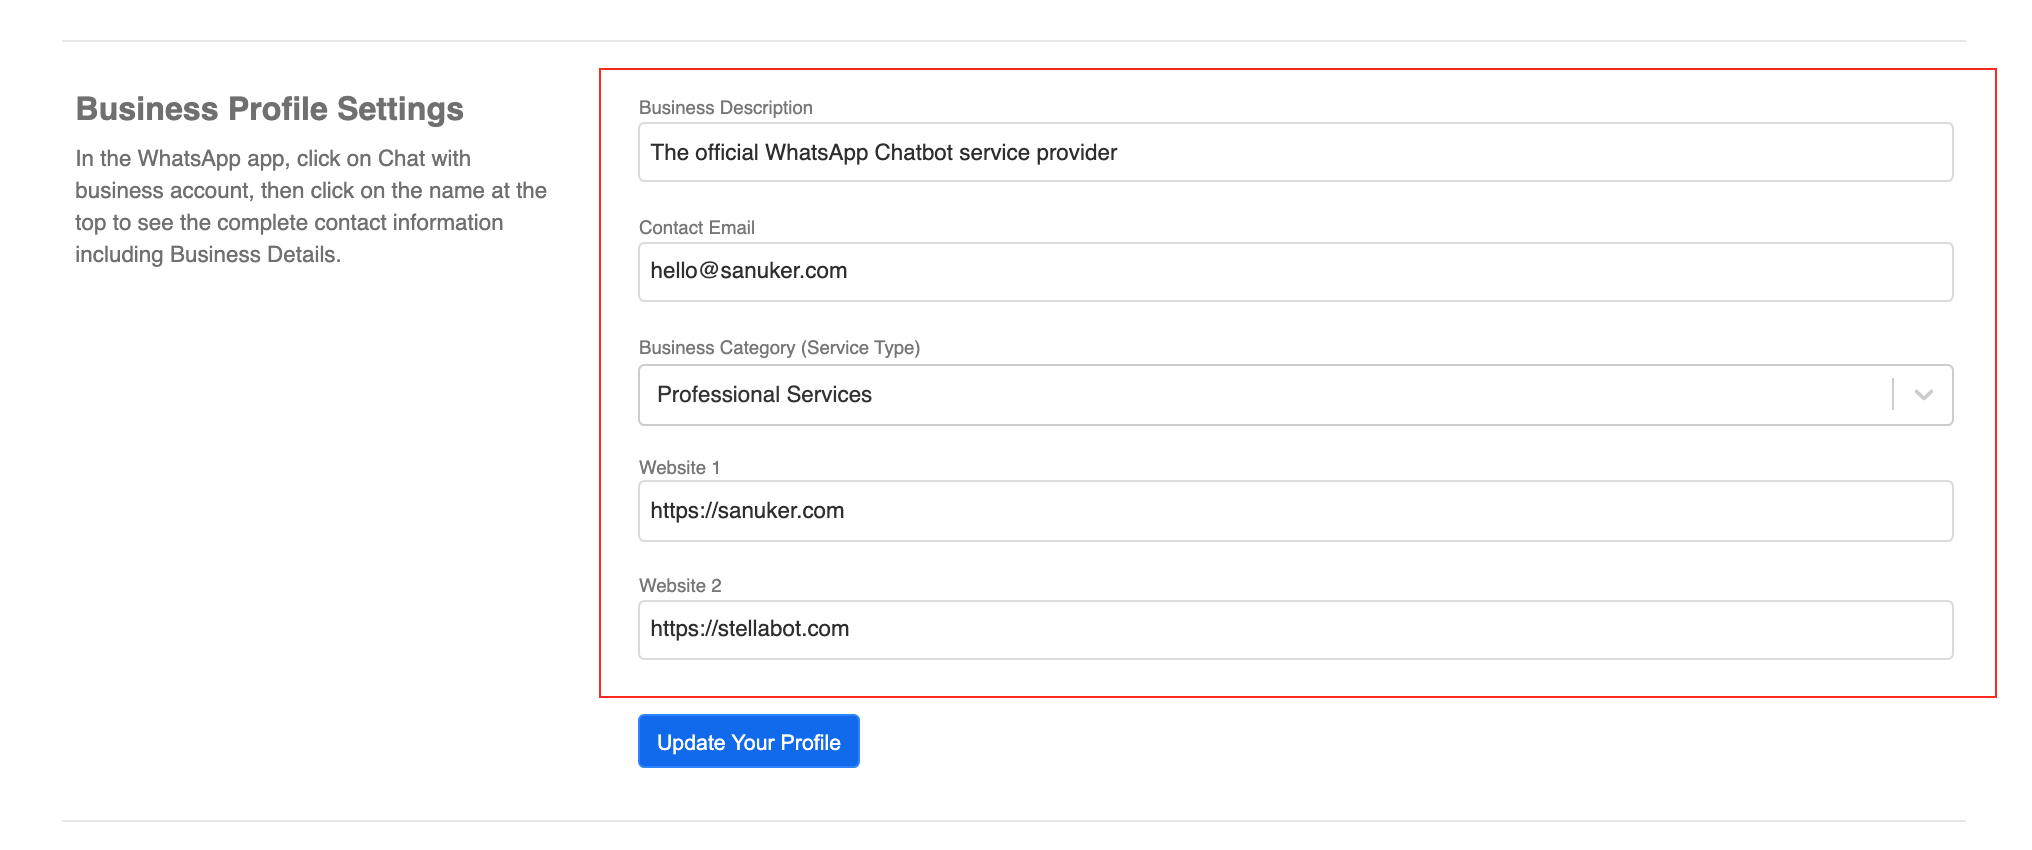
- Complete the "Business Profile Settings" accordingly:
| Name | Description | Remarks |
|---|---|---|
| Business Description | Describe your business. | Character limit: 256, Optional |
| Contact Email | Provide your company email address. | Optional |
| Business Category | Choose the closest industry in the drop down list. | Optional |
| Website 1 | Provide your 1st company website url. | Optional |
| Website 2 | Provide your 2nd company website url. | Optional |
- Click "Update Your Profile".
WhatsApp Server Info
In "Platform", you will find the admin username and password of your WhatsApp server under "WhatsApp Server Info". For security measures, you need to click on "Unlock" and enter the password of your Stella account before viewing the login credentials of your Whatsapp server.

Restart WhatsApp Server
When your WABA encounters errors such as #1011: "Service not ready" and #1014: "Internal error"; or your WABA number is unable to send and receive messages properly even though the "Health Status" is Connected, you can try restarting the WhatsApp server manually.
Restarting the server might lead to service downtime or other unforeseeable issue. Please use it with caution.
Frequent restart of the server is not recommended.
- You need to first click on "Unlock" and enter the password of your Stella account.

- After entering the correct password, the server login credentials and the "Restart WhatsApp Server" button will be available.
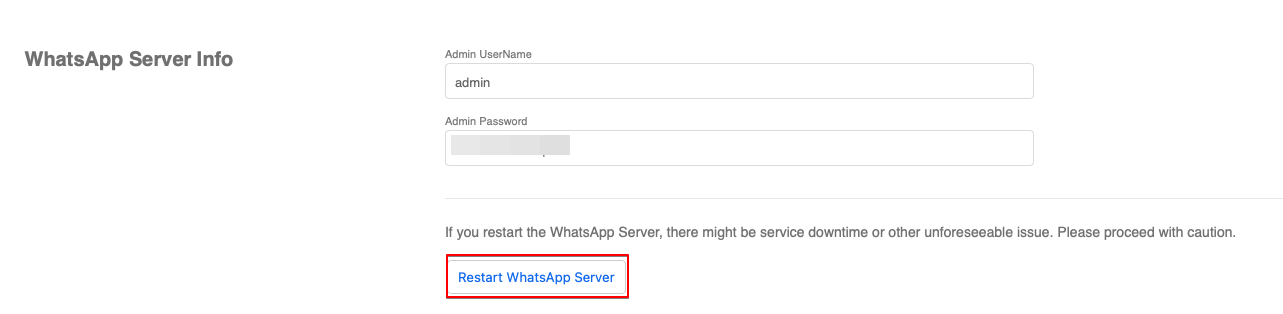
- Click on the "Restart WhatsApp Server" button to restart your WhatsApp server. A message will be displayed to confirm your request, the restarting process will take around 5-10 minutes.
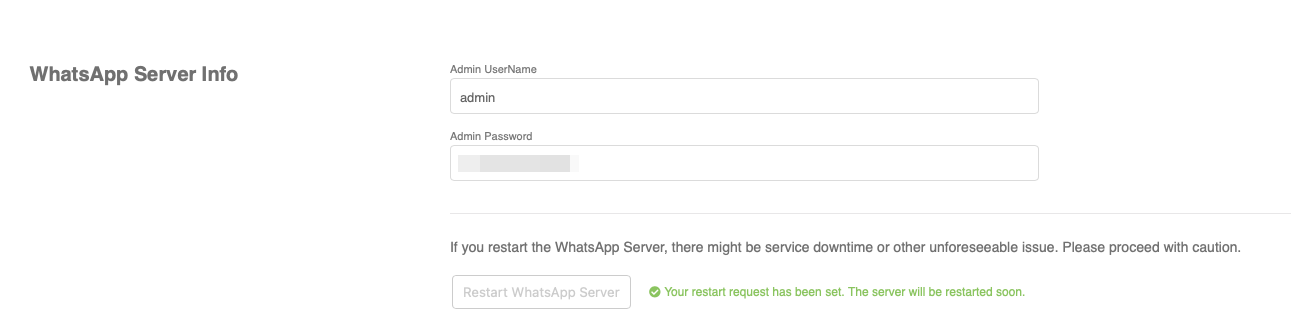
- After that, you can check the Health Status. You are good to go if it is shown as
Connected.
Templated Message Submission
In order to send Templated Messages on WhatsApp, you must first submit the message content to WhatsApp team for approval. You can only send approved templates.
- Click "Message Template" in your WhatsApp channel.

You will see the overview of message templates under your WABA. Select the correct WABA integration.
Click "Create" to create a new message template. A new window will pop up.

Fill in the necessary details of this message template. You may check out the example template or theWhatsApp documentation. For any media or text with parameters
{{1}}, you are required to add sample as part of the review process.Click "Submit" to submit your message template. Once submitted, a new row will be created.

Template Details
| Property | Description | Required? |
|---|---|---|
| Name | Can only contain lowercase alphanumeric characters and underscores ( _ ); No other characters or white space are allowed | Y |
| Category | Select the correct category of your template; See list of supported categories | Y |
| Language | Select the correct language of your template; The template name will be the same for all translations; You will specify the language field when sending out the template; See list of supported languages | Y |
| Content | The content of your message template; Support parameter placeholders in the format of {{1}} | Y |
| Header | The header of your message template; It can be a text or media: "Image", "Video", "Document" | N |
| Body | The body of your message template (Character Limit: 1024) | Y |
| Footer | The text footer of your message template | N |
| Buttons | The button(s) of your message template; Call-to-action or Quick Reply; 3 buttons max. | N |
Maximum Character Limit
| Property | Character Limit |
|---|---|
| Body (Without Header/Footer) | Up to 1024 characters |
| Body (With Header/Footer) | Up to 1024 characters |
| Header | 60 characters |
| Footer | 60 characters |
Please note that, within a WhatsApp Message Template, the character limit does not apply to the varaiable.
Example Template
Creating an order confirmation message where the message template name is order_confirmation and the message is:
Your order {{1}} for a total of {{2}} is confirmed. The expected delivery is {{3}}.
Remarks:
- You can fill in parameter placeholders in the format of
{{1}}. - You should create all translations of the same content under the same message template.
- You may click "+ New Language" to add multiple translations under the same template content.
Submission Status
The submission result generally will be ready within 1 day. Here are the submission status:
- Yellow: Pending from approval
- Red: Rejected
- Green: Approved
- Light Grey: Pending to delete
- Dark Grey: Deleted
The status circle will automatically turn into Green once the message template is approved.