Connect Channel to Slack
What is your result?
Stella Inbox has been installed. Now, the conversation with the paired channel can be displayed in an inbox channel created in your Slack workspace. Besides, you can directly reply to the users in Slack.
Stella Inbox Integrated
Set up Stella Inbox
- Before setting up Stella Inbox, you are recommended to:
- Register a Stella account at https://build.stellabot.com/register.
- Create a Slack workspace at https://slack.com/create#email.
Login Stella Inbox
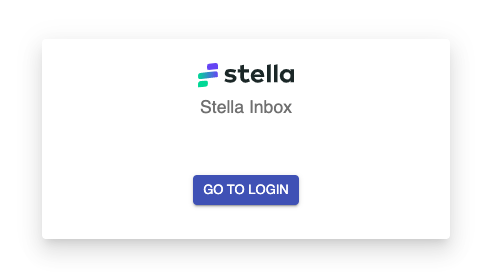
- Enter the Stella Inbox portal and click the "Go to Login".
Stella Inbox Login
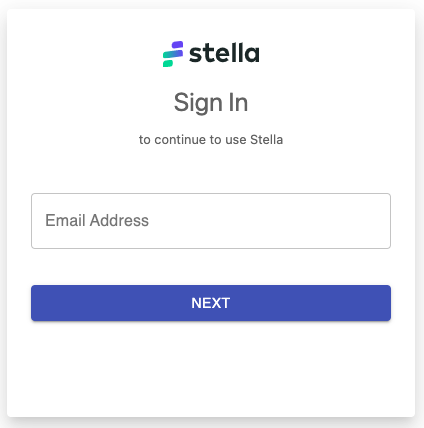
- Log in the Stella Inbox portal with with your Stella account's credentials.
Login
Connect to Slack
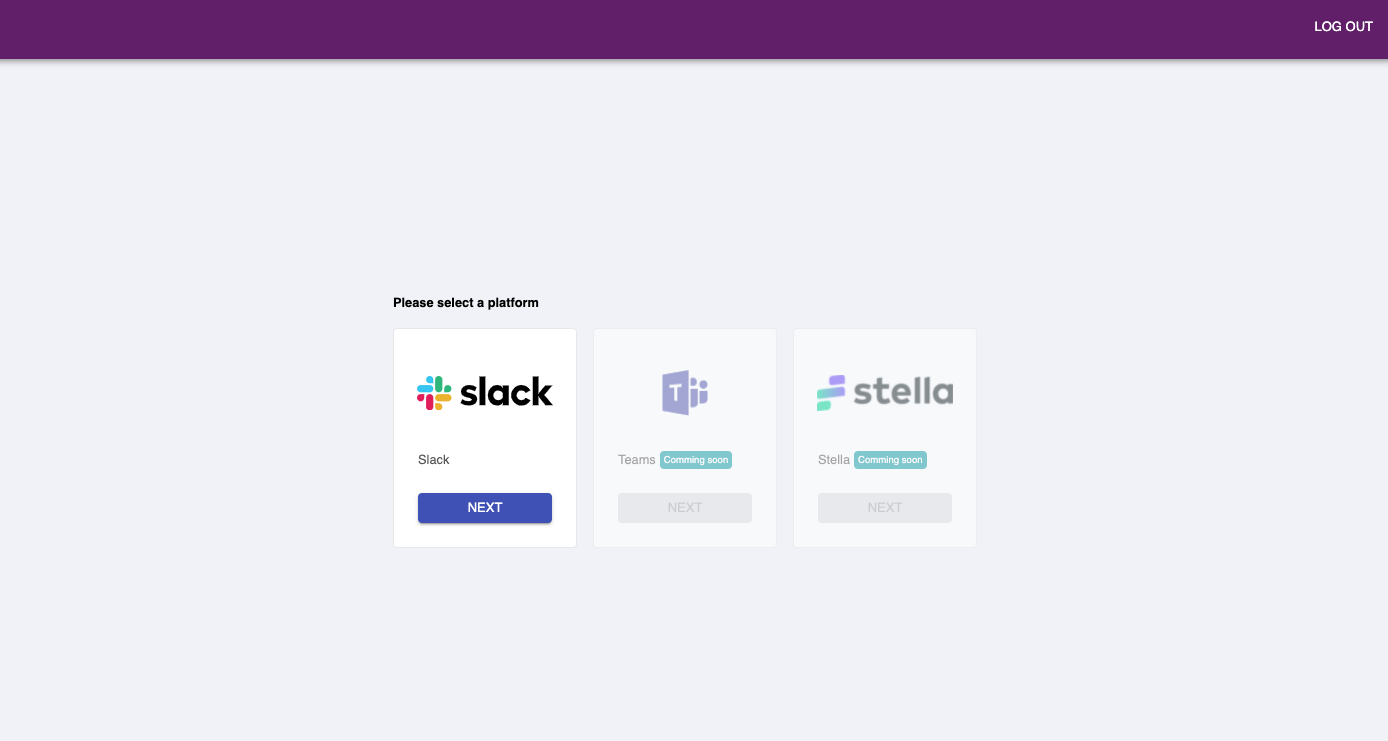
- Choose a Stella App that belongs to your Stella account.

Choose App
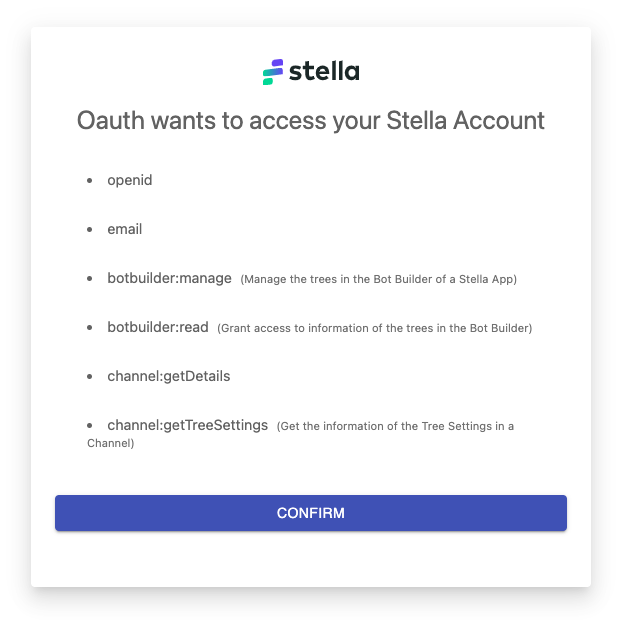
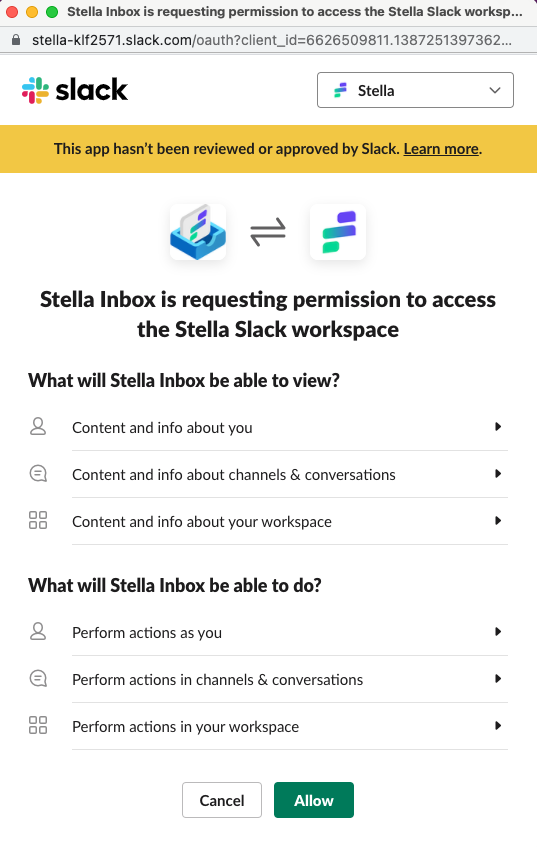
- Confirm the OAuth scopes.
OAuth Scope
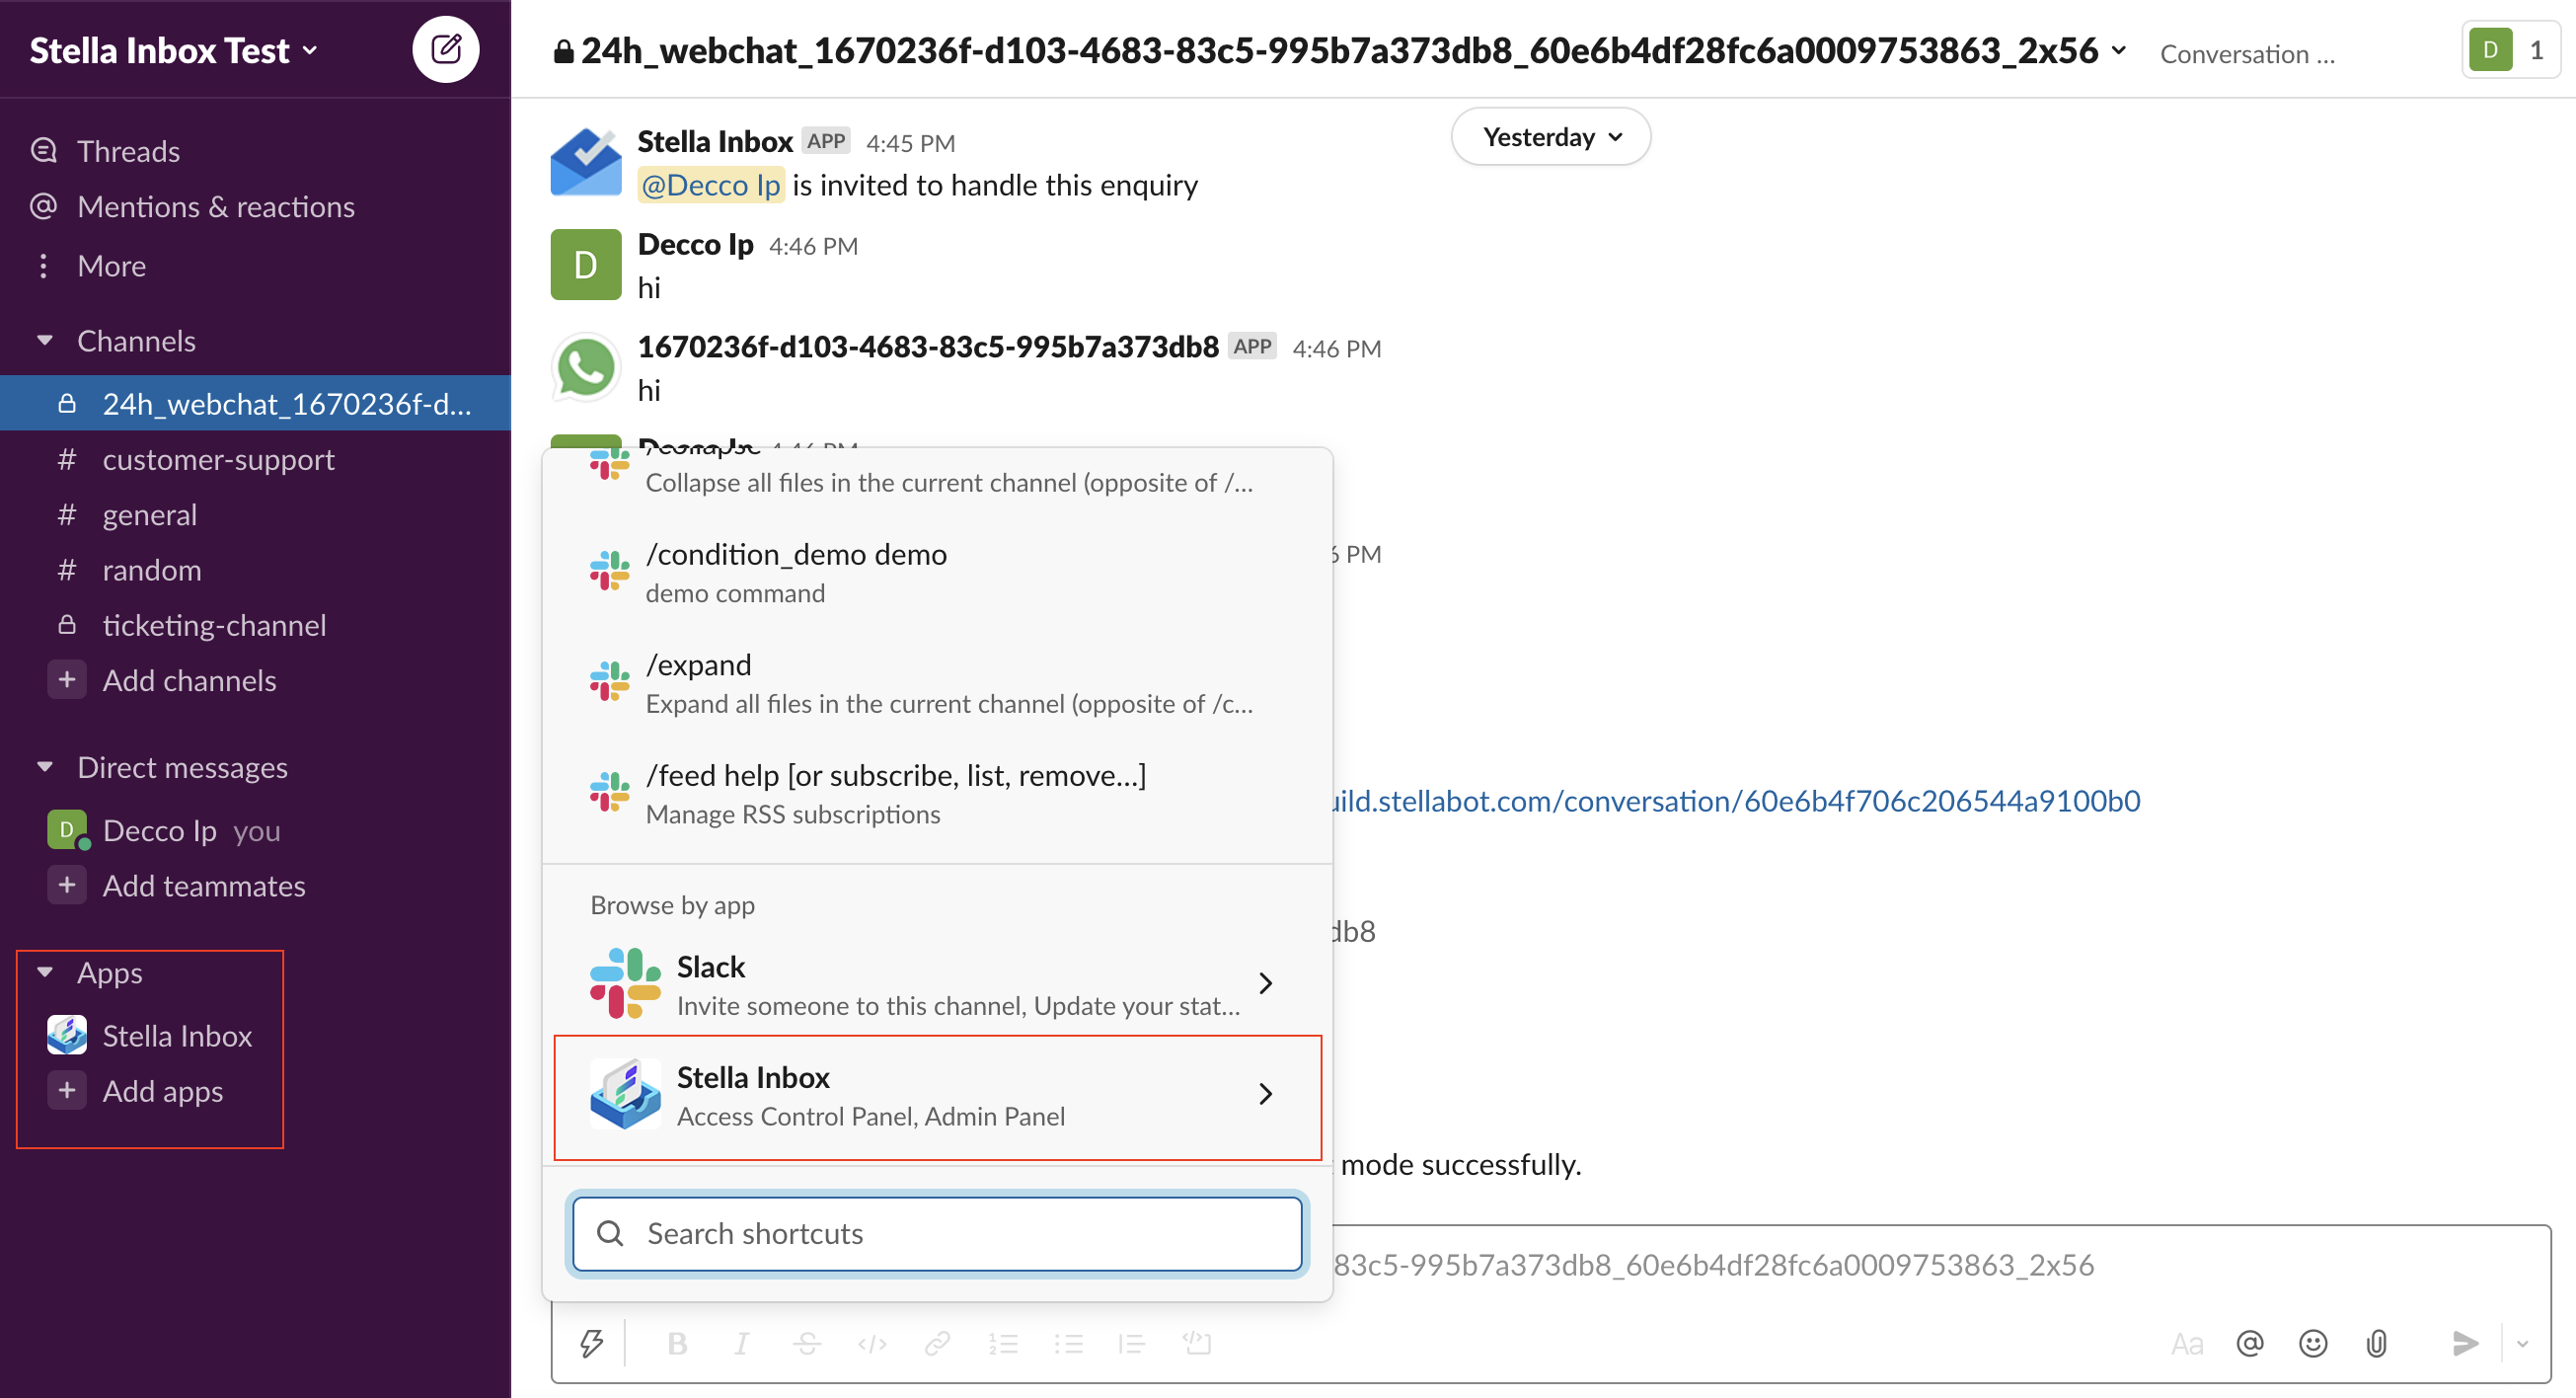
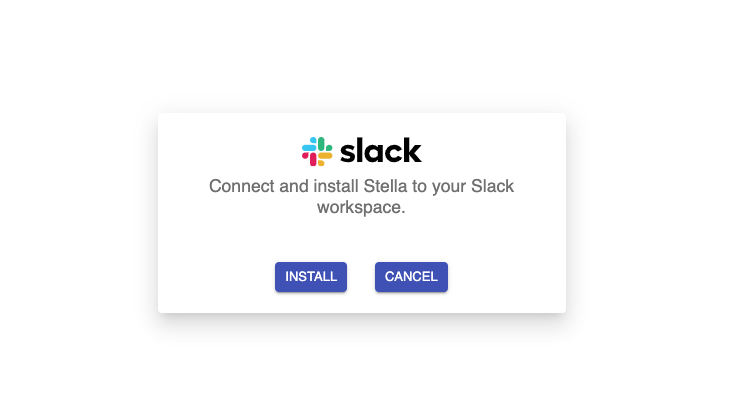
- Choose Slack Integration.
Slack Integration
- Click "Install" to install Stella Inbox to your Slack Workspace.
Install Stella Inbox
- In the pop-up window, allow the permissions for Stella Inbox. When the process is successful, close the pop-up.
The agent ends the live chat and the chatbot is on.
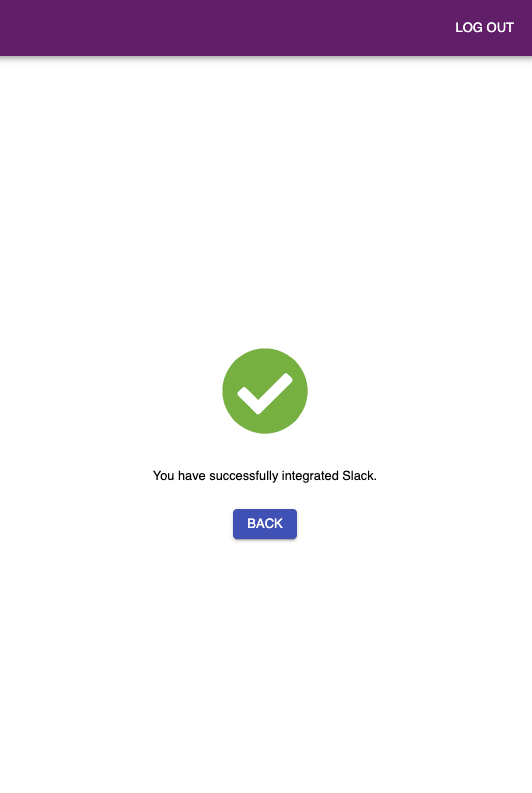
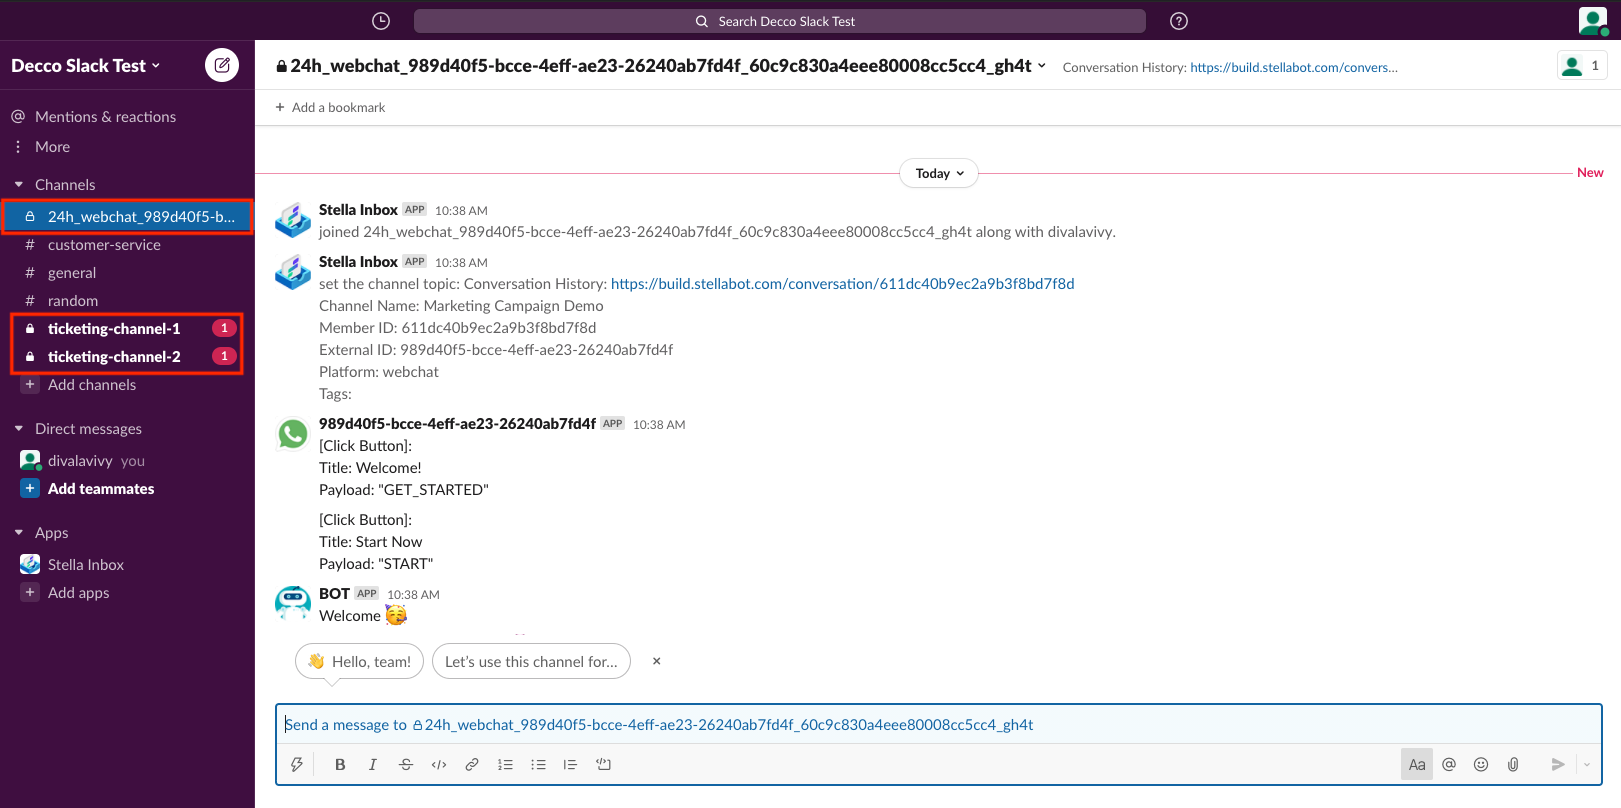
- Upon successful installation, Stella Inbox has been installed to your workspace. Two ticketing channels will be created for you, you can refer to the Ticketing Guide for details. Besides, new conversations (if any) will create new inbox channels.
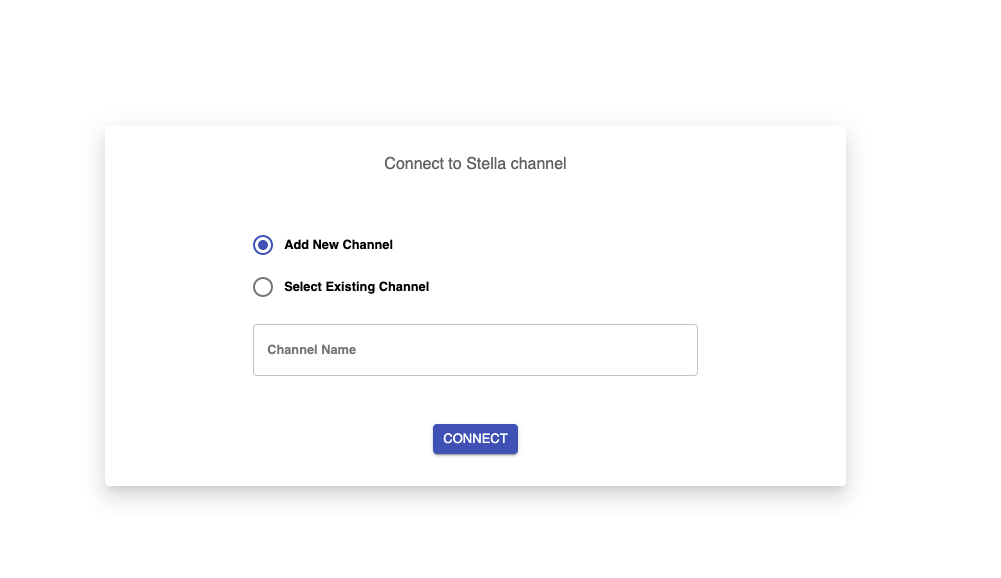
Connect to Stella Channel
- Create a new channel with a new channel name; or select an existing channel.
Stella Channel
- If you have created a new channel in the previous step, you can select "Test Your Bot".
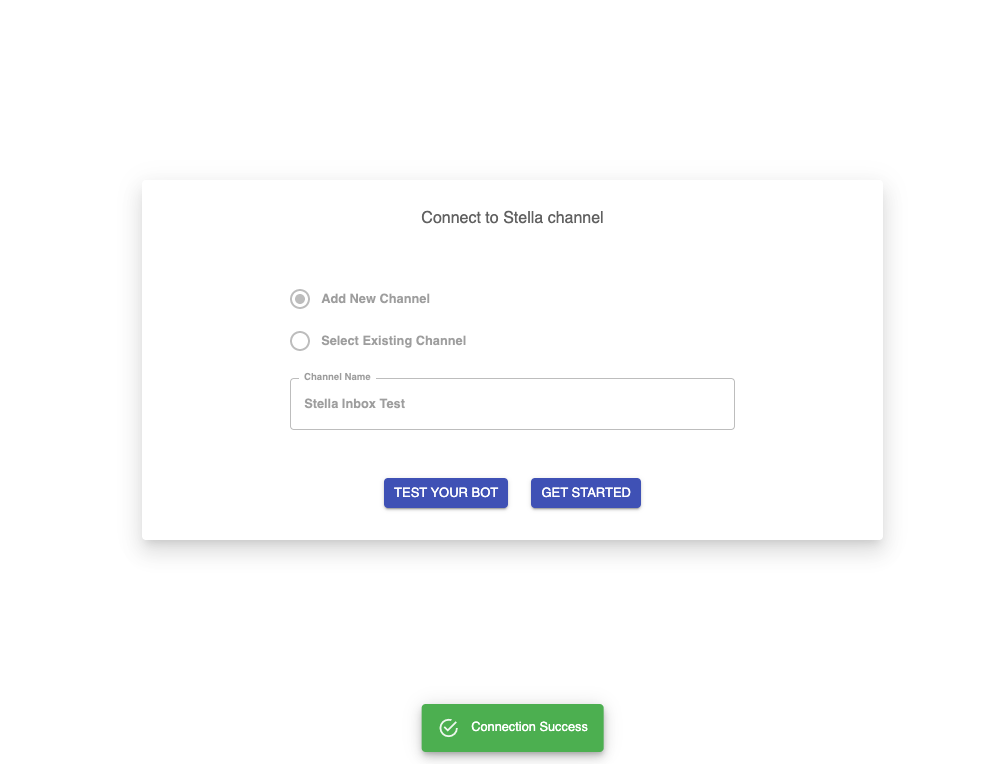
Test your Bot
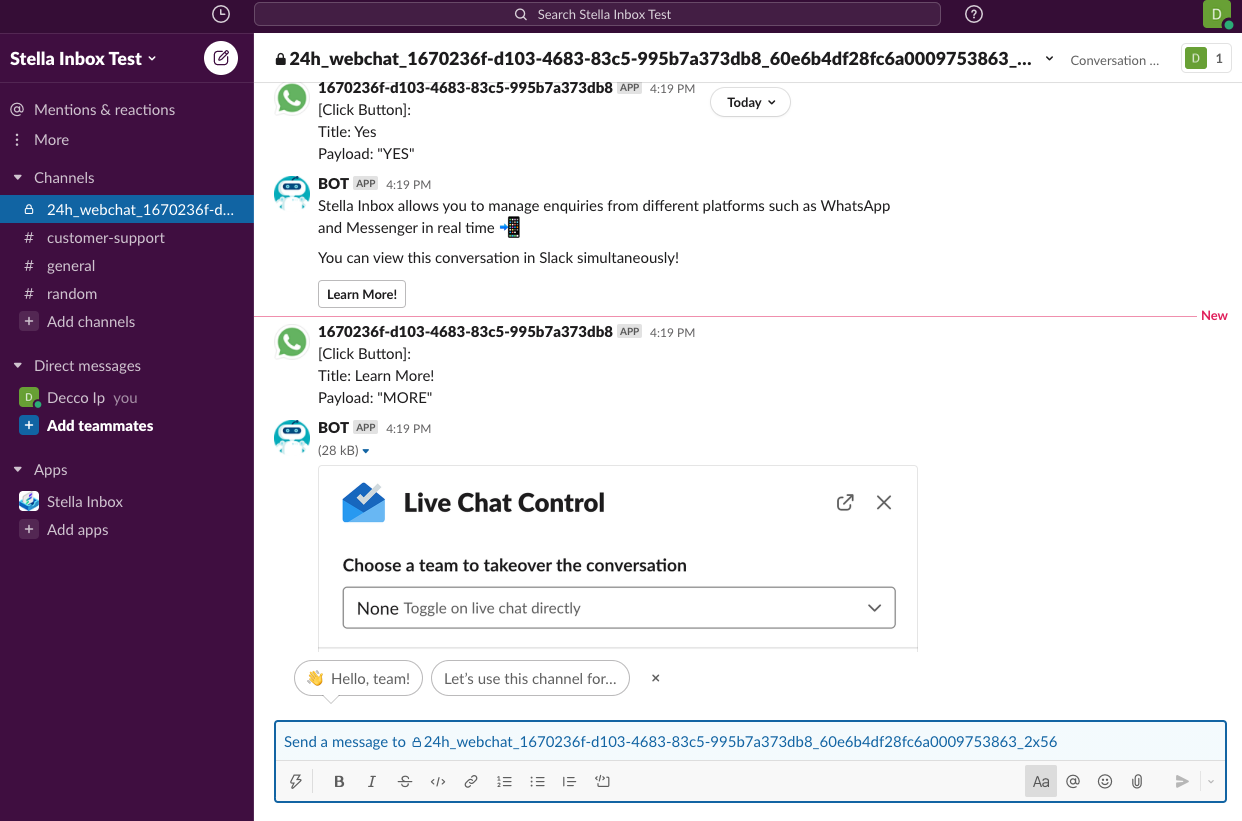
- You will be directed to a demo chatbot on Web Chat.

Webchat Chatbot
- While interacting with the demo chatbot, you will be able to view the conversation on your Slack workspace simultaneously. A new "inbox channel" will be automatically created on Slack, and display the conversation between you and the chatbot.
Conversations
Stella Inbox Dashboard
- If you have connected to an existing channel; or you have completed the demo chatbot flow, you can proceed by clicking "Get Started".
Channel Integrations
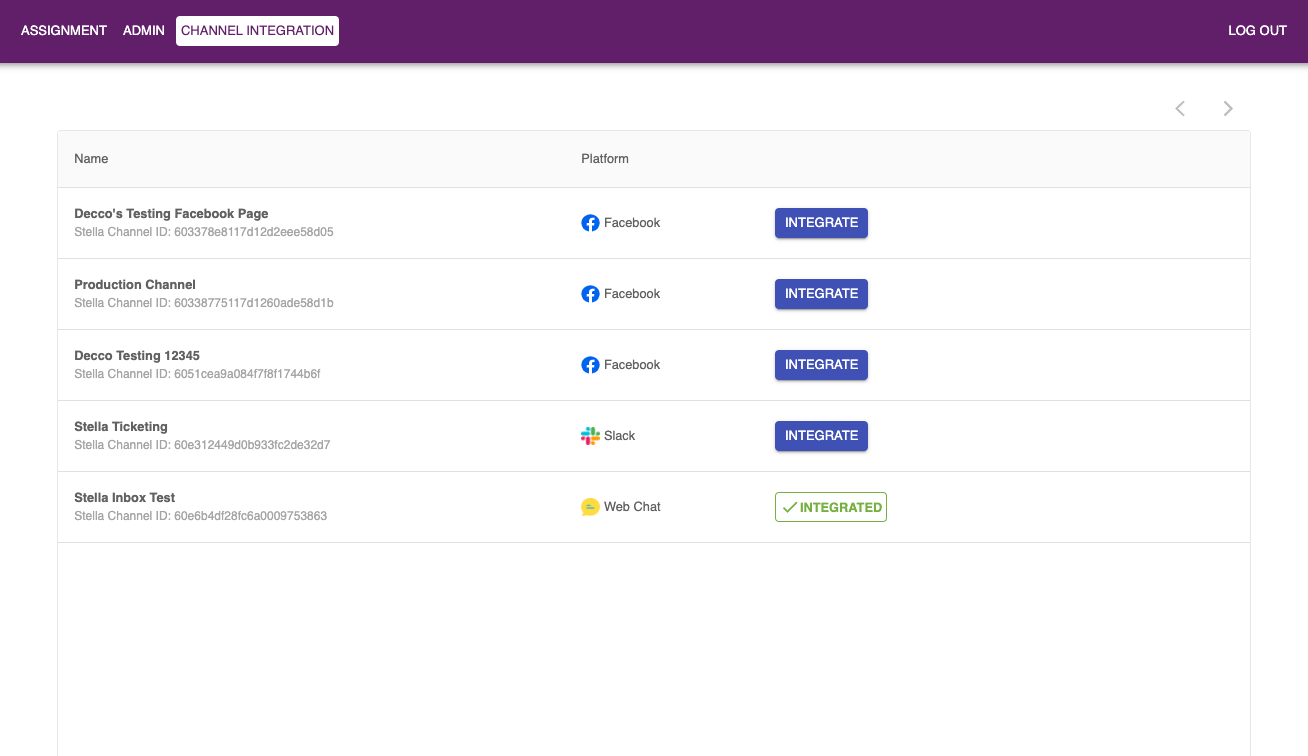
- You will be directed to the "Dashboard". Under CHANNEL INTEGRATION, you are able to view all the channels in your Stella App, and if they are integrated with Stella Inbox. You are able to manually integrate a channel by selecting the "Integrate" button.
In the below screenshot, the integrated Web Chat Channel is the channel you have created in step 9.
Channel Integrations
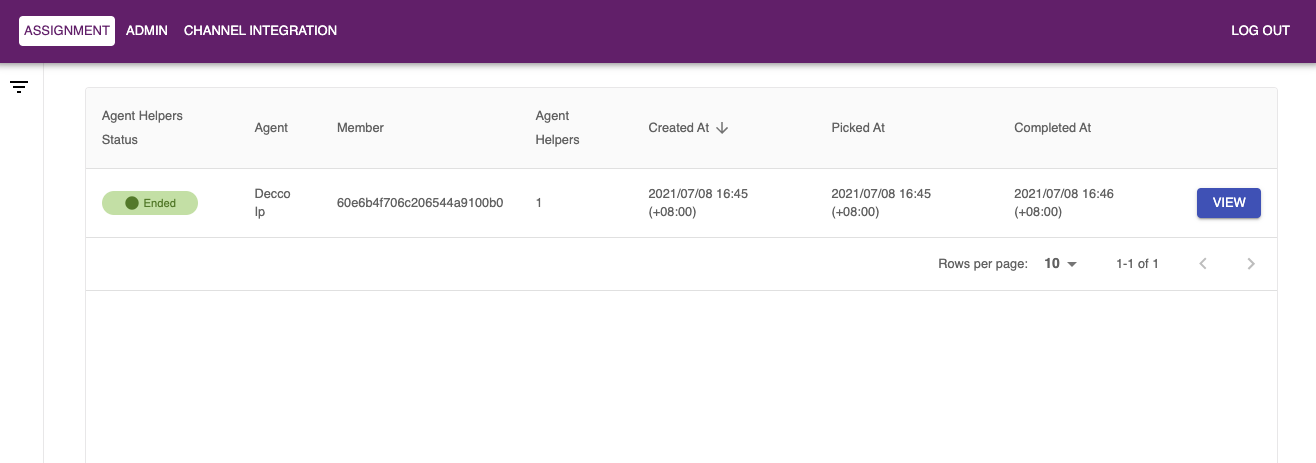
- Under ASSIGNMENT, you are able to view all the live chat tickets.
Assignment refers to live chat ticket, the assignment data will only be available after setting up the ticketing system
Assignment
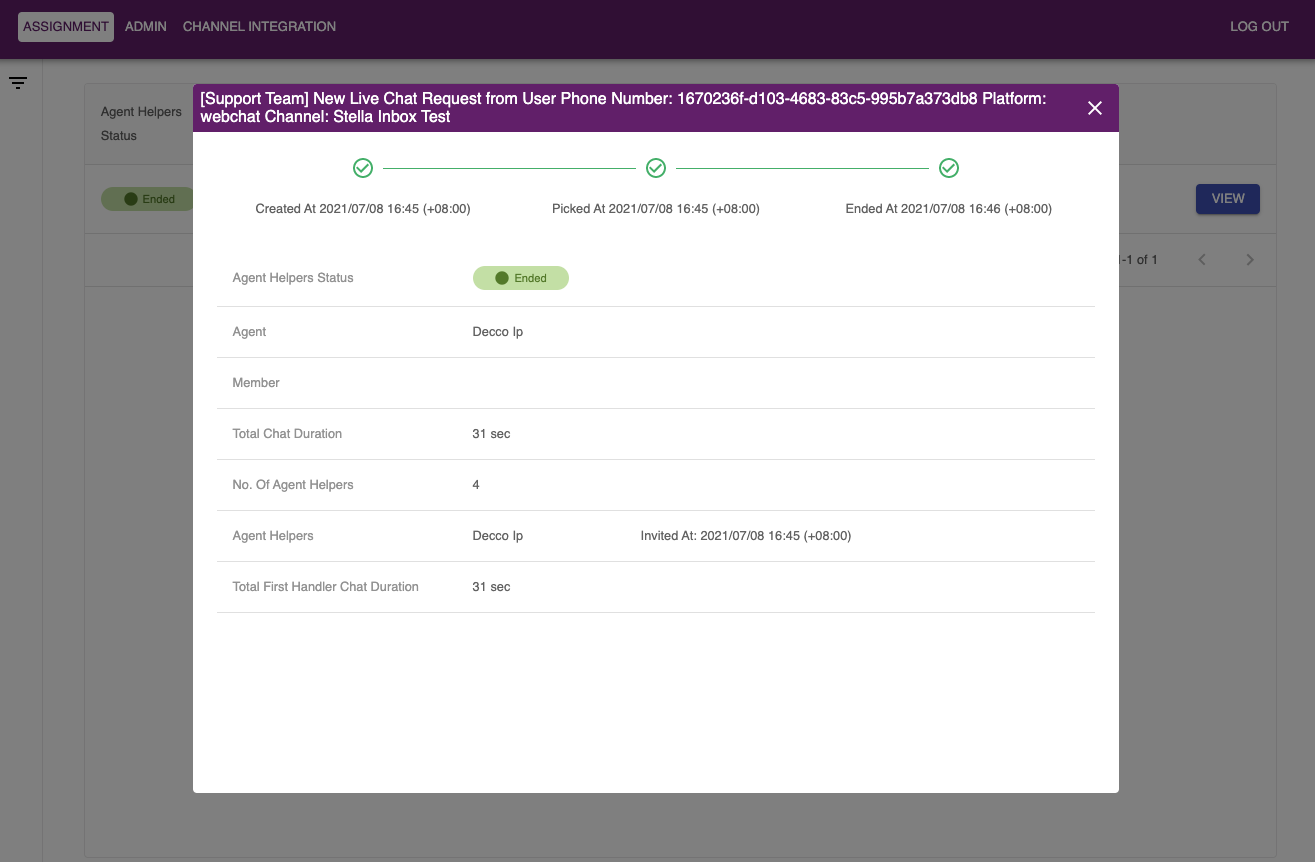
- By clicking on "VIEW", the details of a ticket will be displayed.
Assignment
- Under ADMIN, you are able to view the data related to each agent who is working on Stella Inbox.
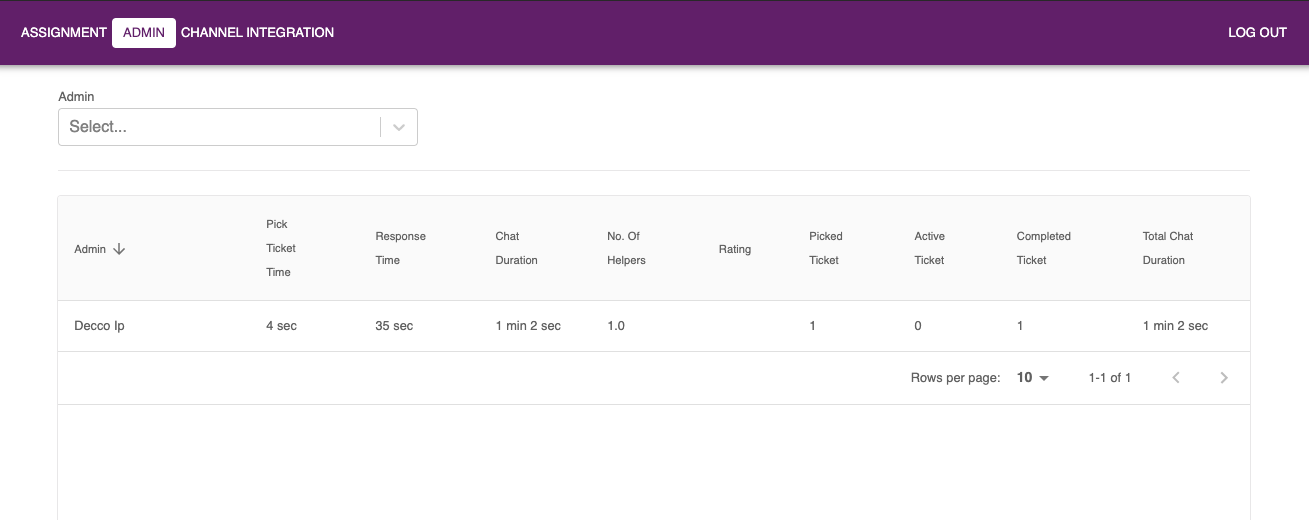
Agent
- Upon completion of the integration, you can continue setting up Stella Inbox on Slack in the next section.