Create Comment Reply on Instagram
When customer comment on your post, you can also create automated reply to them. It can either be a public reply to their comment or a reply as direct message.
Public Comment Reply
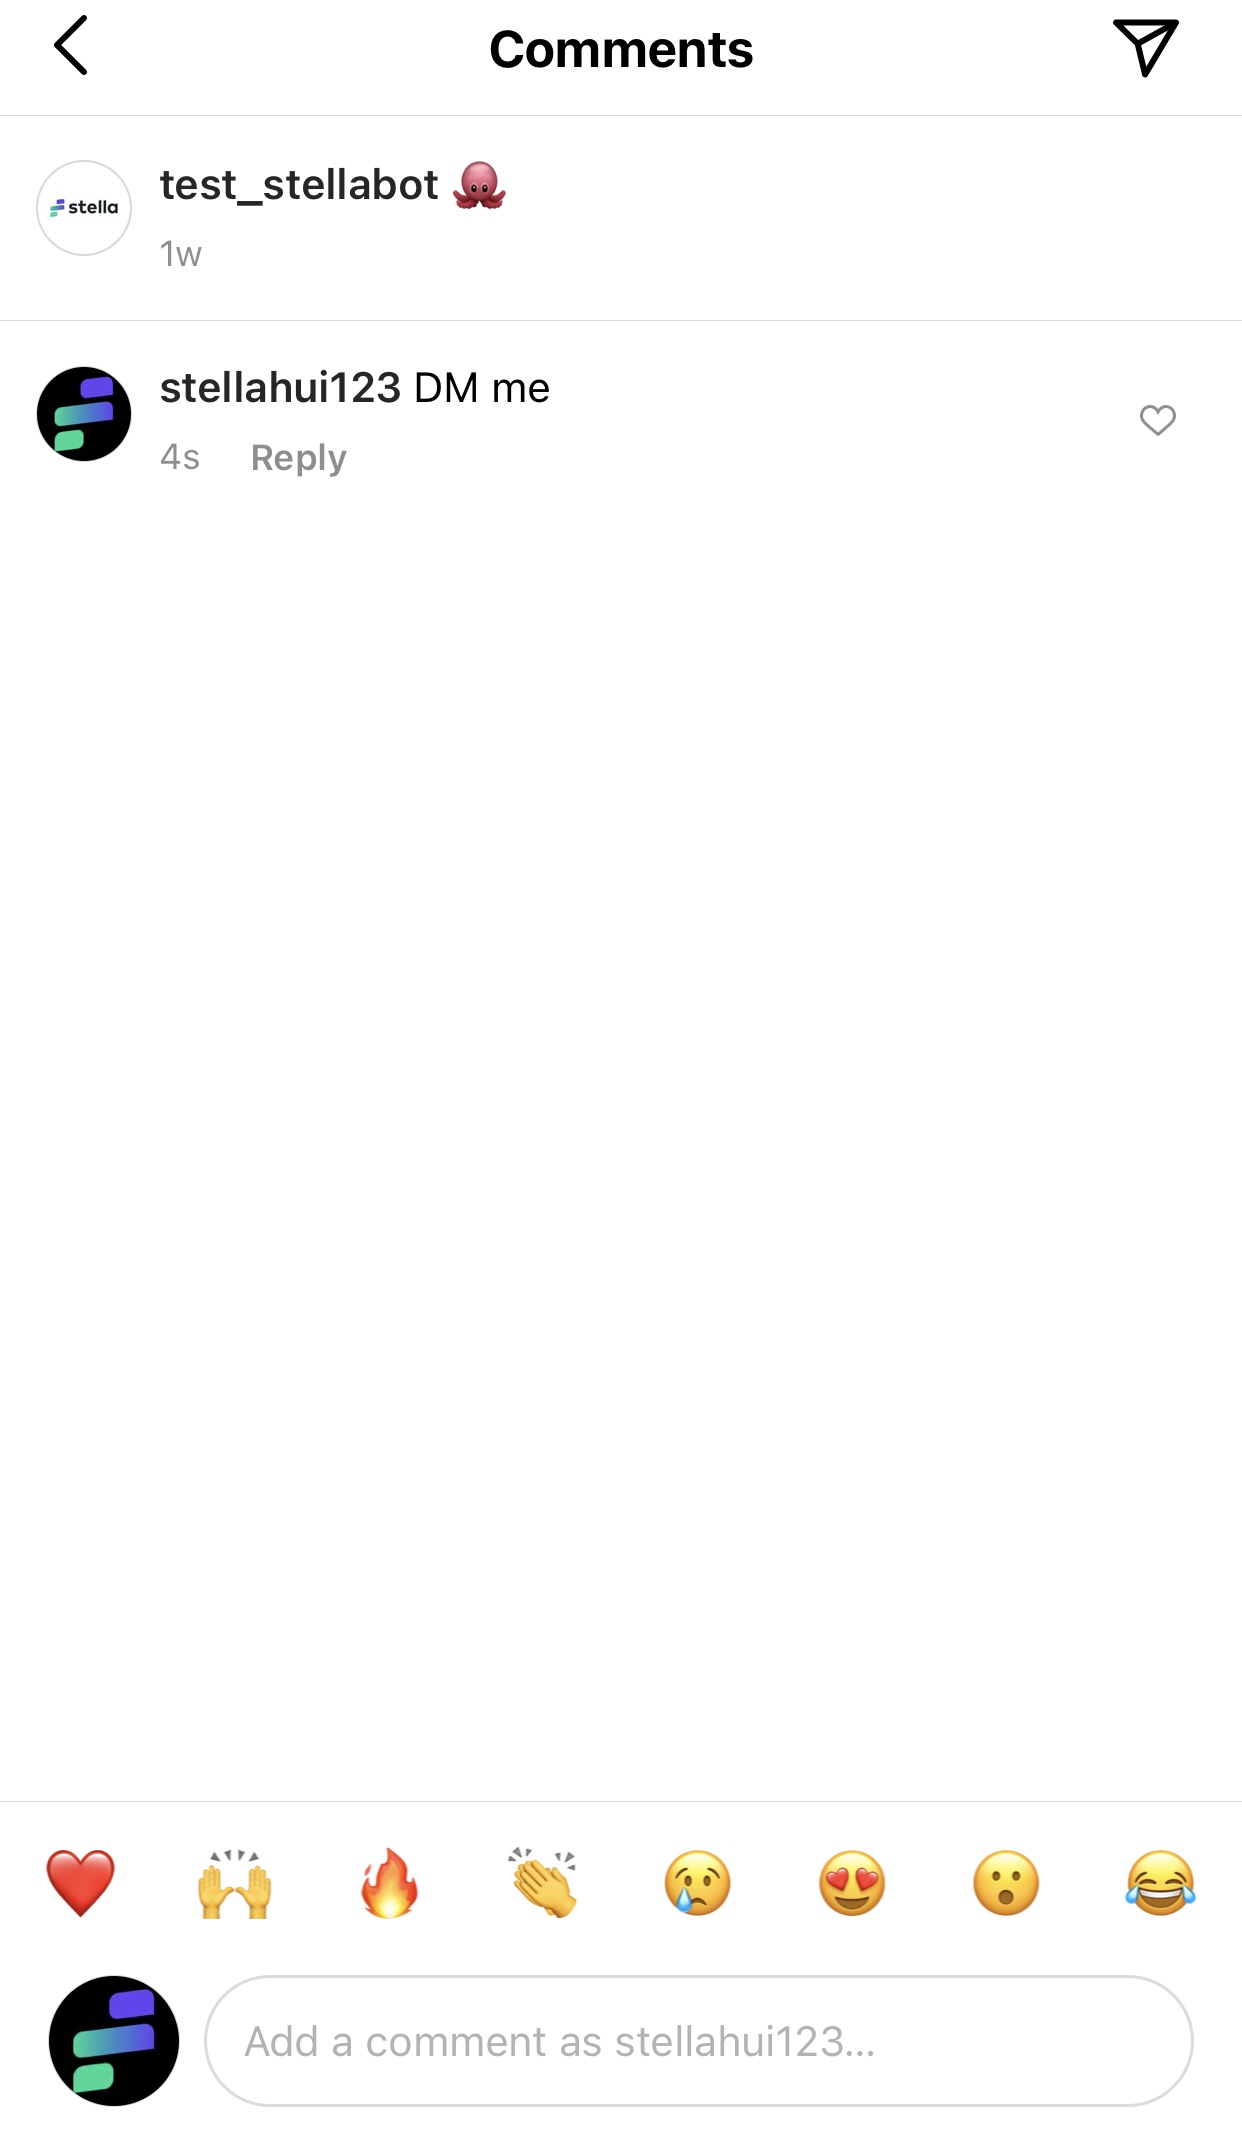
What is your Result?
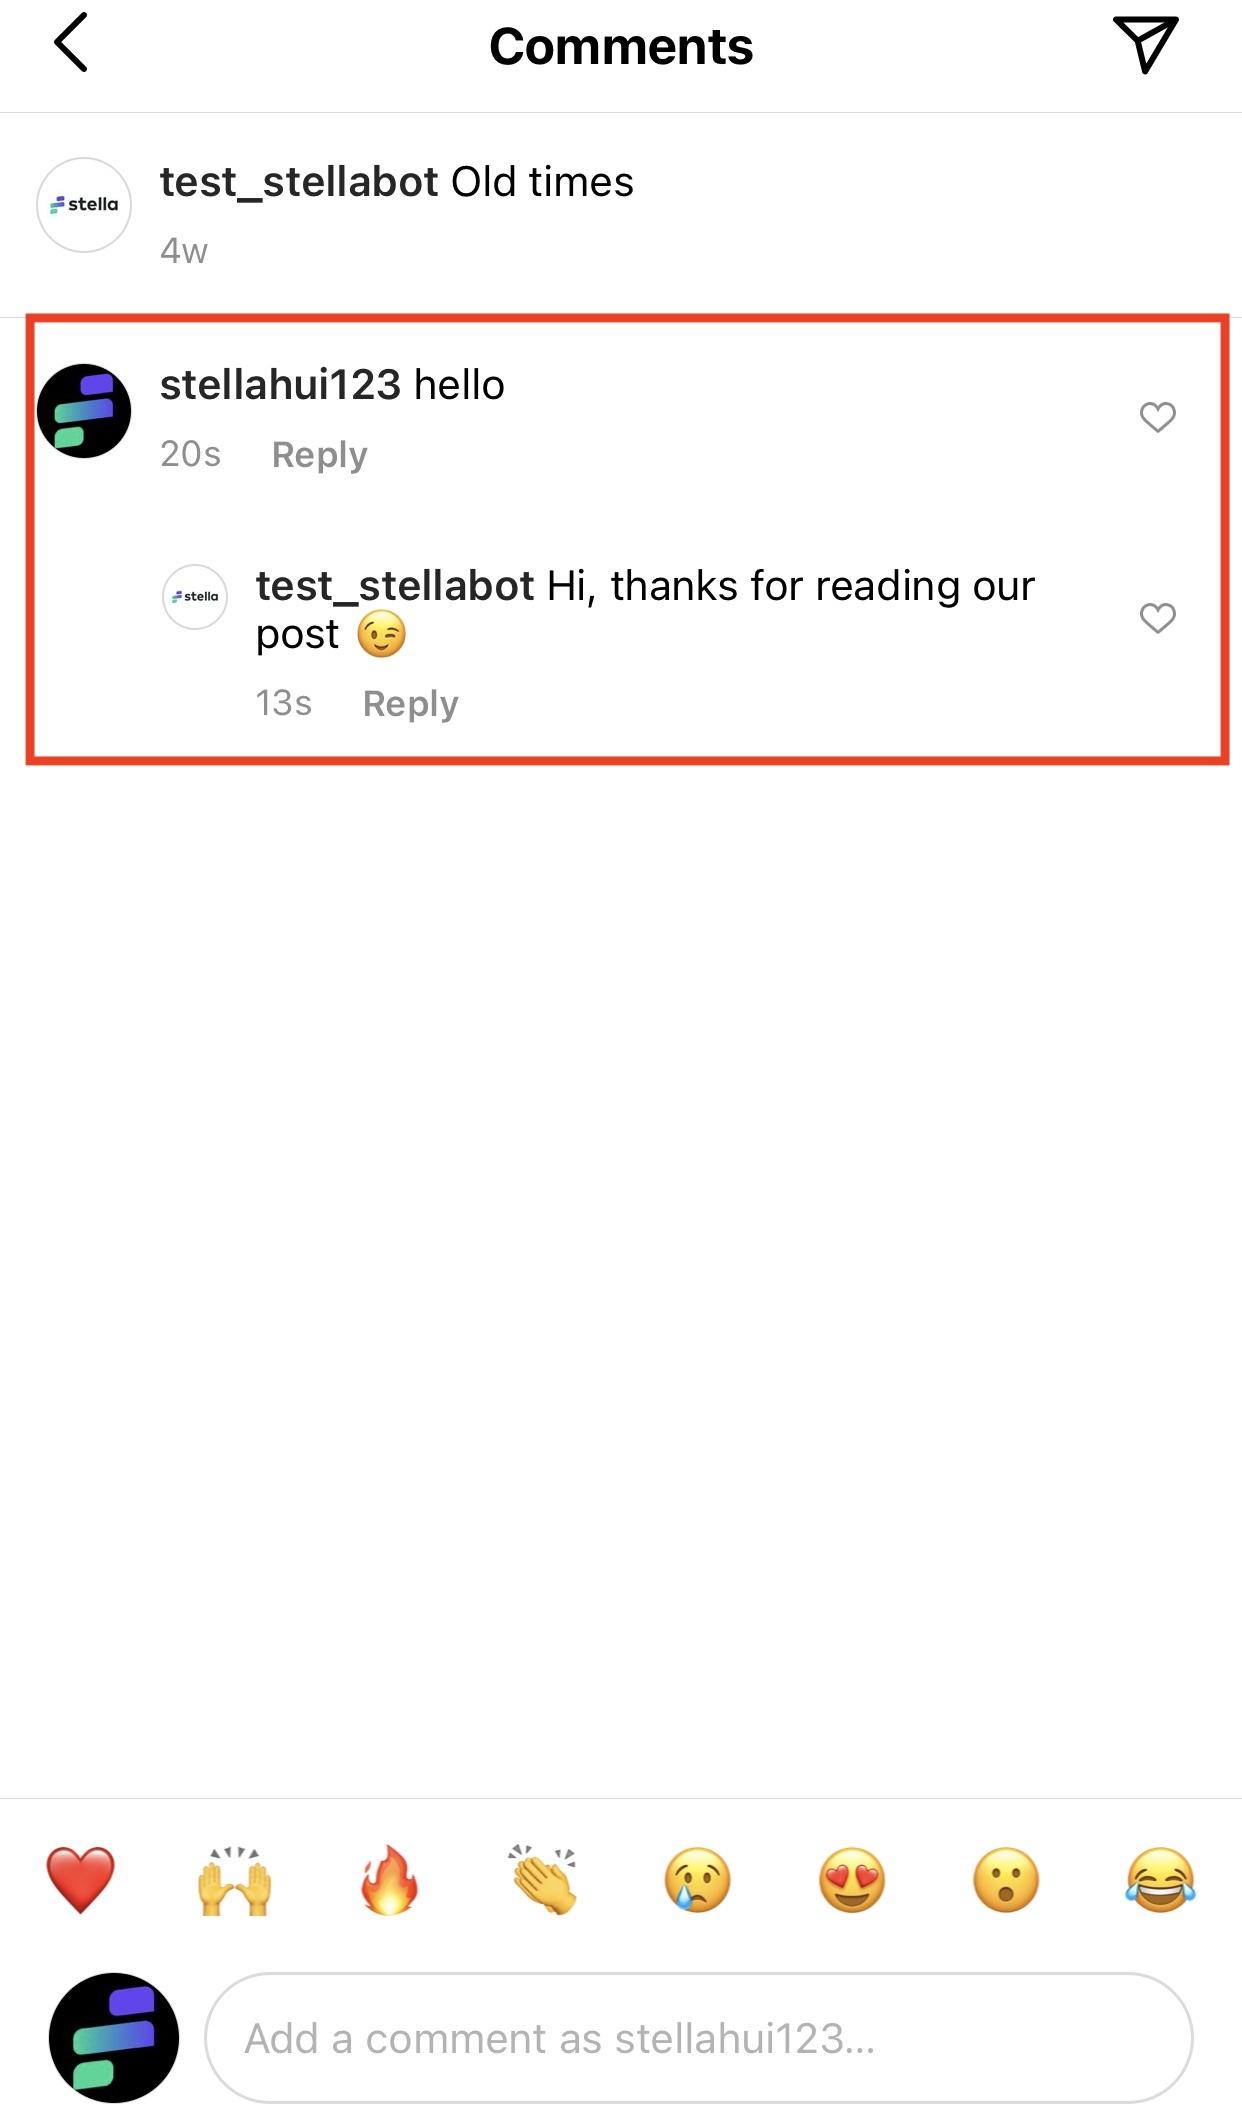
Public Comment Reply
Create a Tree and Node
- Create a new tree.
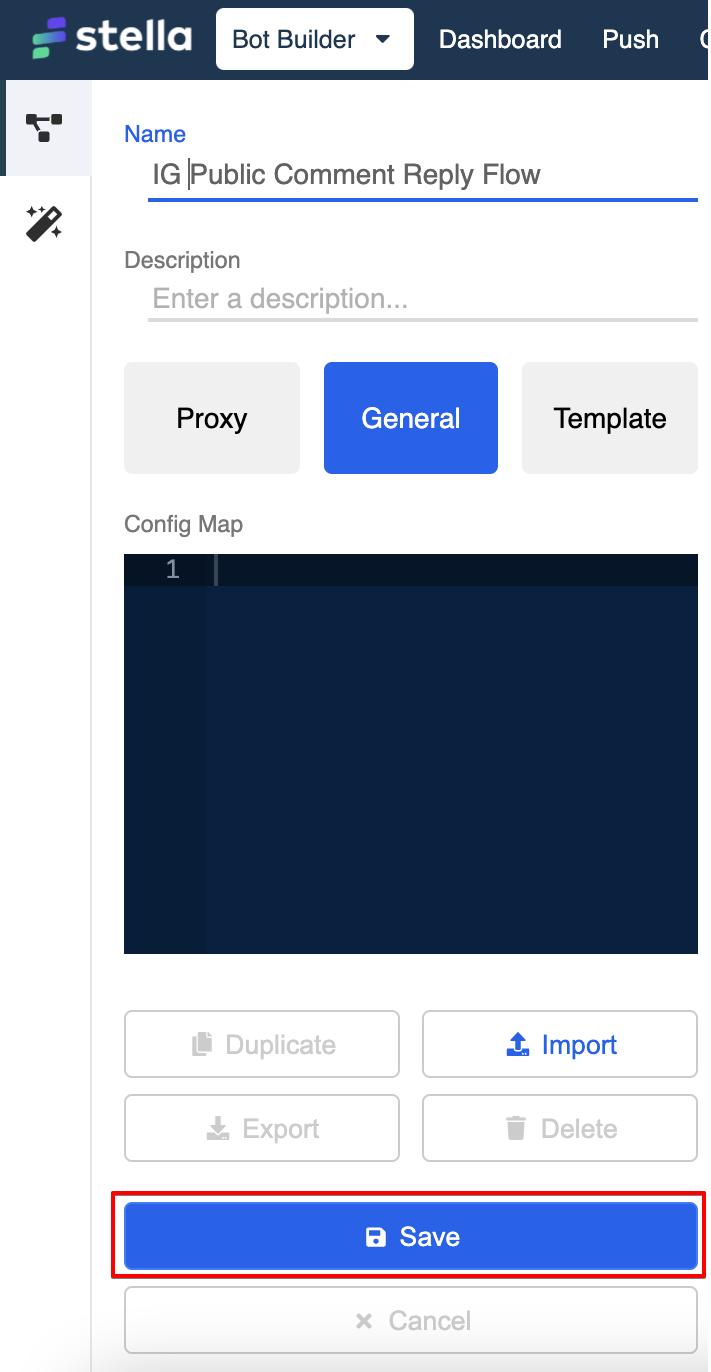
Create New Tree
- Create a new tree node. This node will handle the automated reply sent to the customers.
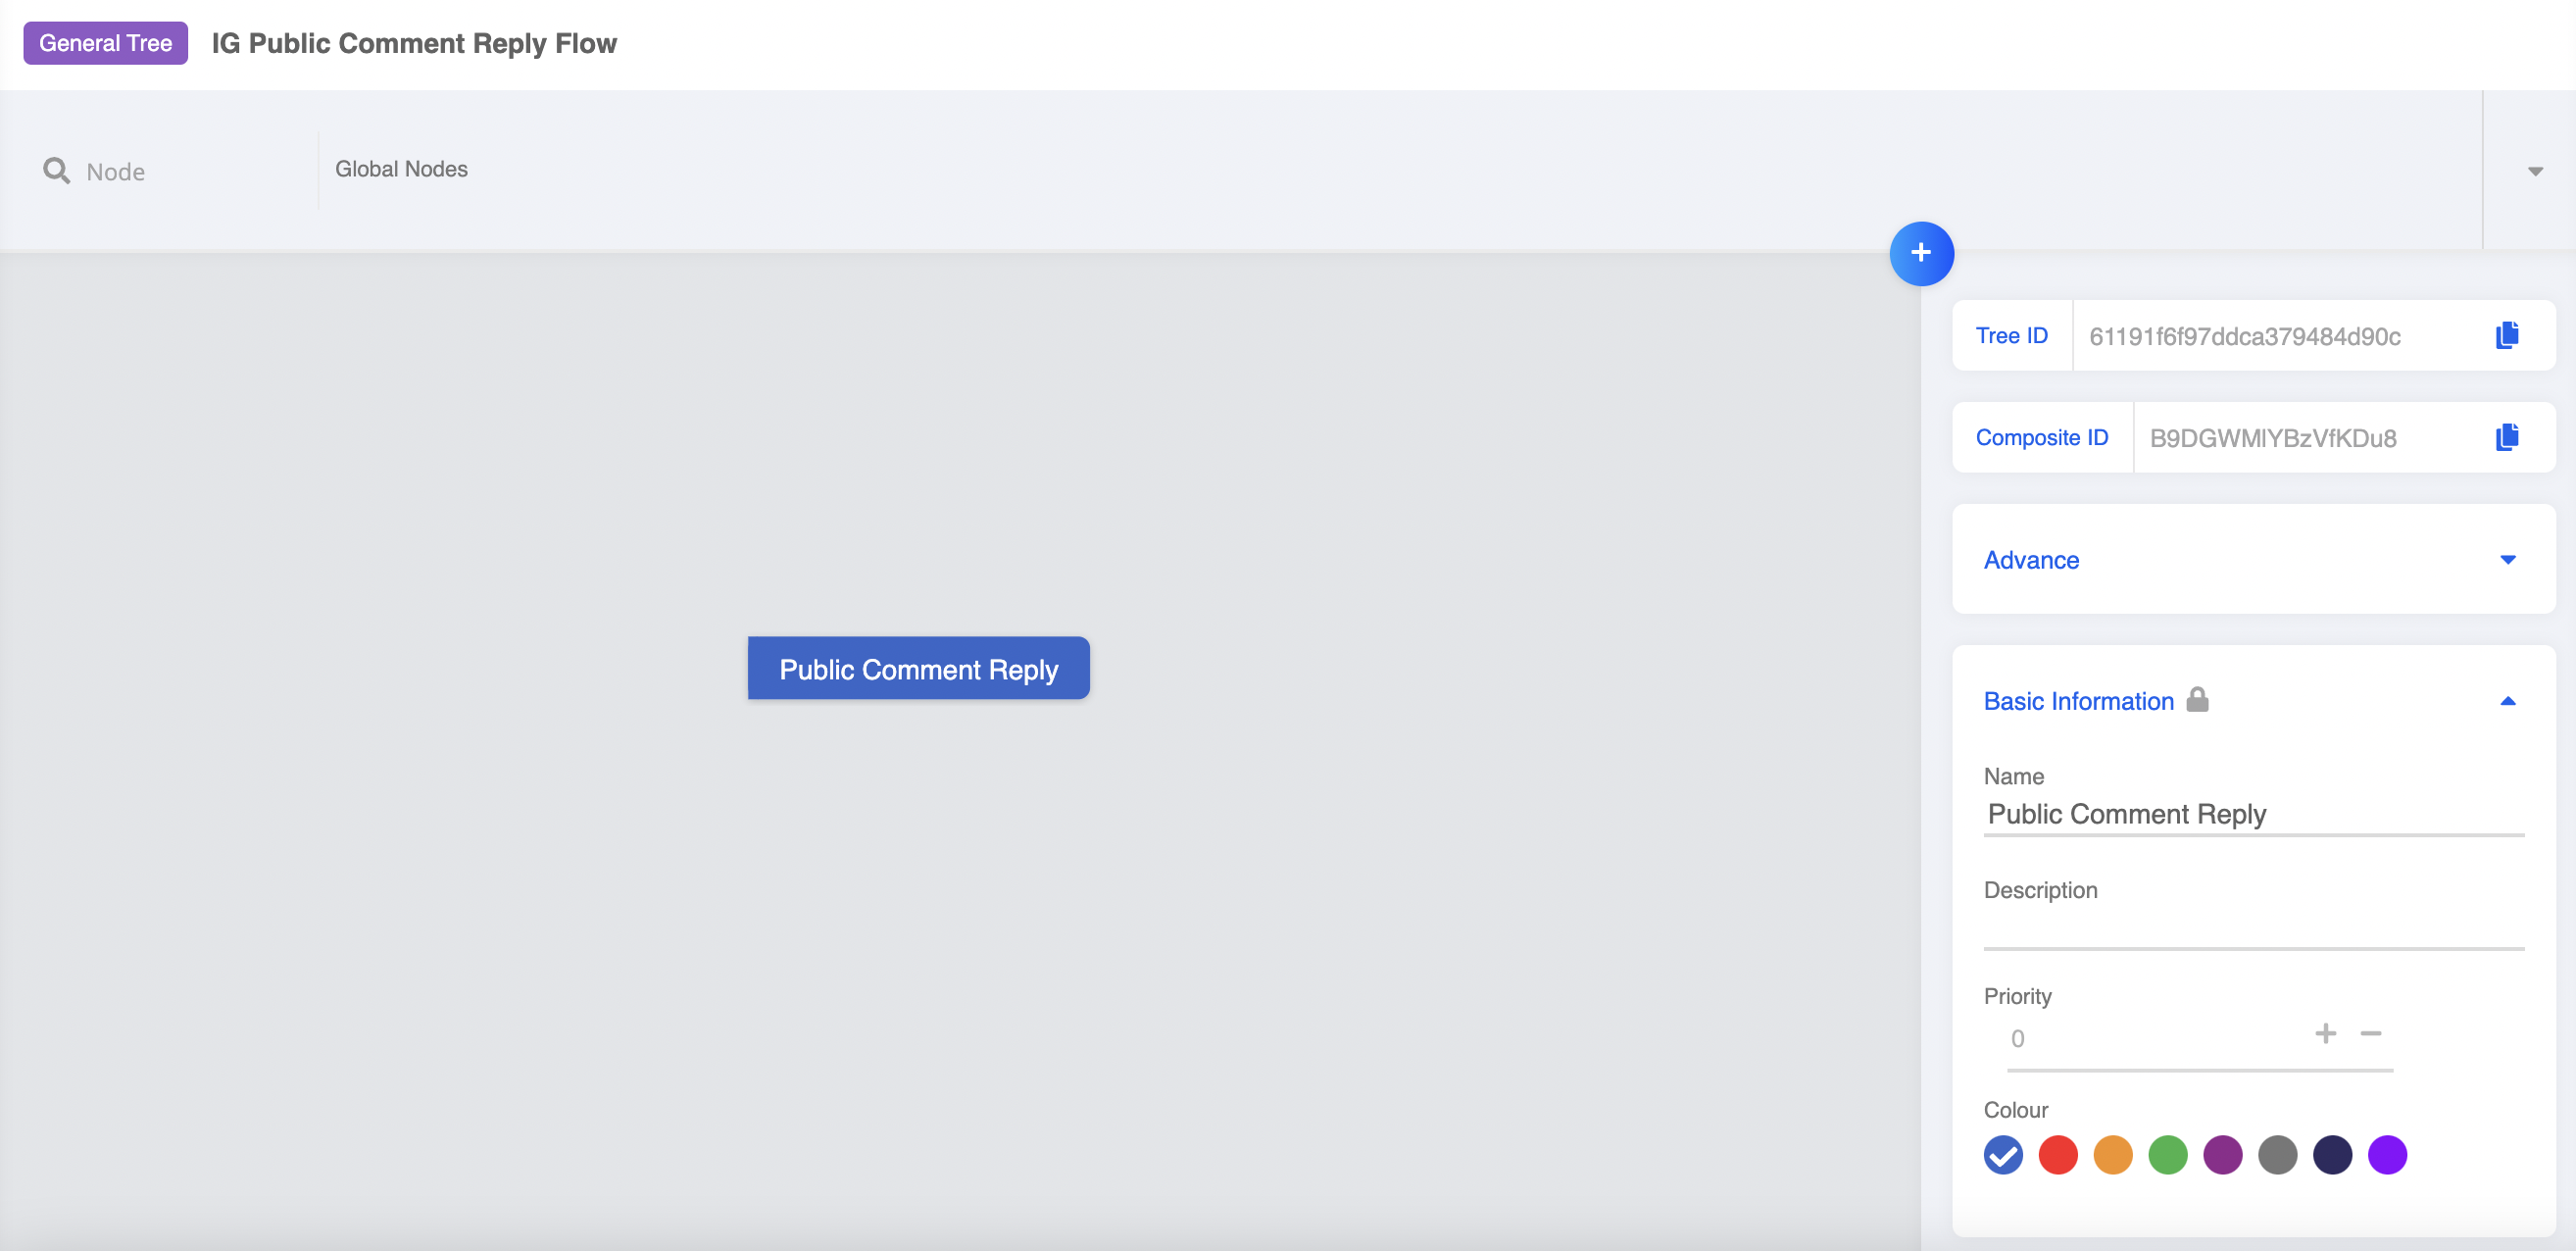
Create New Node
- Create a new response, and fill in the text content for the comment reply. Click "Save".
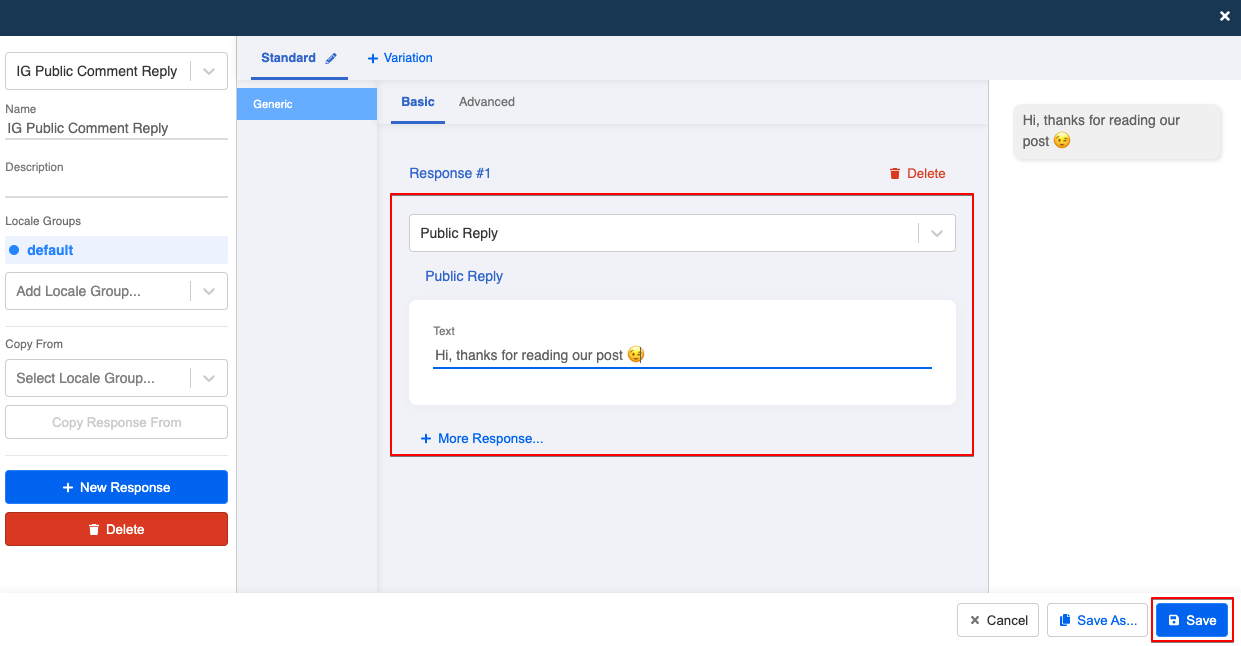
Create New Response
- Save the tree node.

Create New Response
Create Glboal Node
- Create a new global node. This will trigger the reply message when a customer comments on your post.
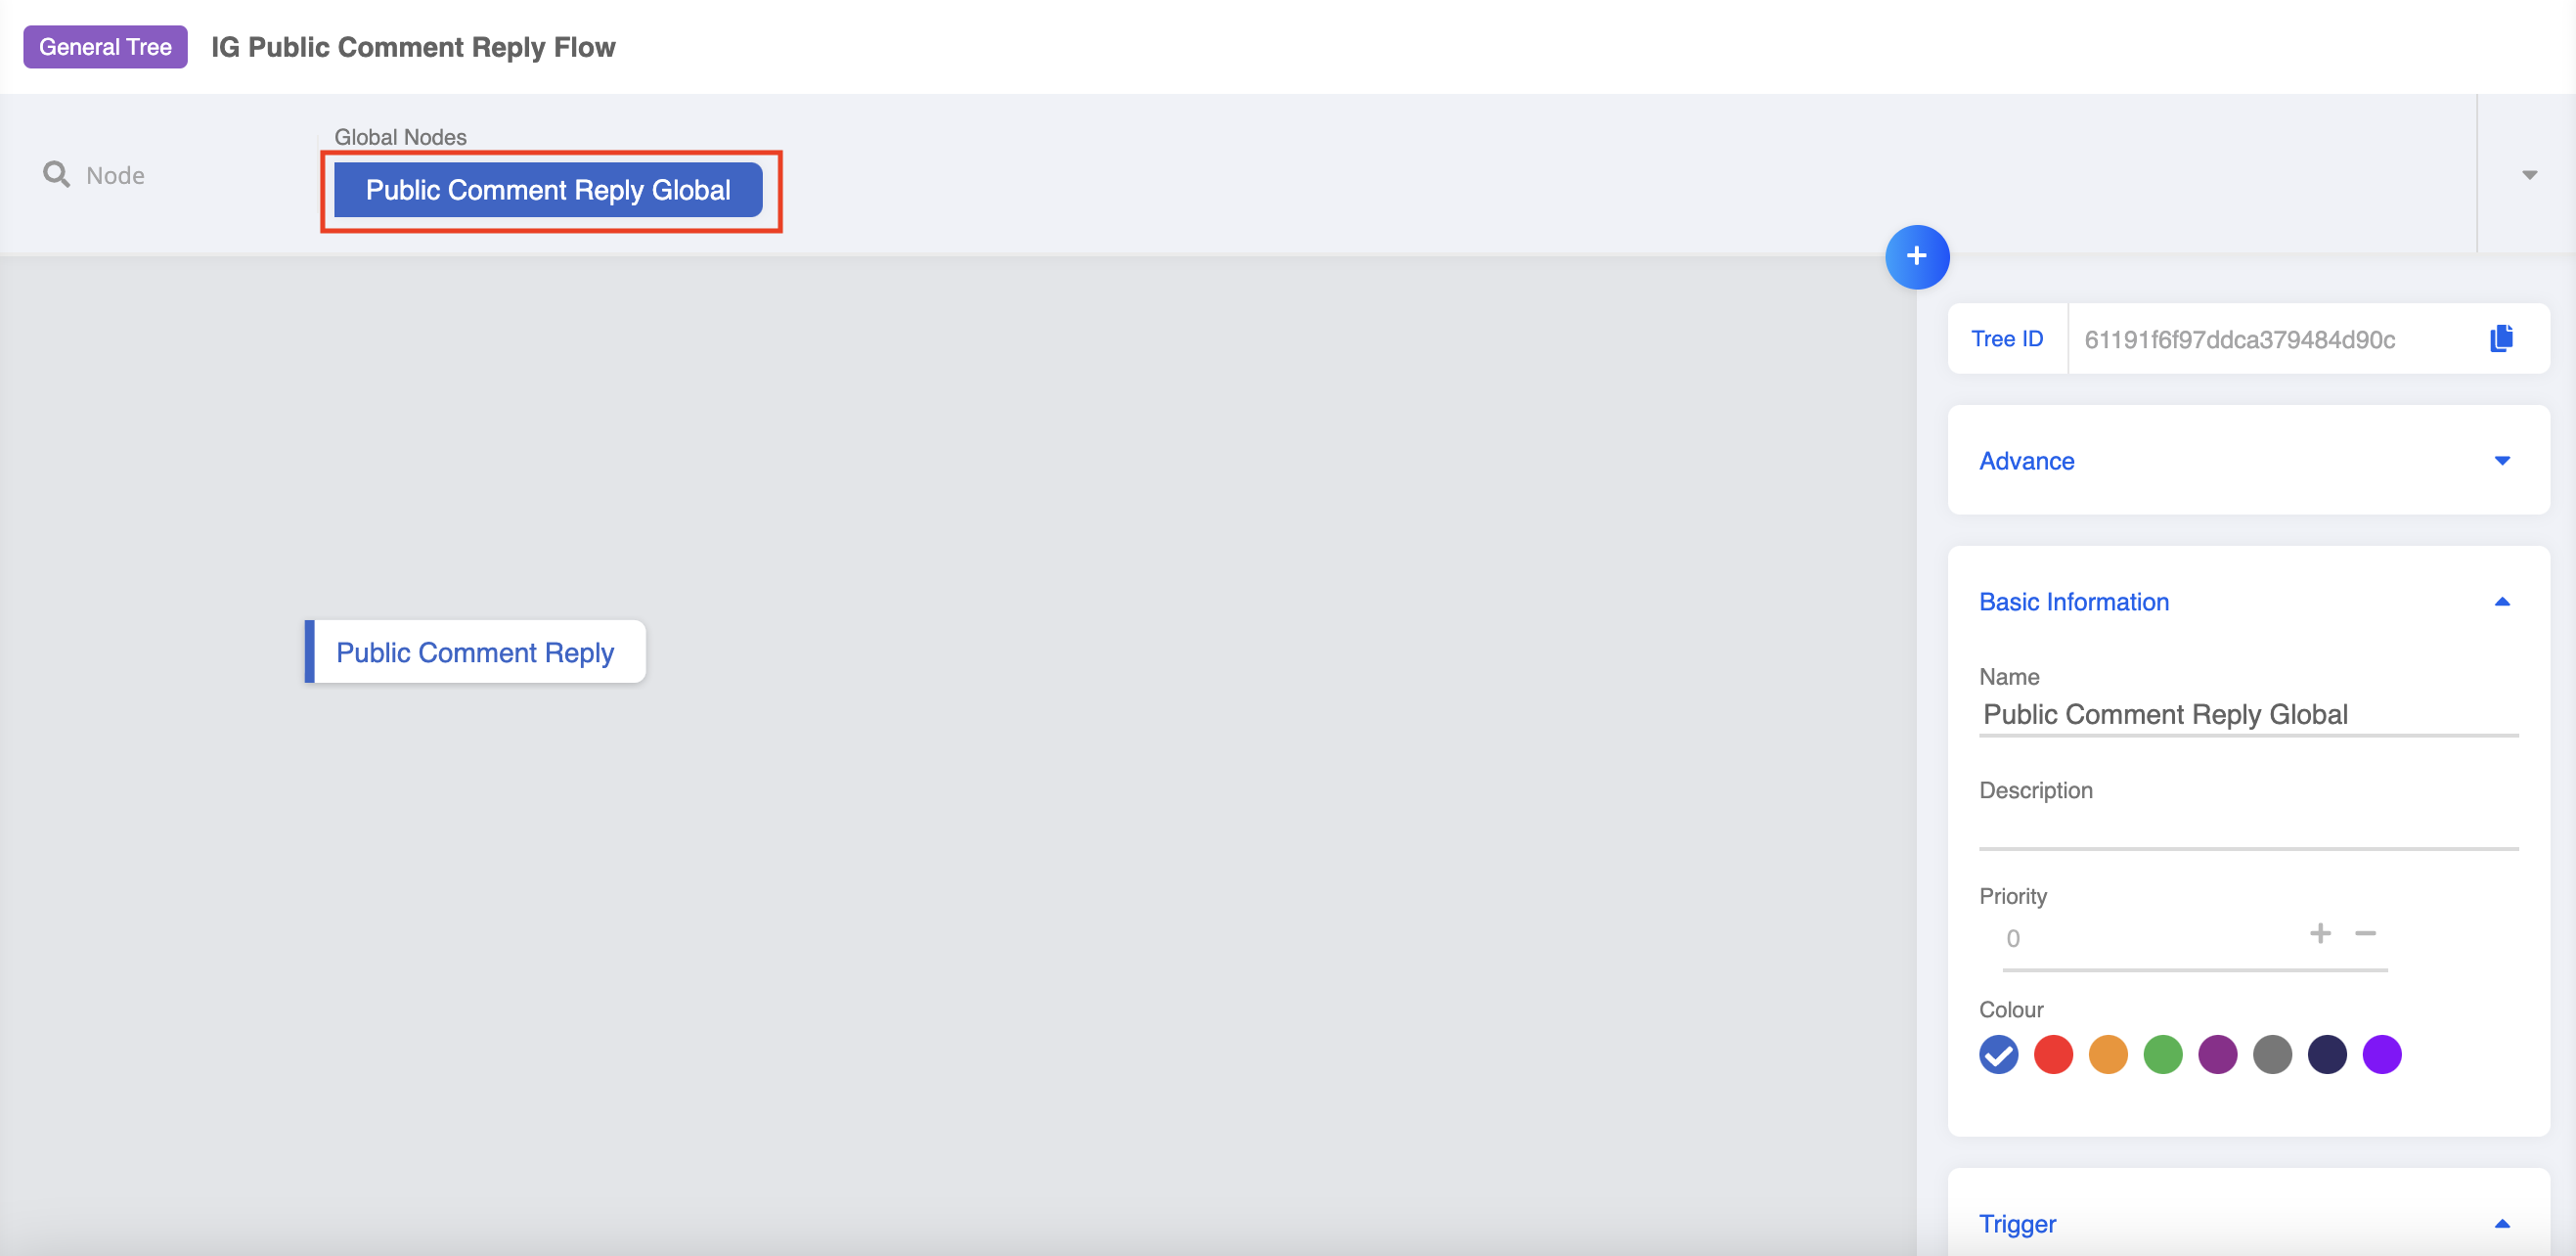
Create Global Node
- Create a new trigger in this global node. Then, create a new condition.
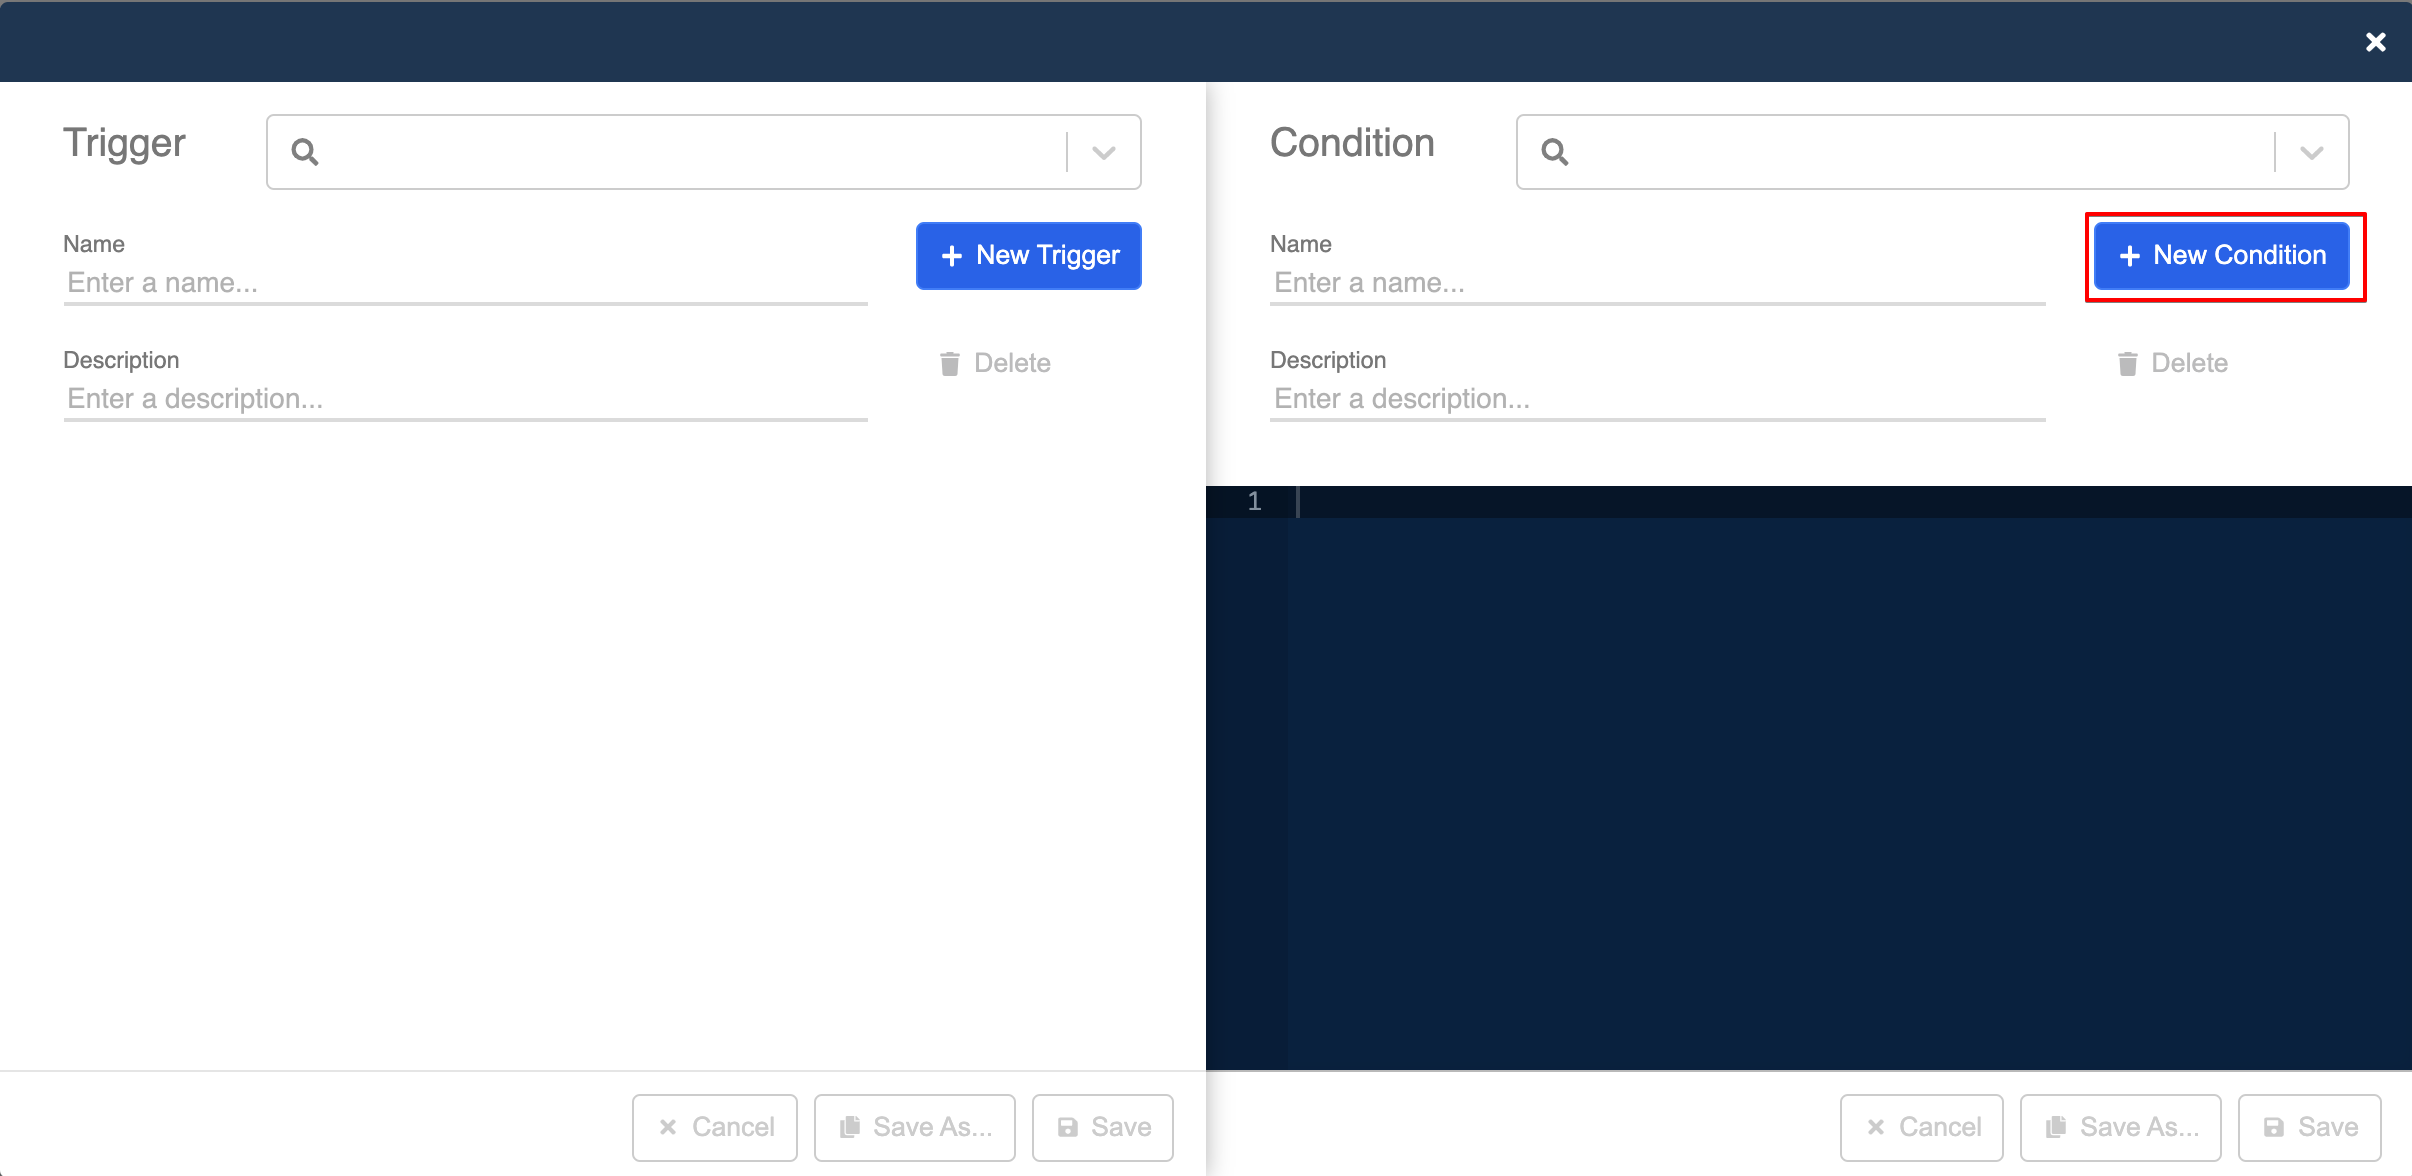
Create New Condition
- Enter the following code into the condition. The self-defined keyword (i.e. hello) in the comment can trigger the automated public reply.
this.messageEvent.data.text === "hello"
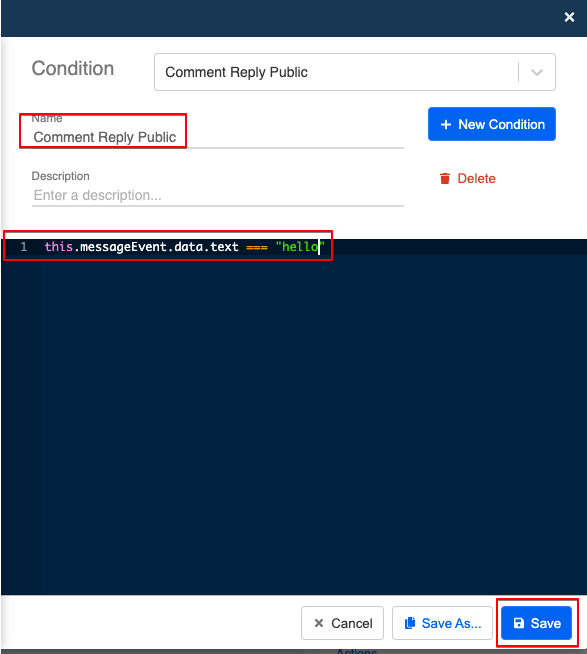
Create New Condition
- Then, create a new trigger on the right panel.

Create New Trigger
- Name the trigger. Select "Advanced" and the "+ Condition".
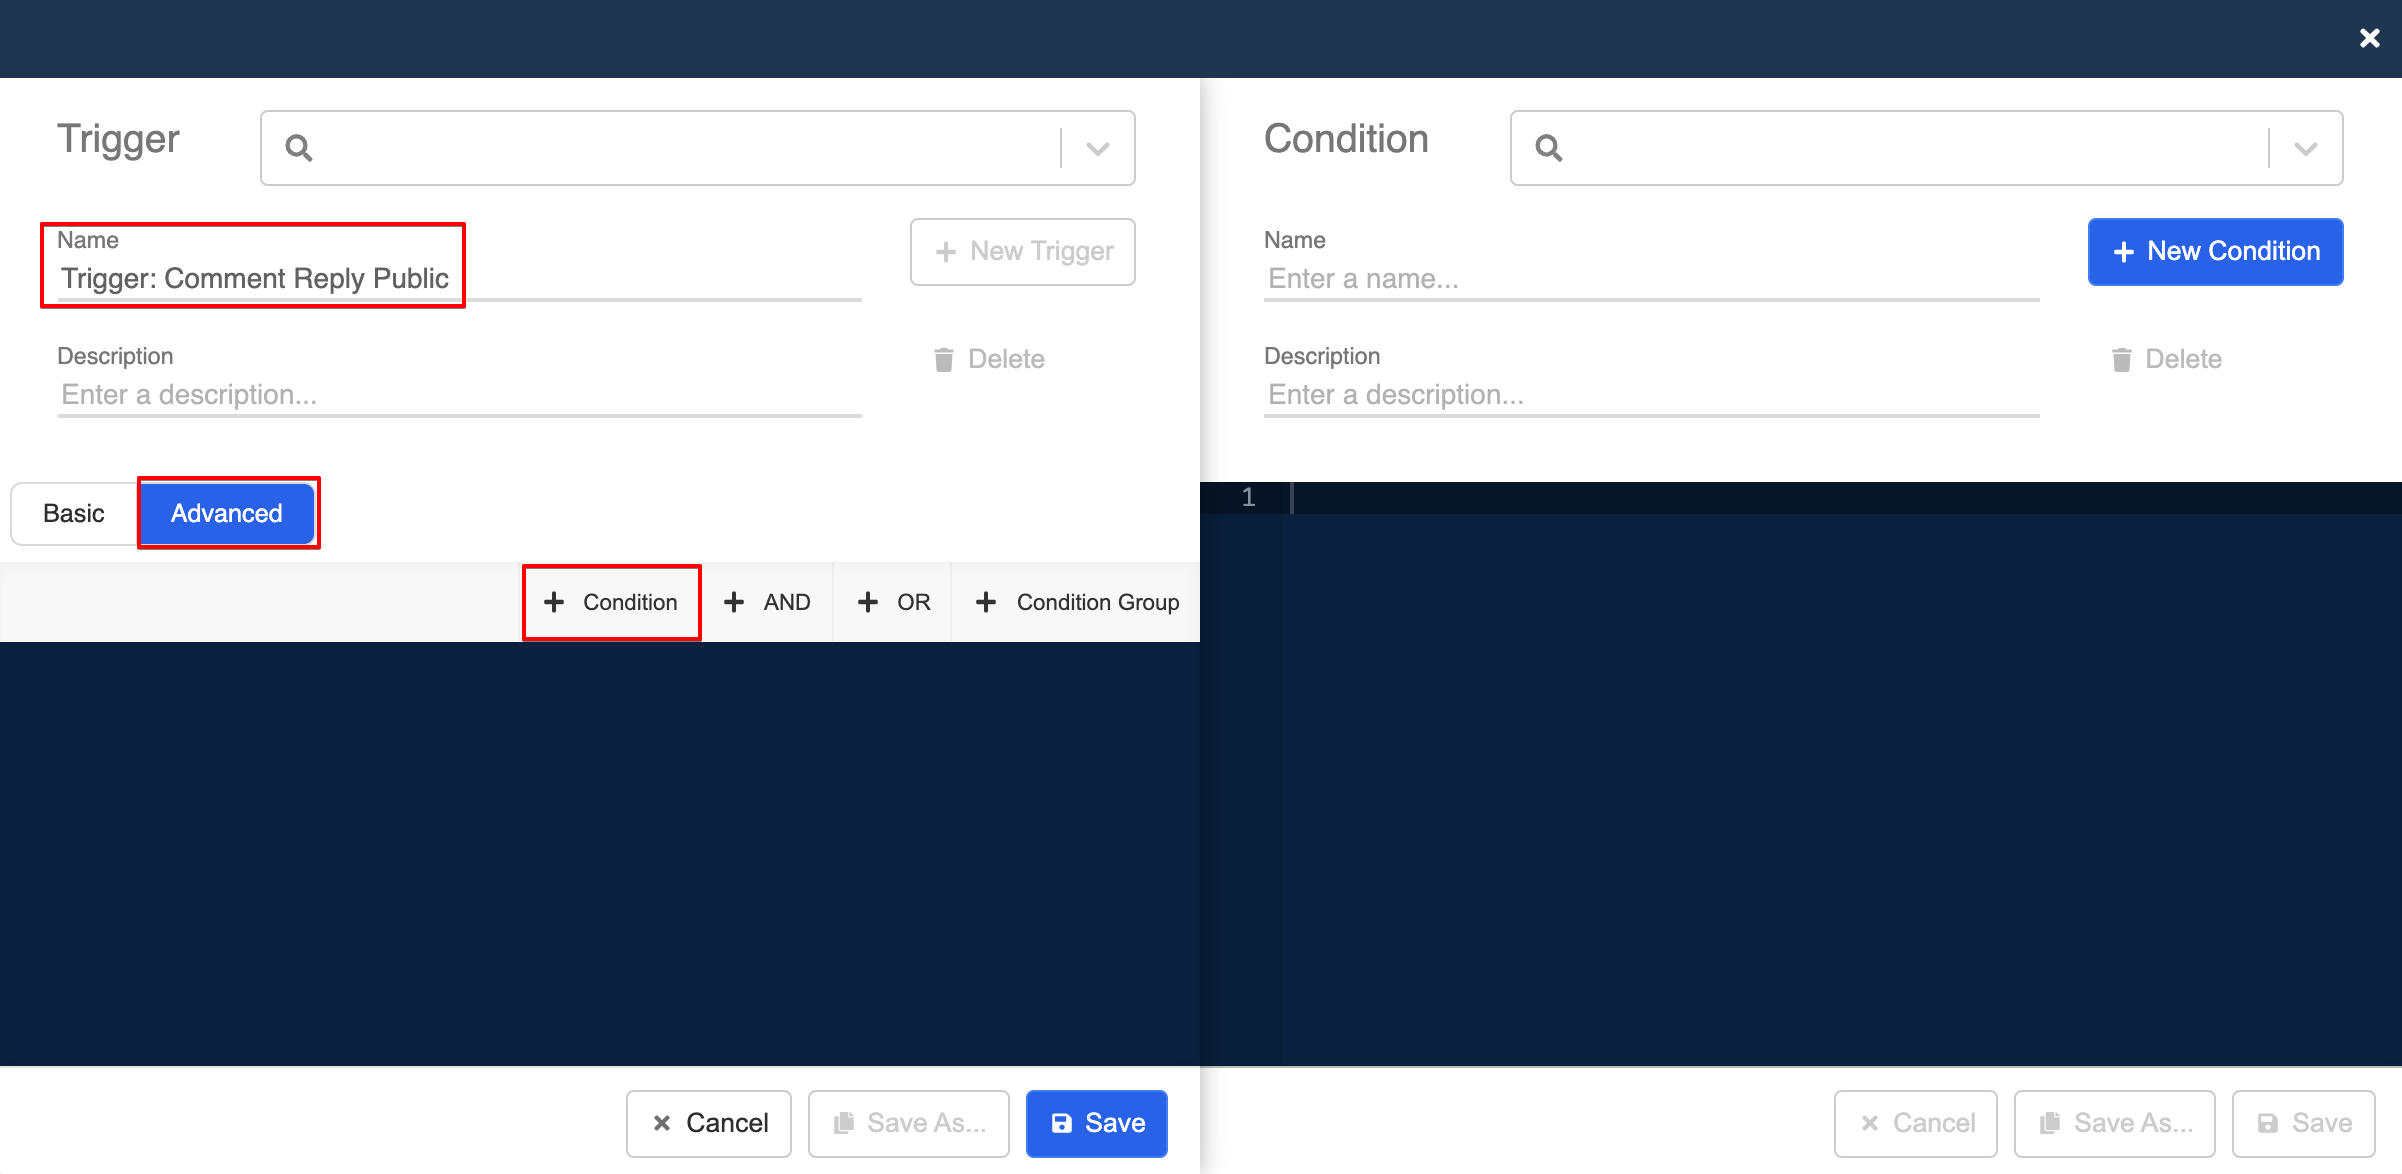
Create New Trigger
- Select the condition "Type Comment", then select "+ AND" and another "+ Condition". Search for the condition you have just created. Finally, click "Save".
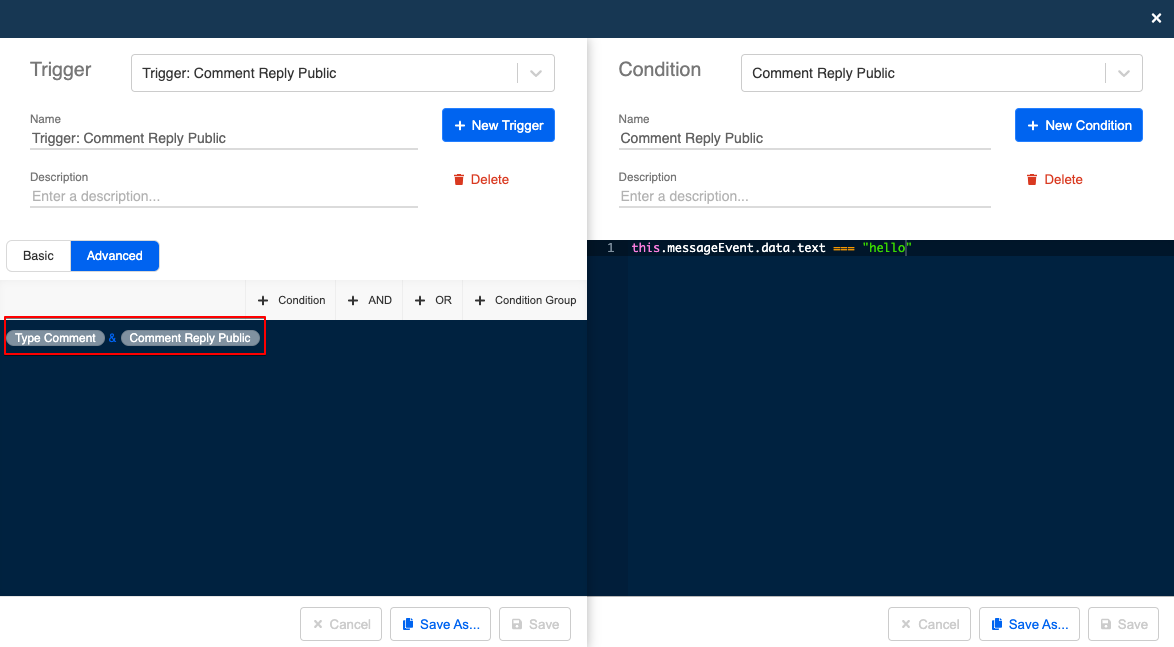
Create New Trigger
- Toggle on redirect and select the tree node you have created earlier. Finally, click "Save" to save the node.
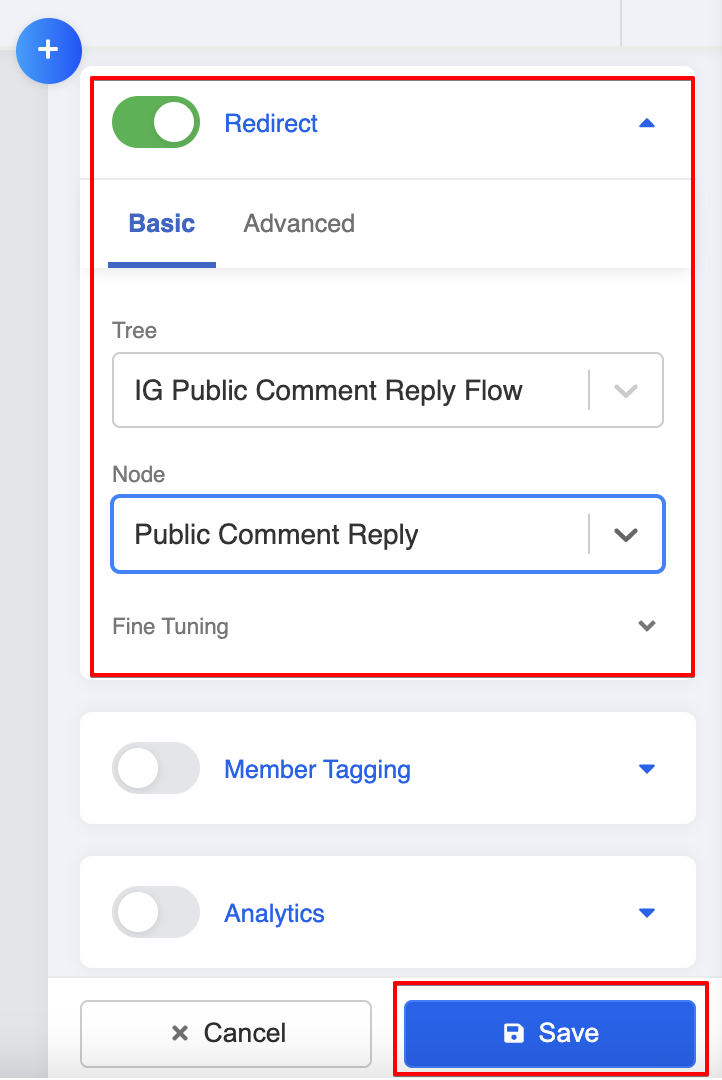
Redirect
Add Tree to Channels
- Head to "Channels" and select the Instagram channel. Select "Platform" and the "Tree Settings", add the tree to the channel and select the new global nodes.
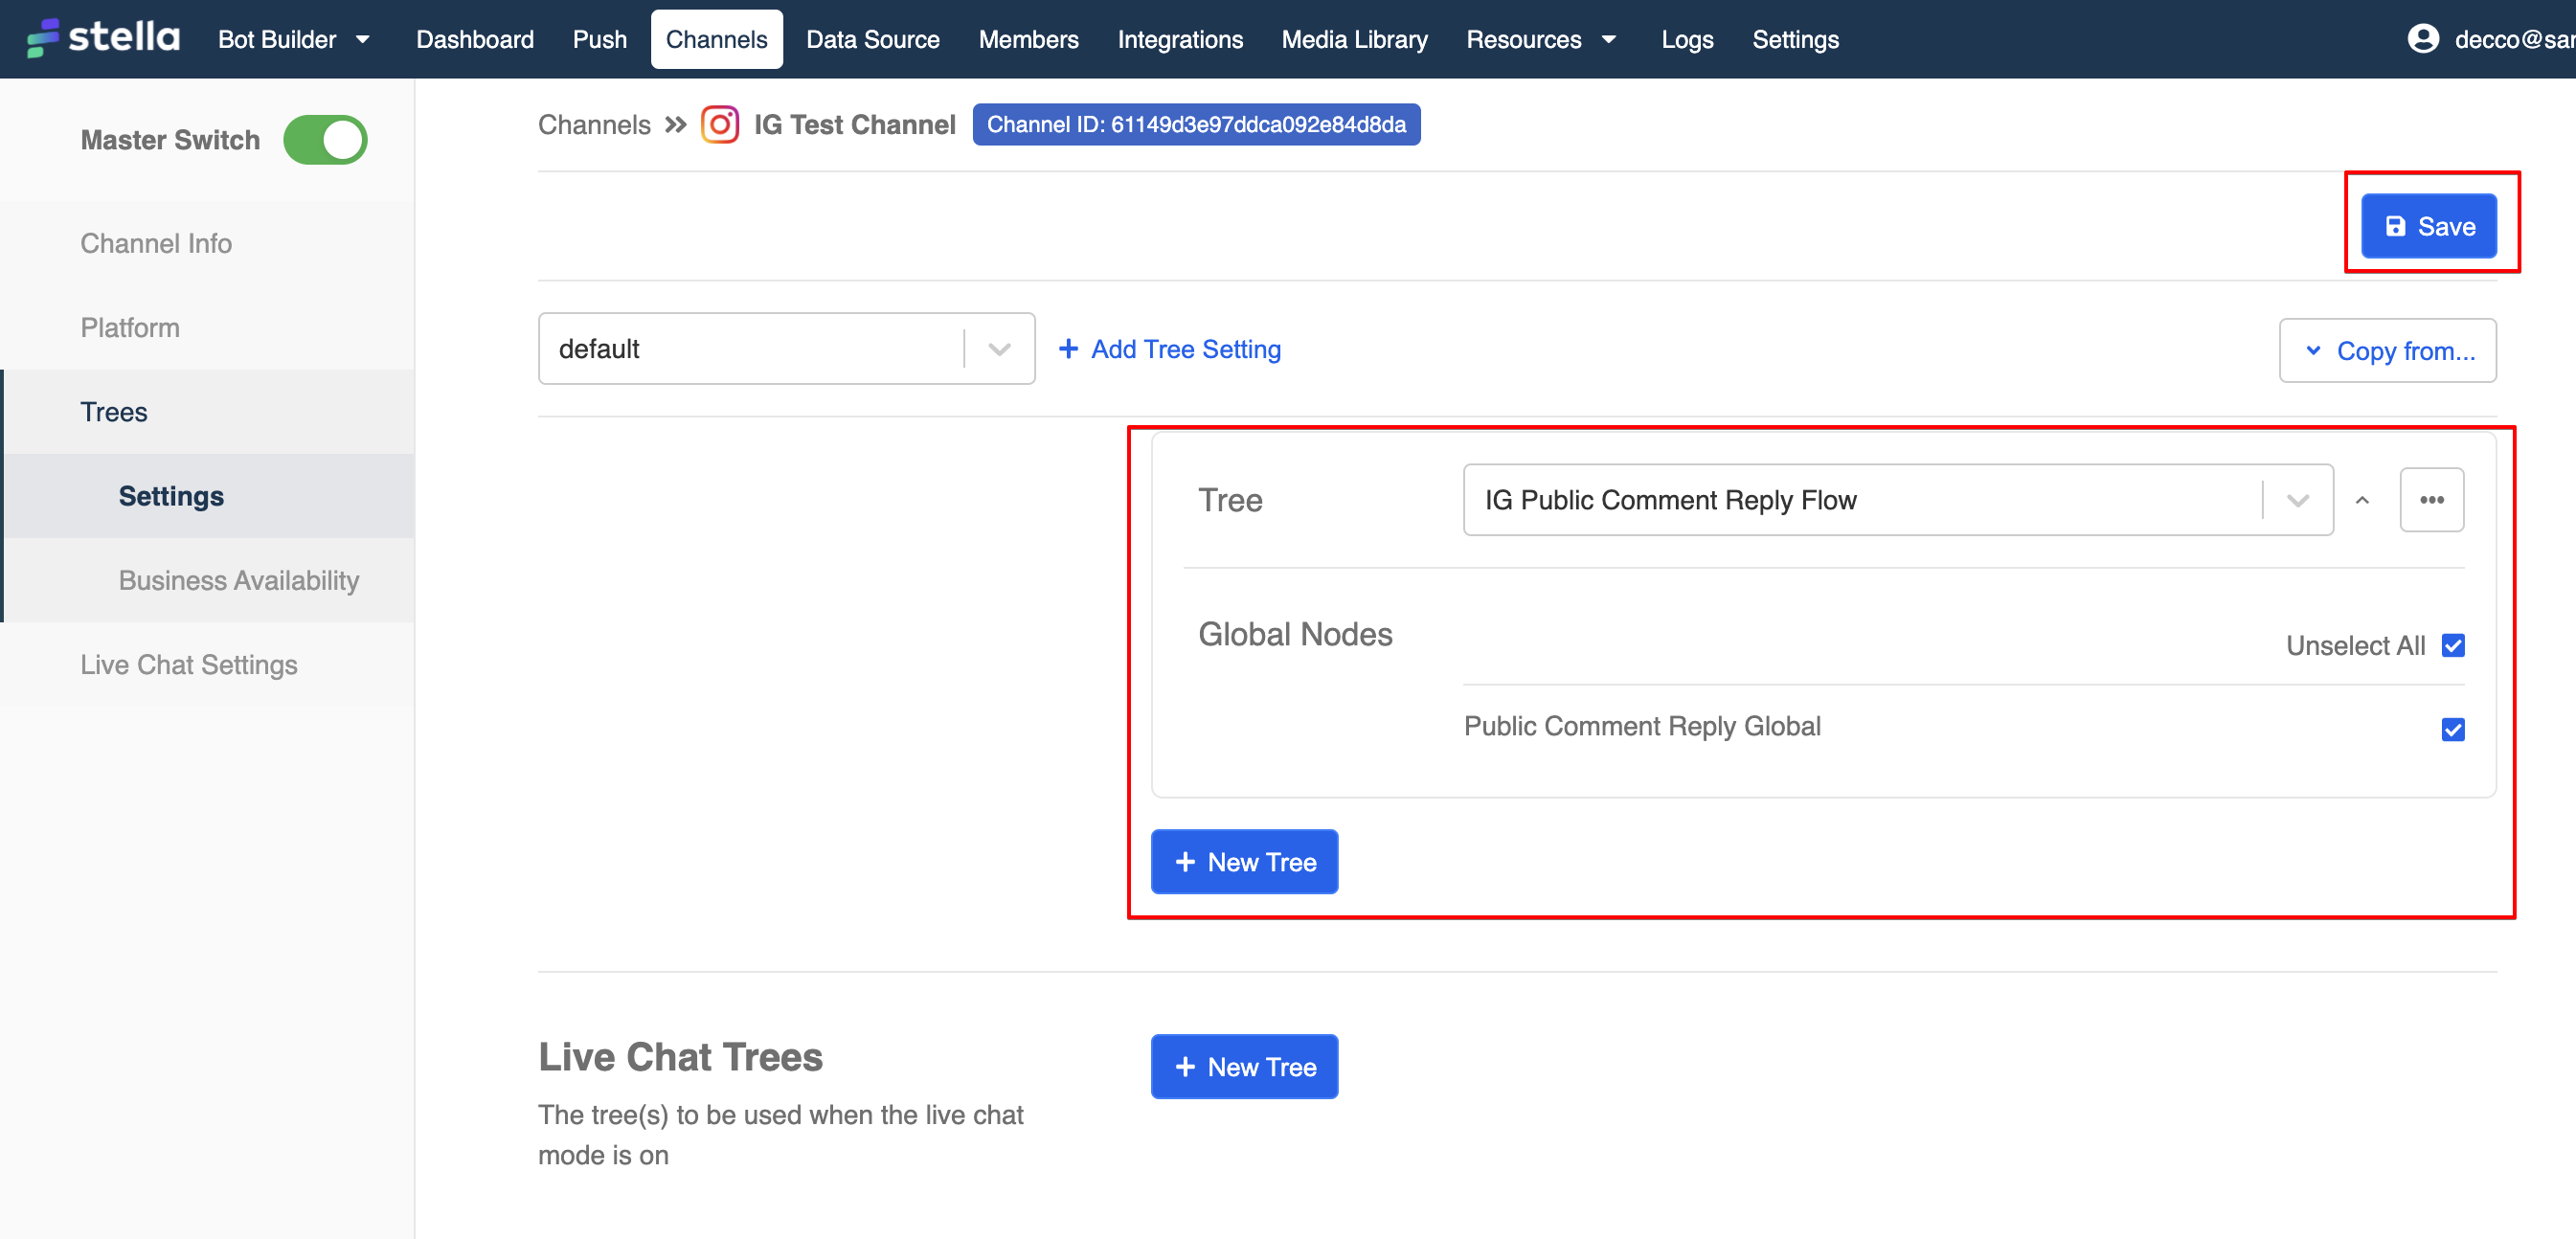
Add Tree to Channel
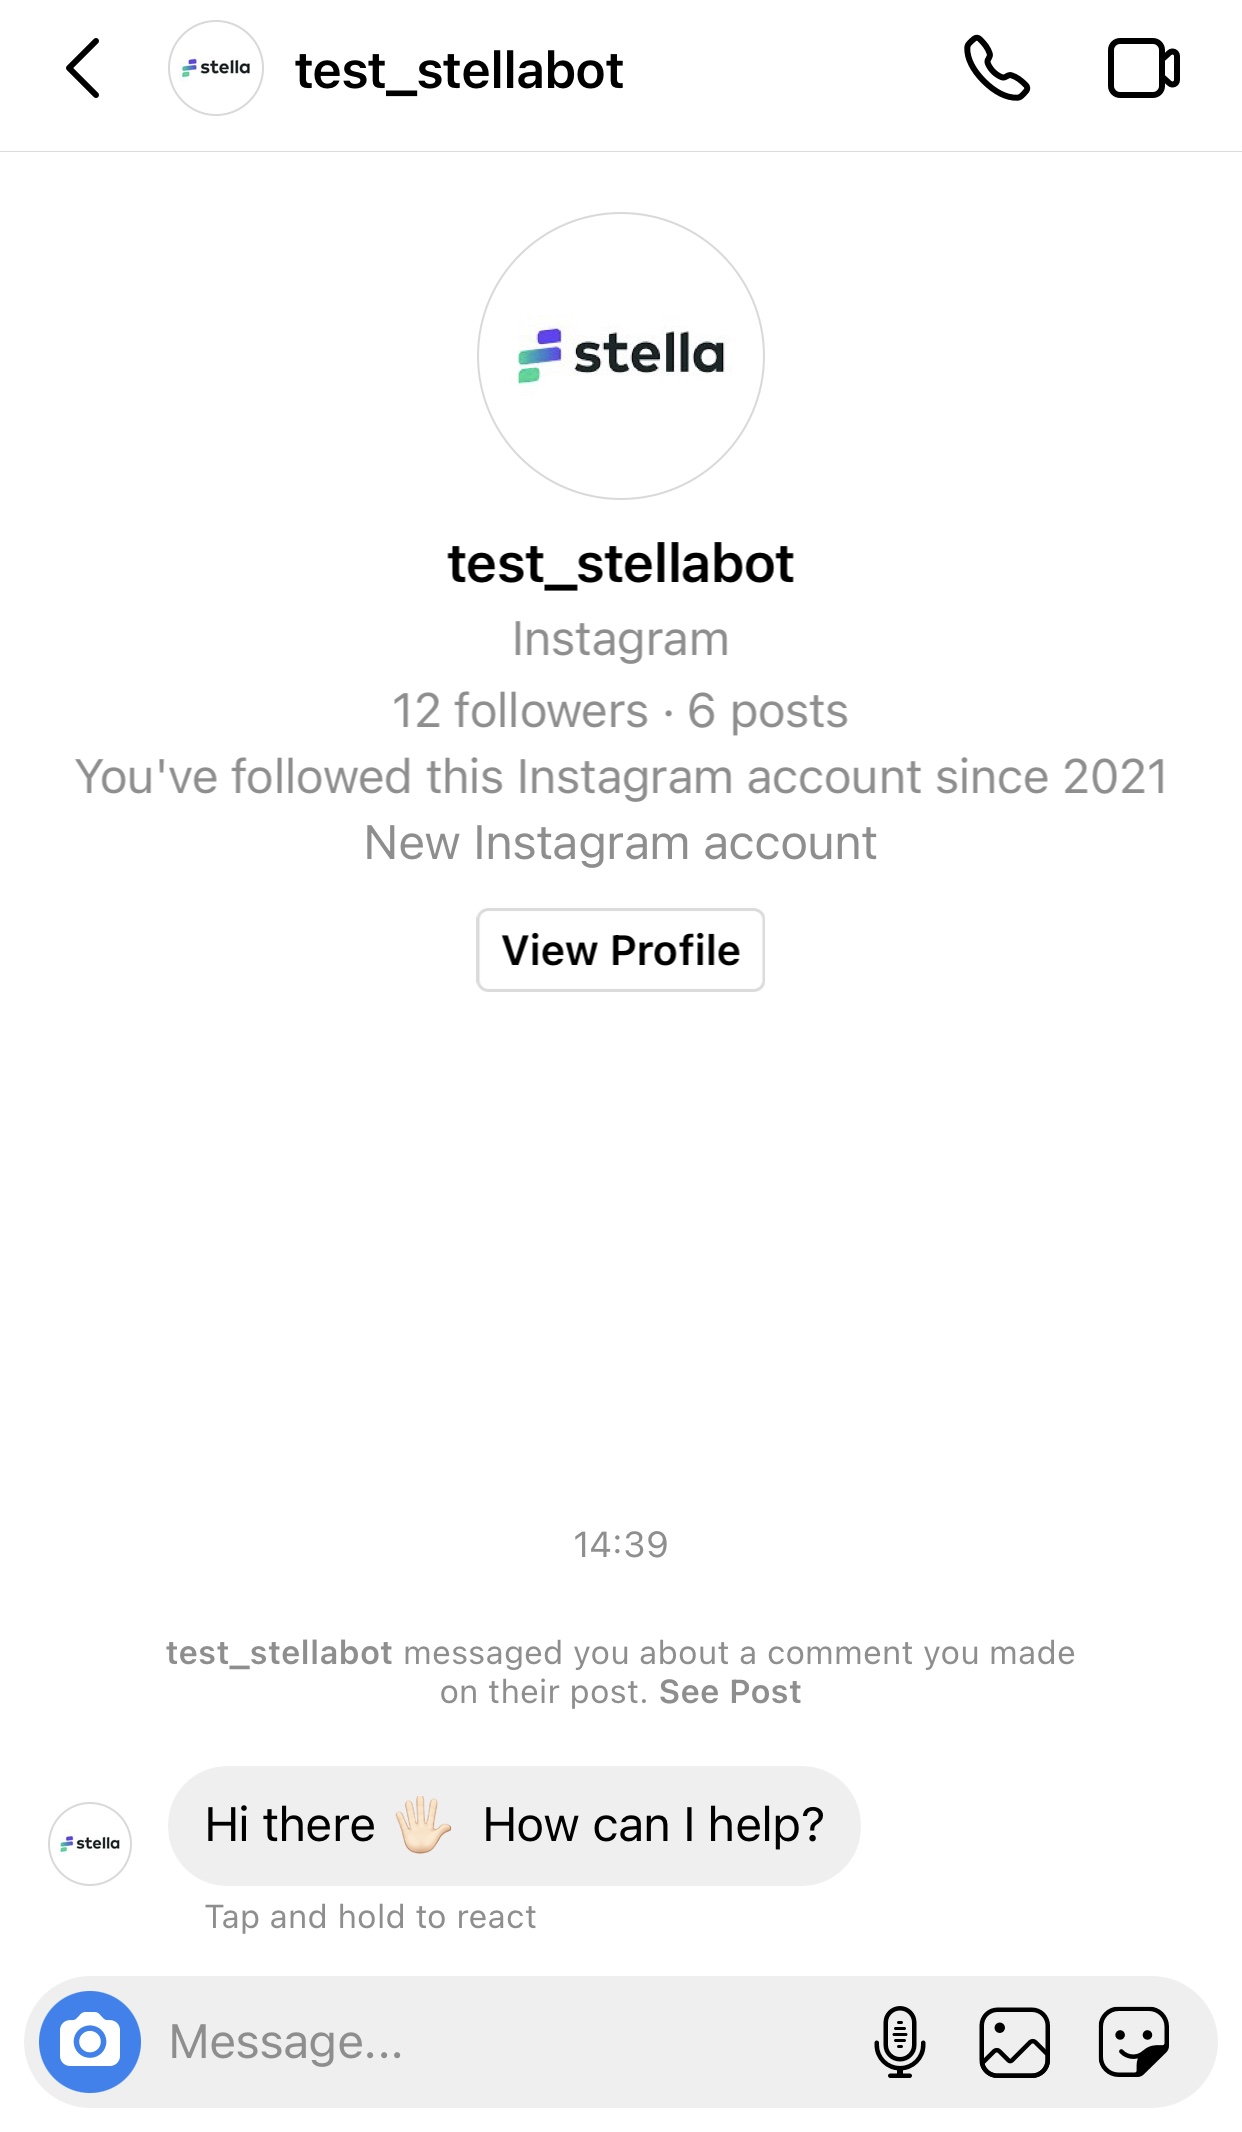
Private Comment Reply
What is your Result?
Create a Tree and Node
- Create a new tree.
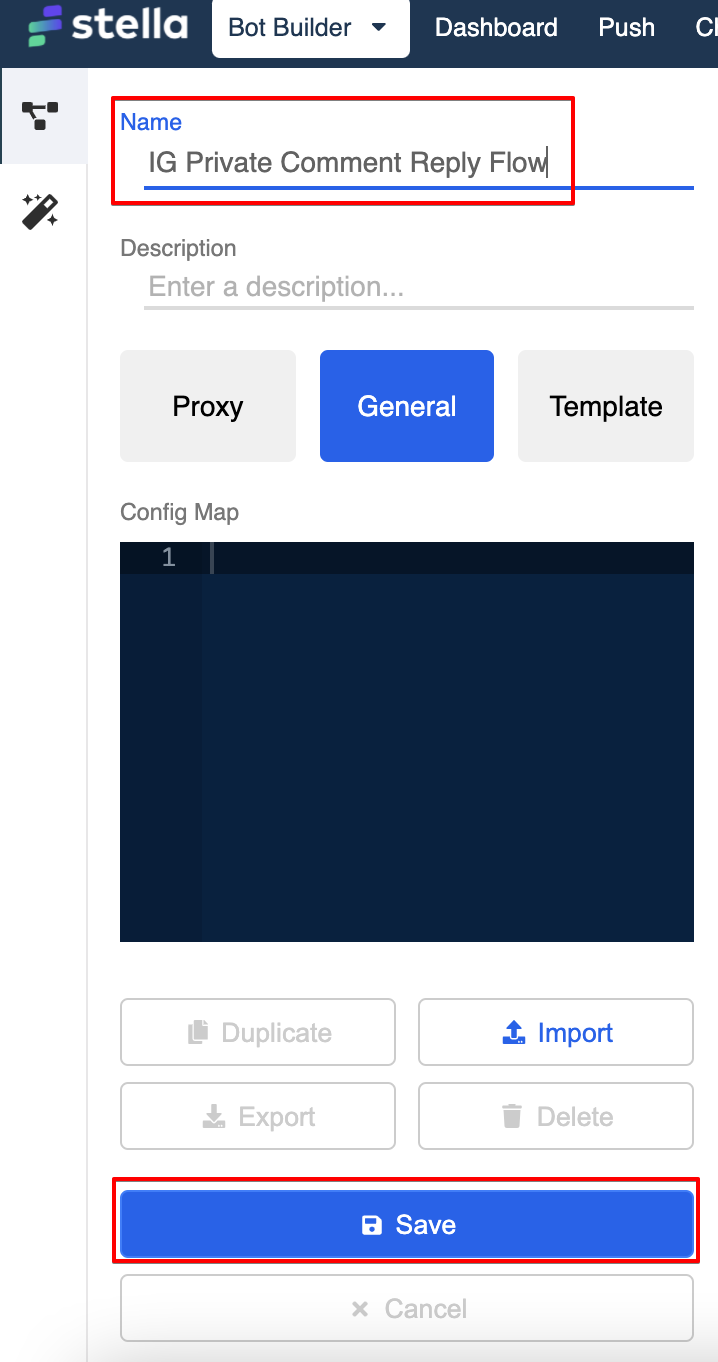
Create New Tree
- Create a new tree node. This node will handle the automated reply sent to the customers.
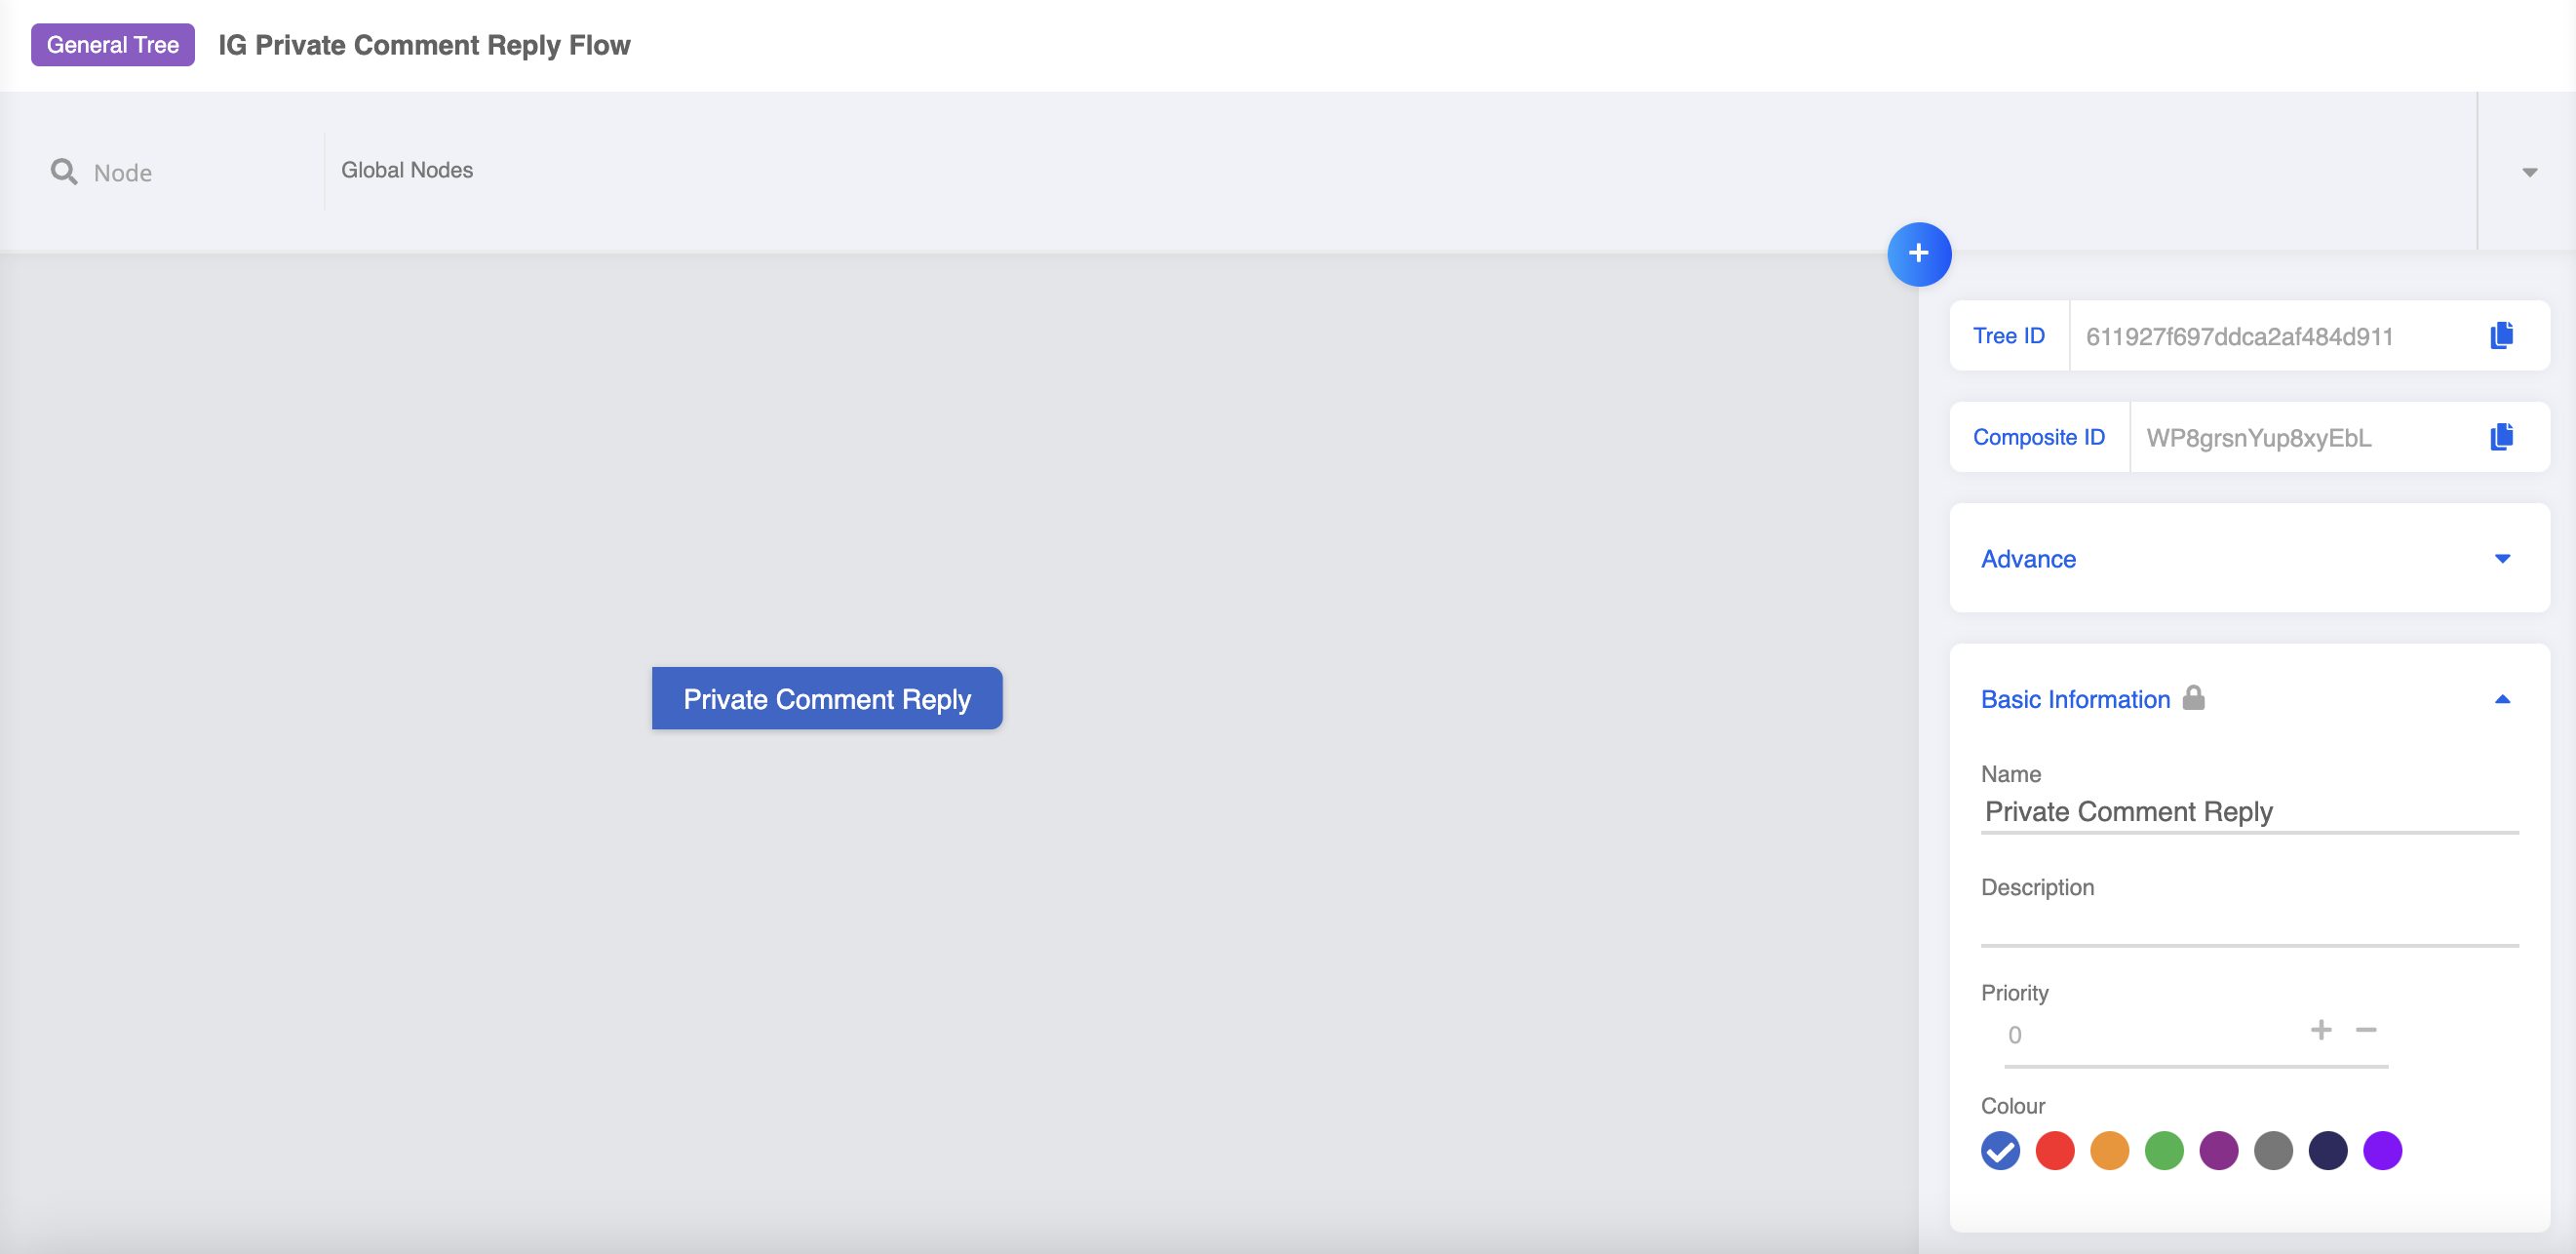
Create New Tree Node
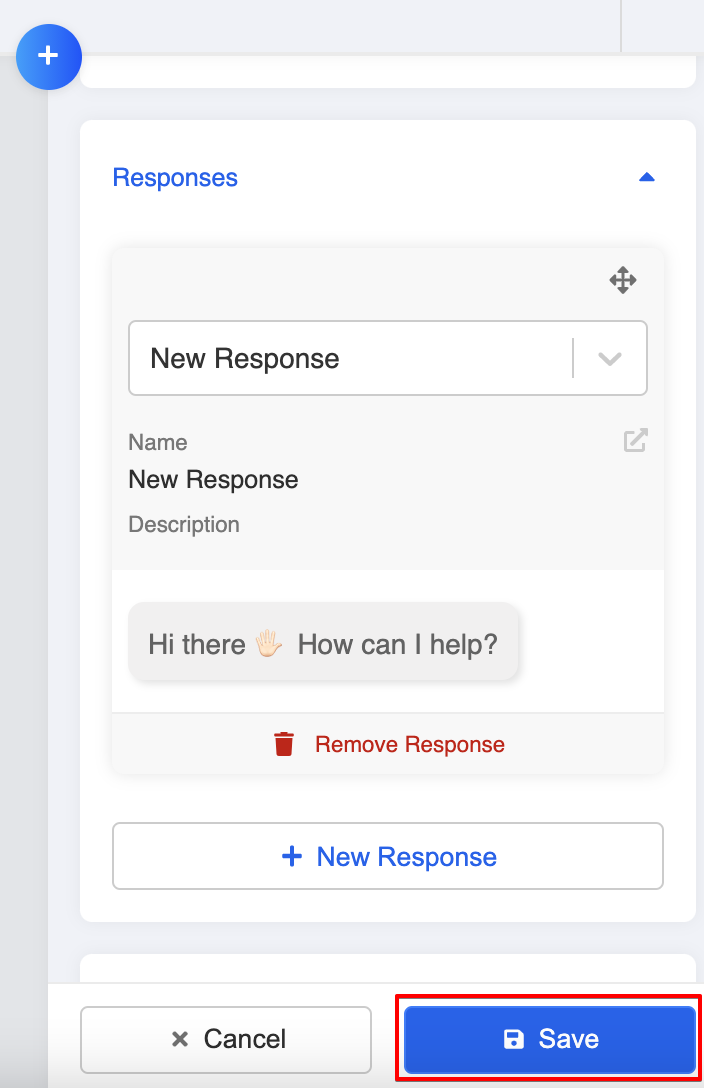
- Create a new response, and fill in the text content for the comment reply. Click "Save".

Create New Response
- Save the tree node.
Save Tree Node
Create Global Node
- Create a new global node. This will trigger the reply message when a customer comments on your post.
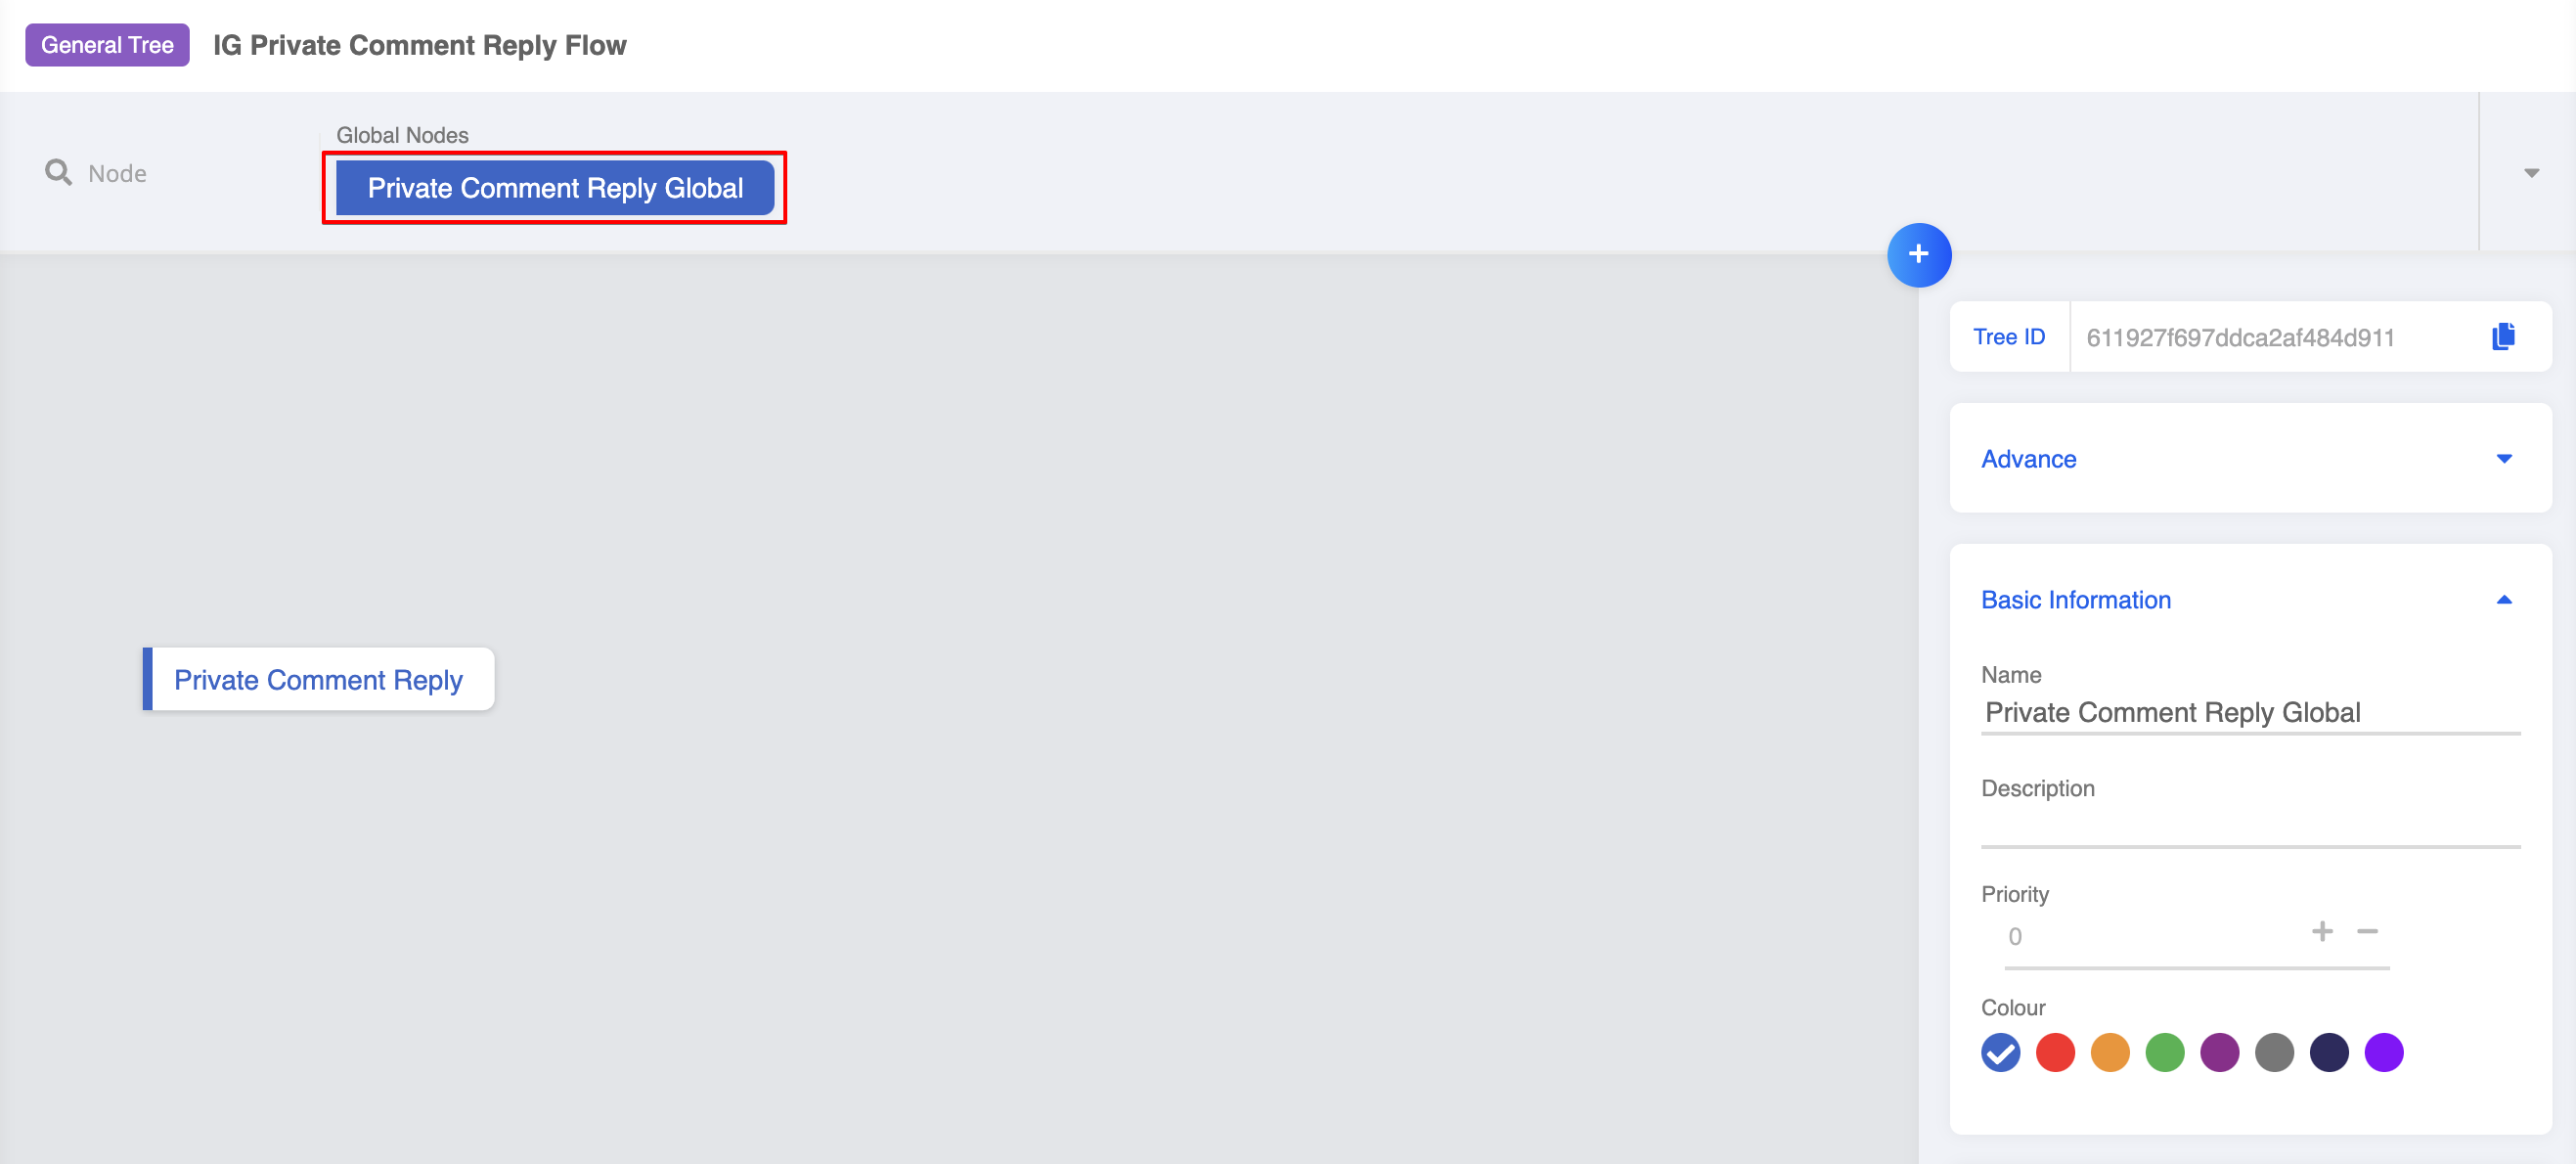
Create New Global Node
- Create a new trigger. In the trigger, add a new condition and enter the following code. The self-defined keyword comment (i.e. DM me) can trigger a reply message sent to customer's direct message.
this.messageEvent.data.text === "DM me"
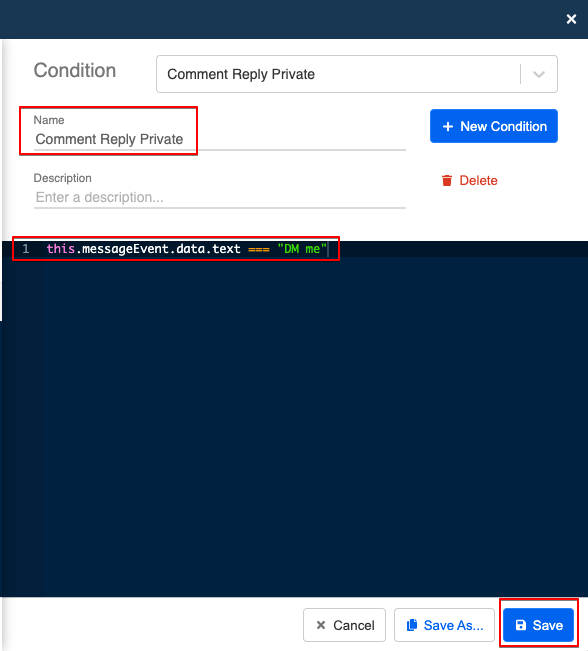
Create New Condition
- On the right panel, create a new trigger. Select "Advanced" and then "+ Condition".
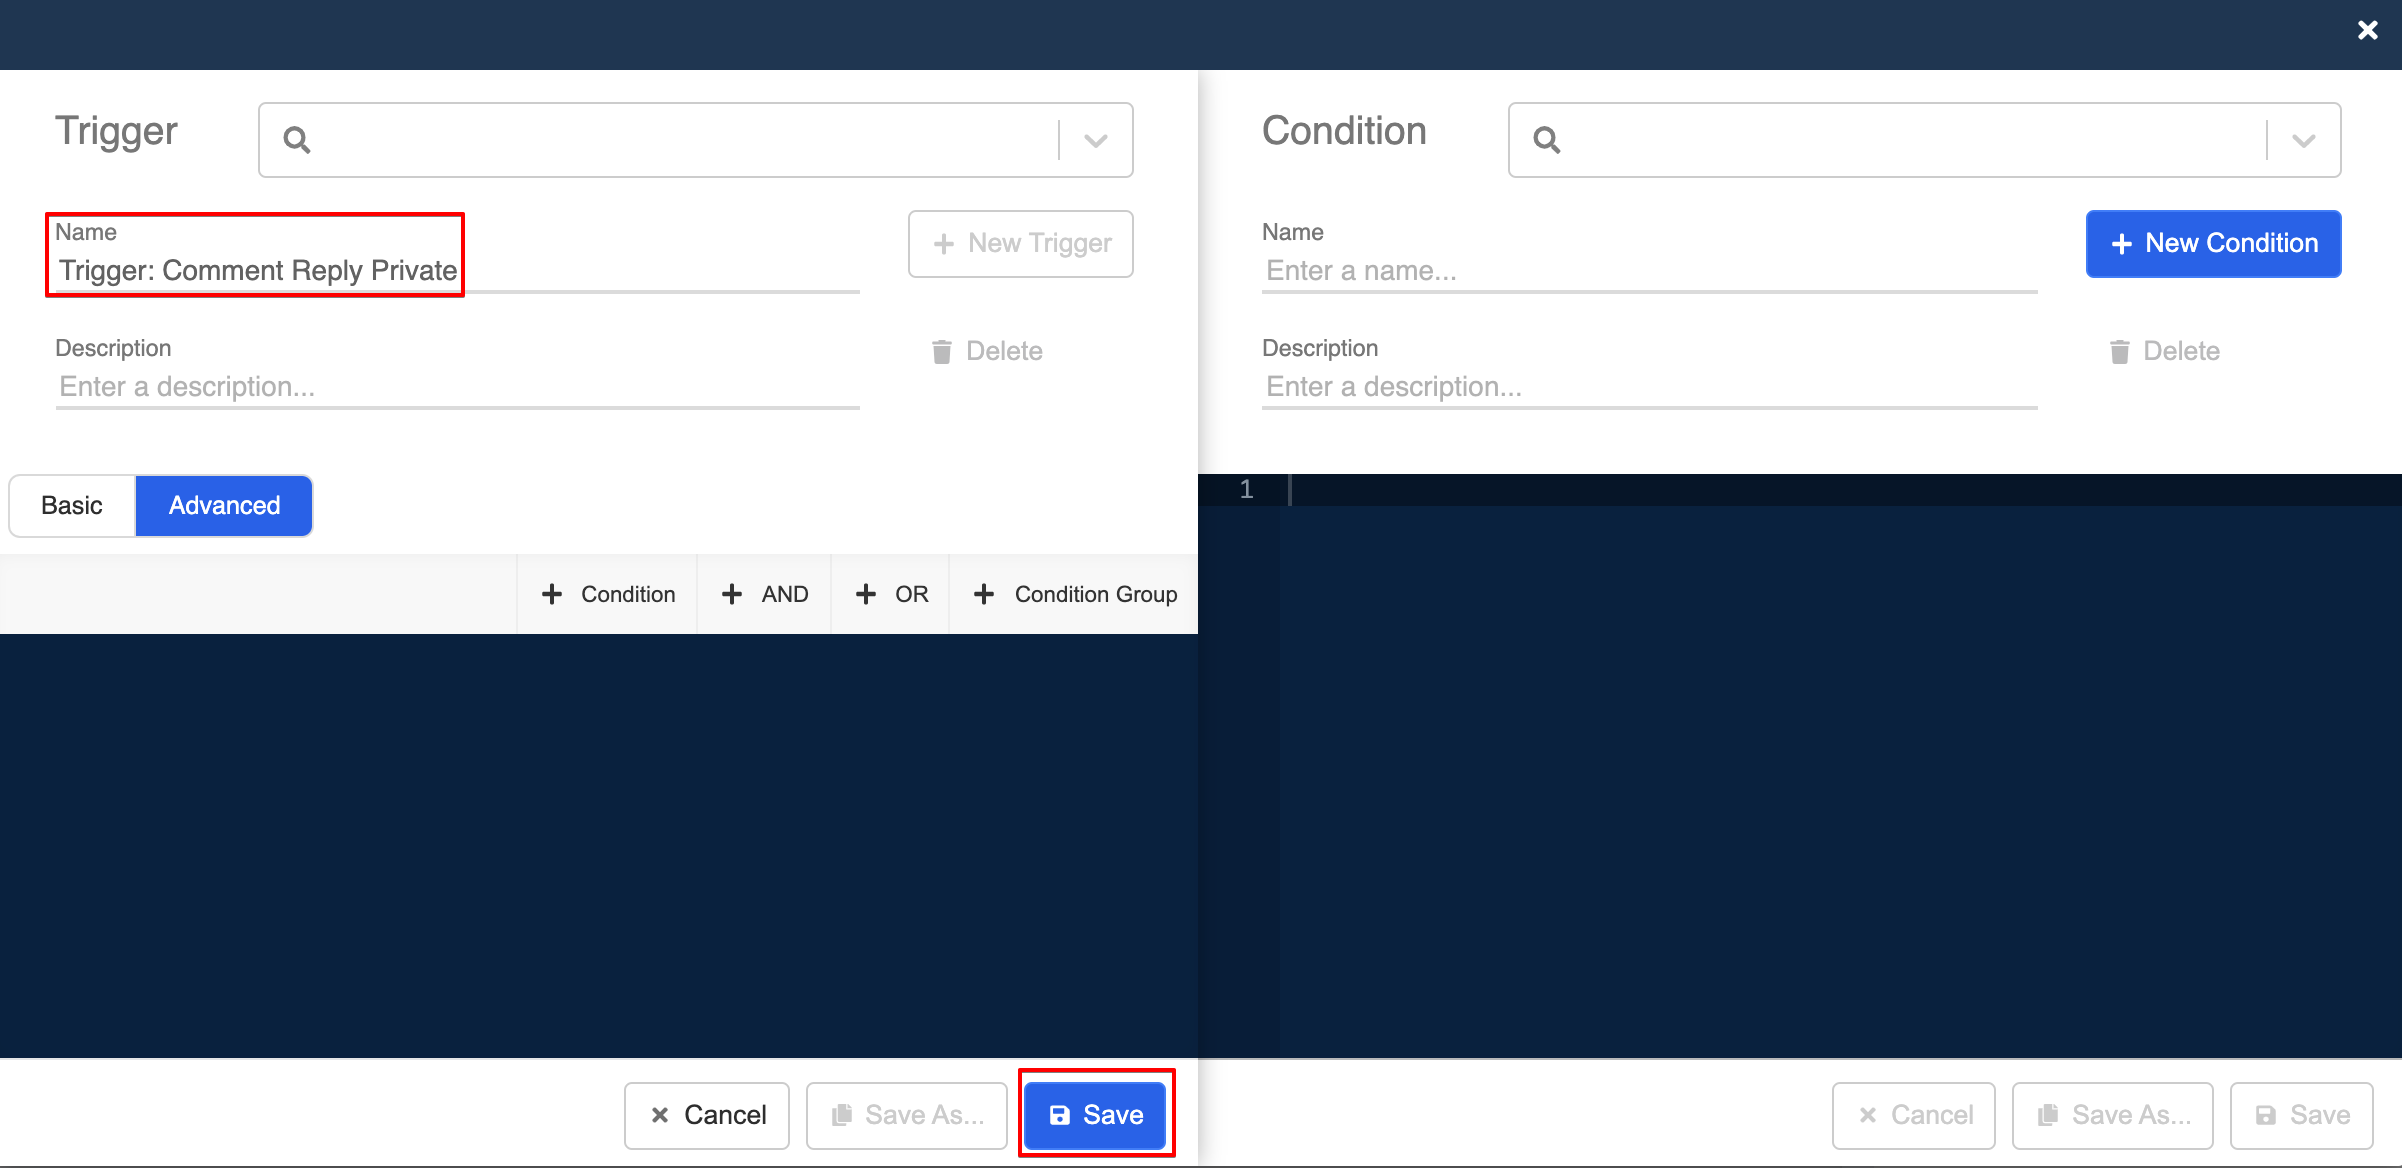
Create New Trigger
- Add the condition "Type Comment", then select "+ AND" and add another condition, search for the condition you have just created. Save the trigger.
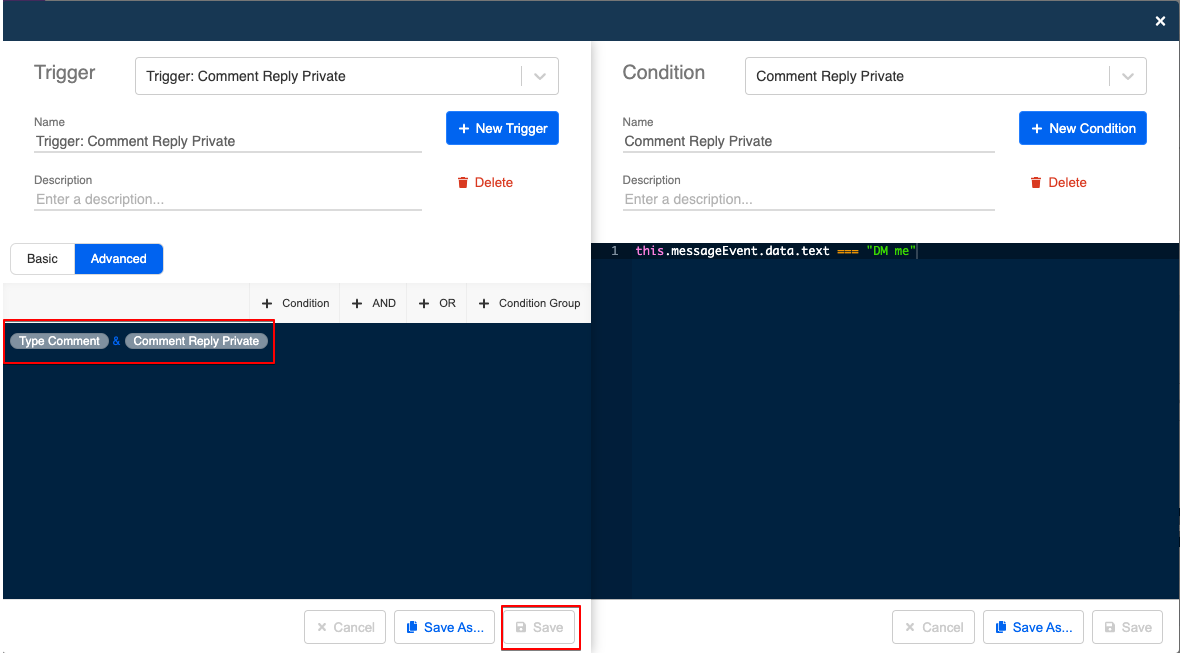
Create New Trigger
- Toggle on redirect and select the tree node you have created earlier. Click "Save" to save the node.

Redirect
- Head to "Channels" and select the Instagram channel. Select "Platform" and the "Tree Settings", add the tree to the channel and select the new global nodes.
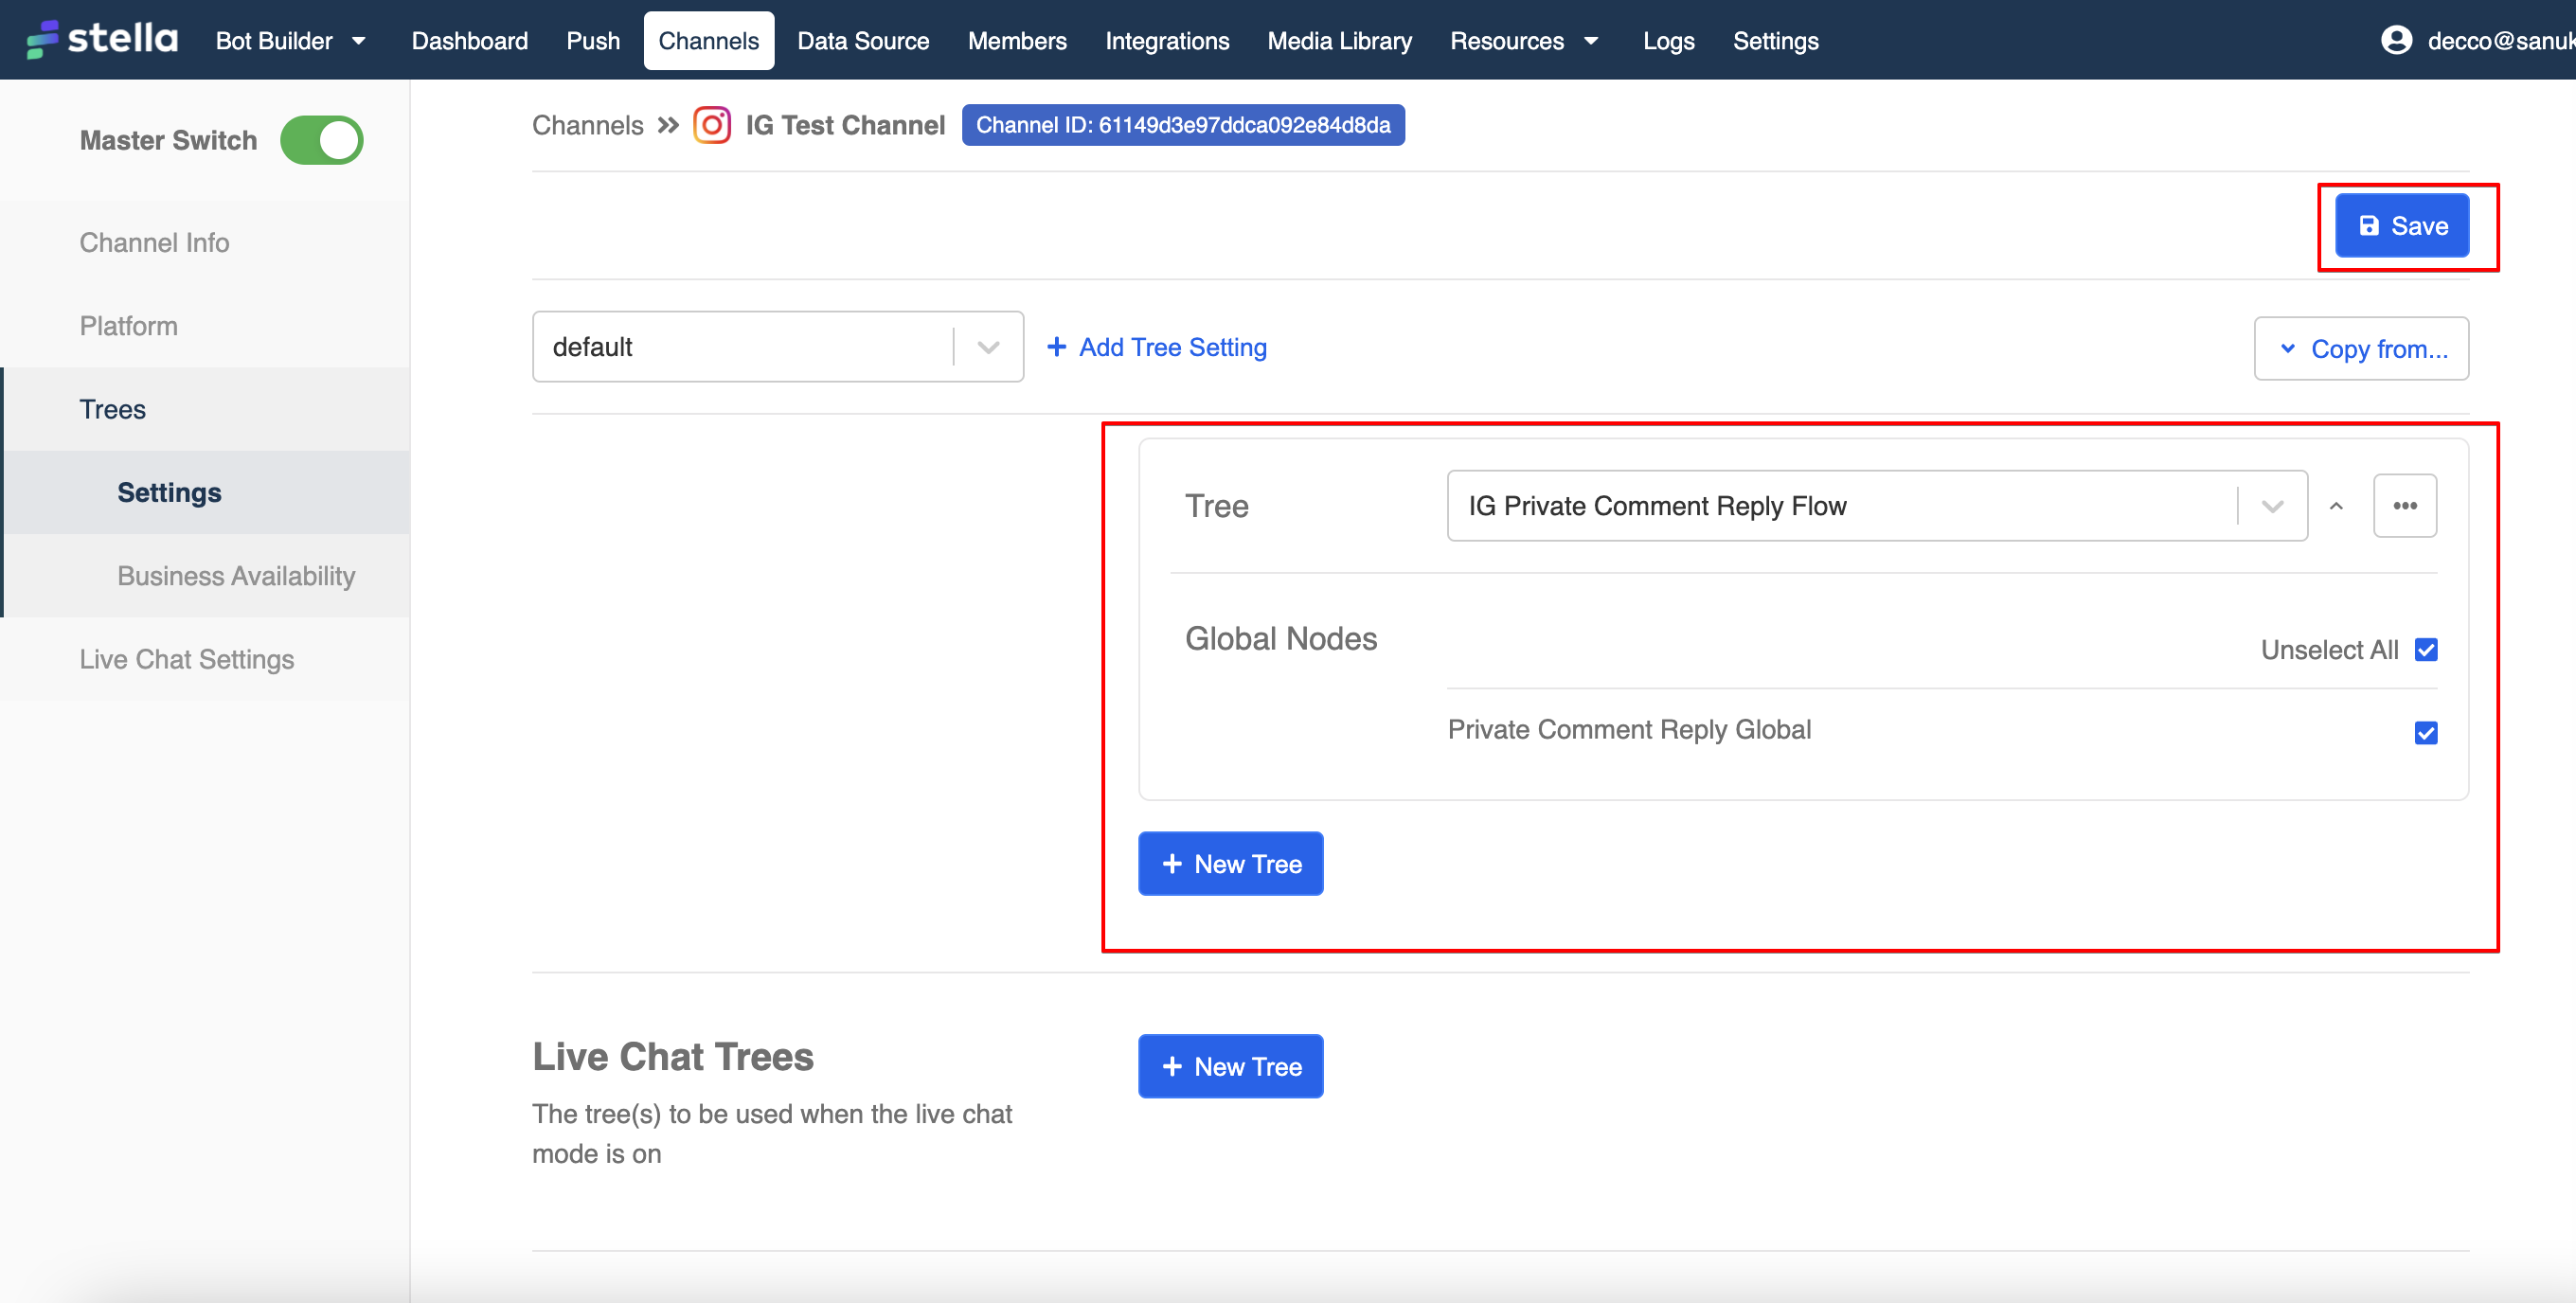
Add Tree to Channel