WABA Setup
If you are subscribing to a WhatsApp Business API channel for your client in your partner portal, you will need to submit a request and set up the WABA client in your client's Stella app. If you decide to go through the Embedded Signup Flow for your client, please make sure you have access to your client's Facebook account.
Getting Hands-on
Here are the procedures to complete your WhatsApp Business API channel:
WABA Automation
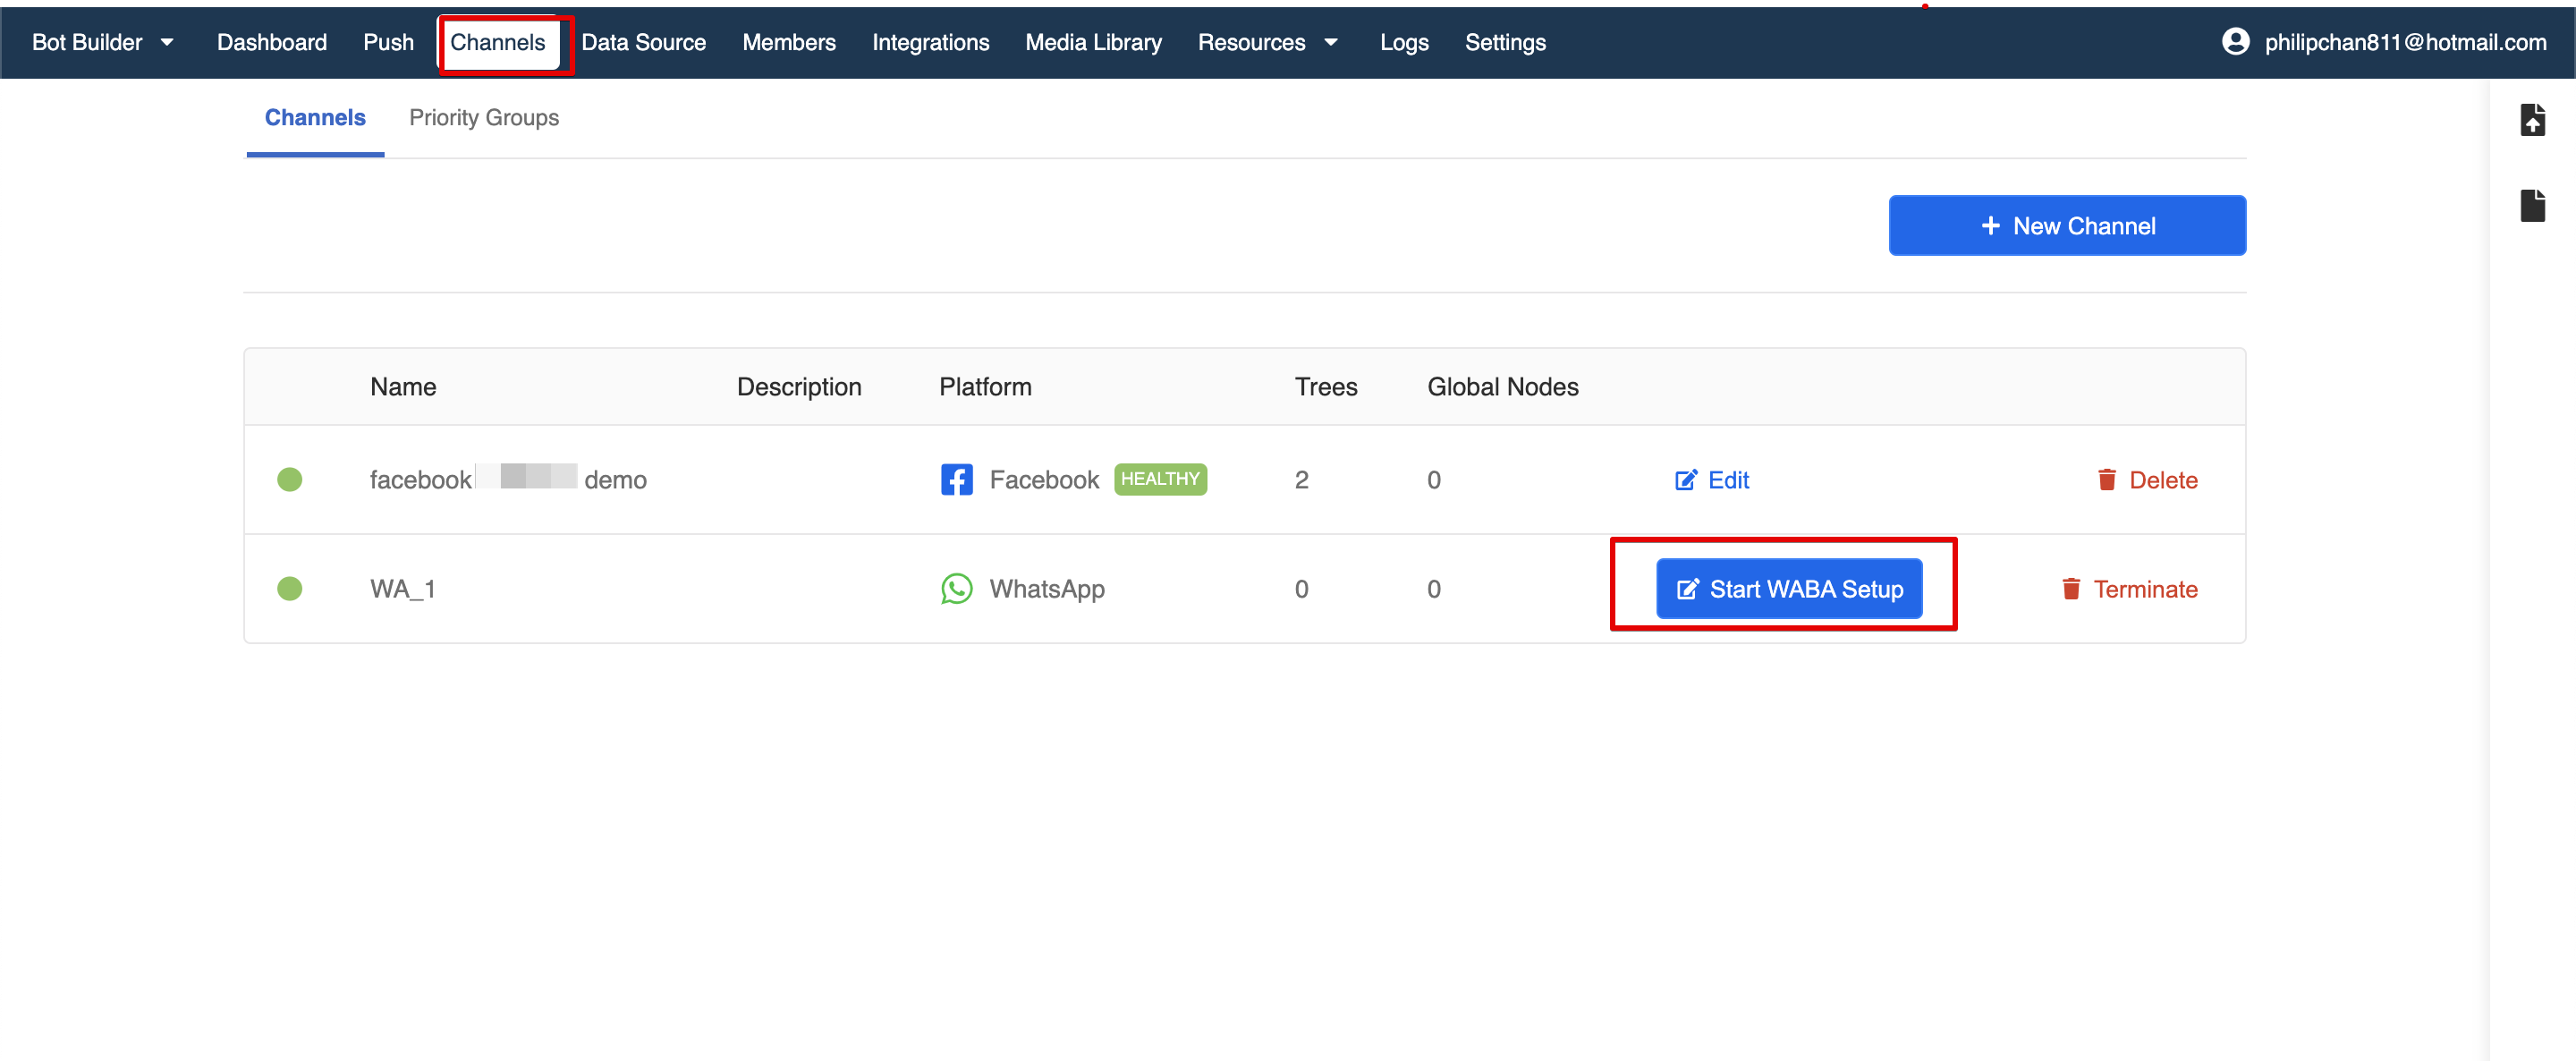
- After you have subscribed a WhatsApp channel on Partner Portal, a WhatsApp channel will be automatically created in your client's Stella app. Please head to "Channels" and proceed by clicking "Start WABA Setup".
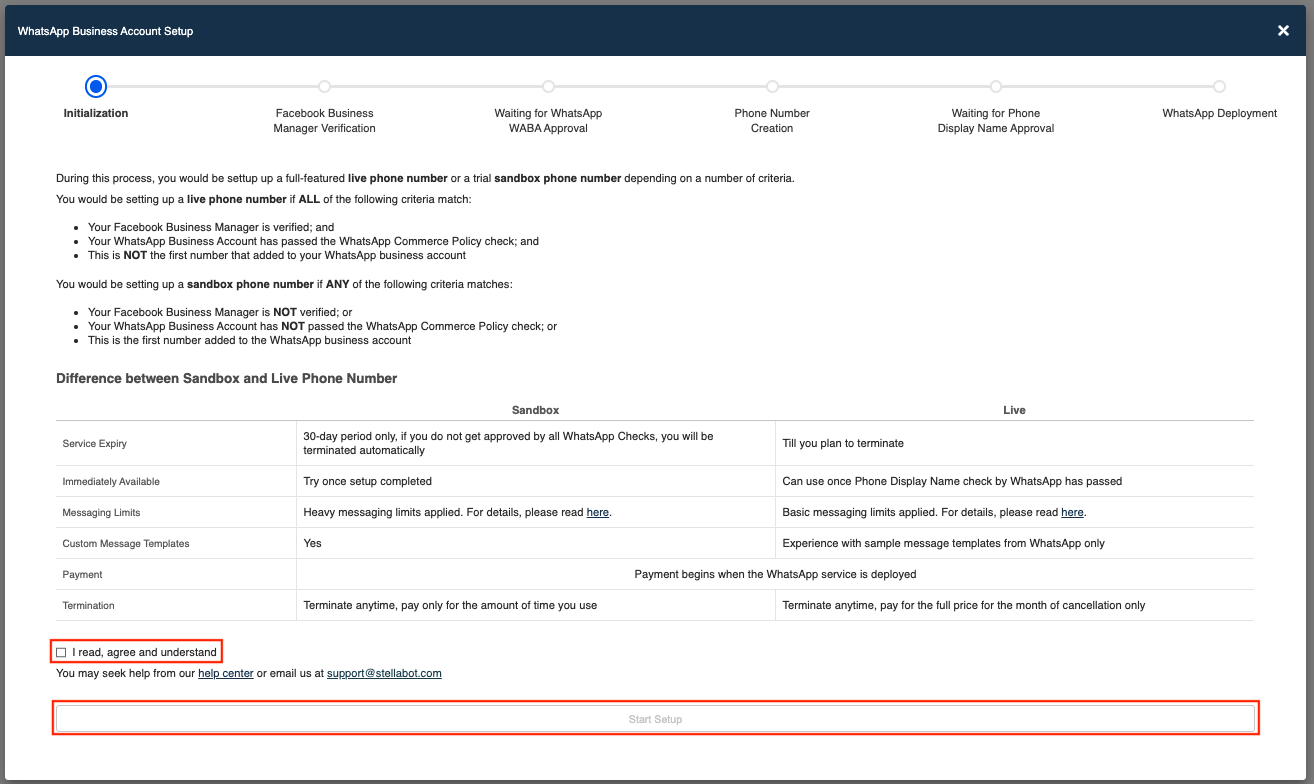
- For clients who are registering a new WABA, they need to have their Facebook Business Manager verified and pass the WhatsApp Commerce Policy Check. Before their business is verified by WhatsApp, they can have access to Sandbox Environment, an automated testing environment that lasts for a 30-day period with limited features. Your client's phone number will go live and have all features available once their business is verified and passed the WhatsApp Commerce Policy check by WhatsApp. There are 2 tiers to Sandbox:
| Tier | Sandbox | Expanded Sandbox |
|---|---|---|
| Conditions | Upon Completion of Embedded Signup | Upon Submission of documents as part of Business Verification |
| Notifications | Can send to 2 phone numbers, up to 10 messages a day. Can only be sent with pre-approved message templates. | Can send to 2 phone numbers, up to 10 messages a day. Can only be sent with pre-approved message templates. |
| Customer Service Messages | Can send to 10 phone numbers, no daily message limit. | Can have 1500 conversations. A conversation is a 24-hour window of messaging with a given phone number. |
The sandbox lasts for 30 days only, if you do not get approved by all WhatsApp Checks, you will be terminated automatically.
If the number go live, you can use it till you plan to terminate.

- Tick to checkbox. Select "Start Setup".
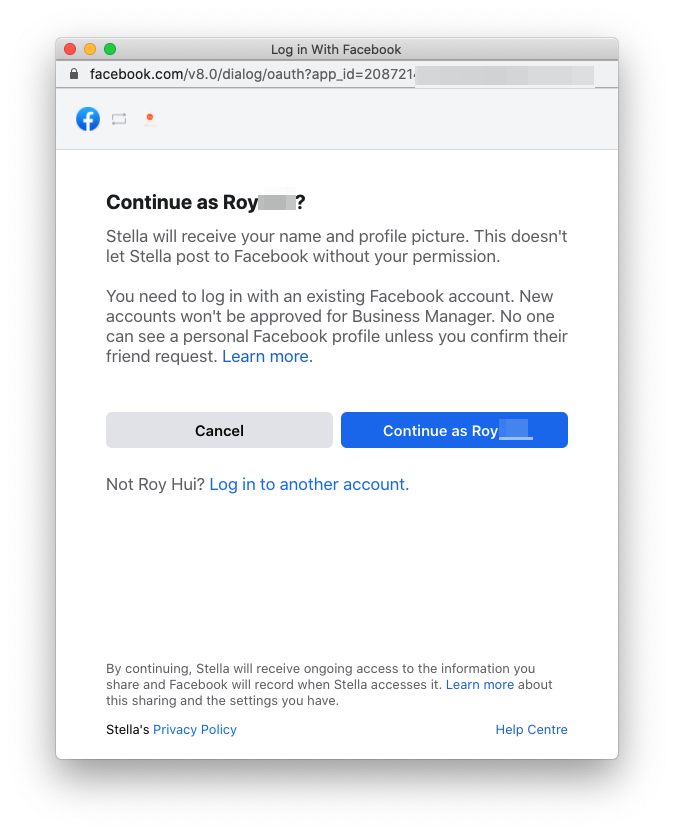
- Your client will be asked to log in their existing Facebook account. If you are setting up for your client, please make sure you have the access to your client's existing Facebook account. New Facebook Account will NOT be approved for Facebook Business Manager.
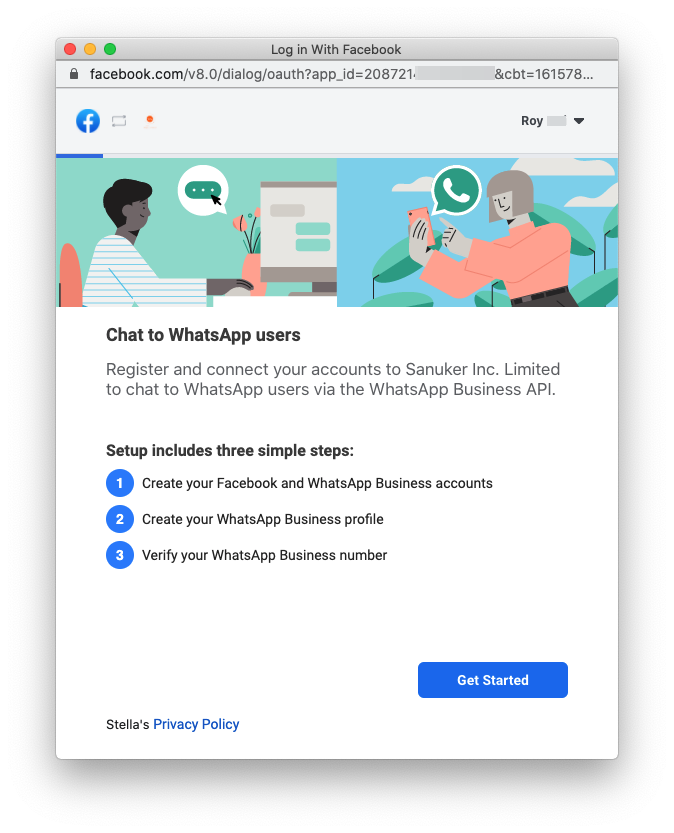
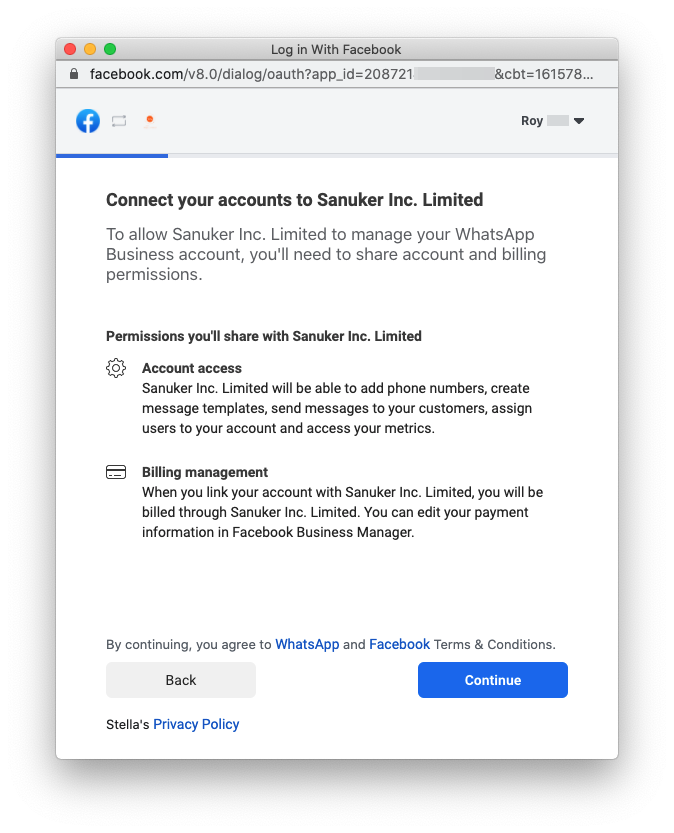
- Once your client have logged in their Facebook account, select "Get Started" to connect the Facebook account to Sanuker. Then select "Continue" to share account and billing permissions with Sanuker.
Create Facebook and WhatsApp Business Accounts
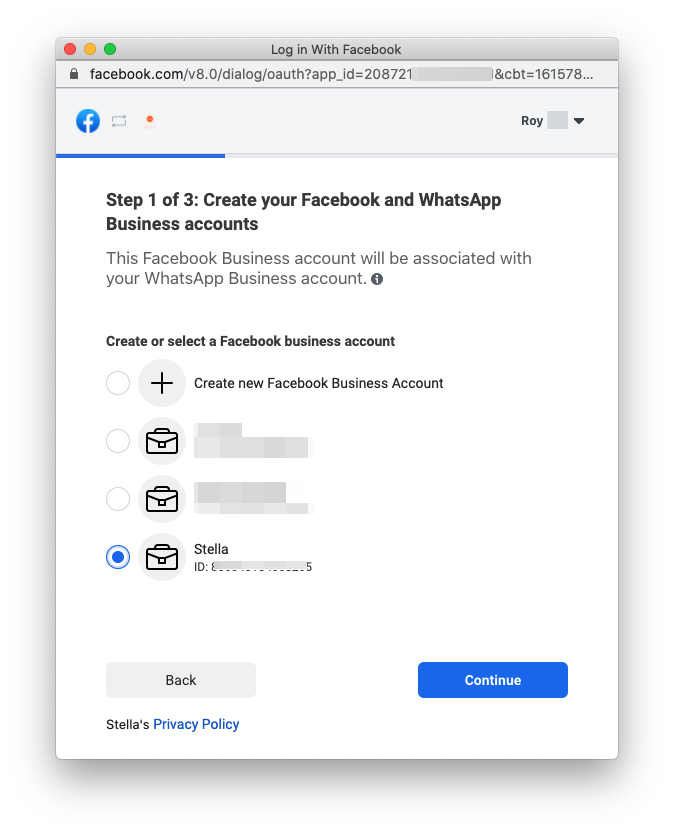
- In Step 1 of 3, create a new Facebook Business Account or select an existing Facebook Business Account.
Even if your client's existing Facebook Business Account has been verified for other reasons, the client still needs to pass the WhatsApp commerce policy check. Before those checks are completed, the client can have access to the sandbox experience.
- Then, create a new WhatsApp Business Account or select an existing account.
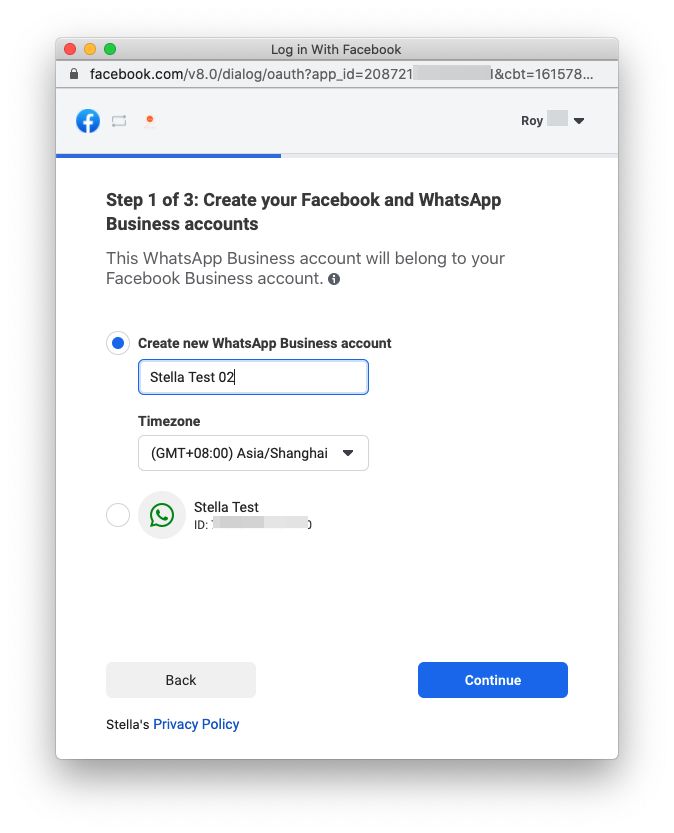
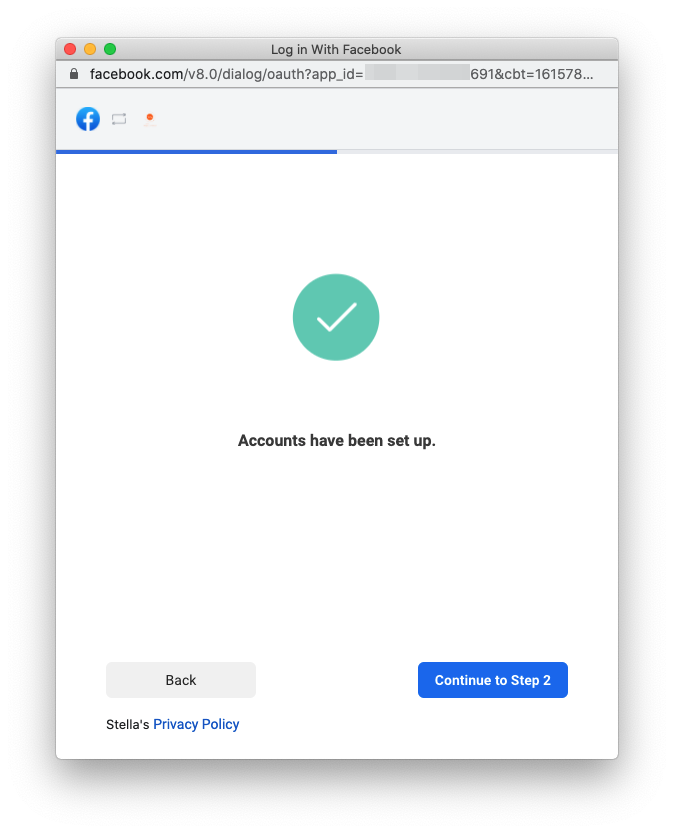
- Once the WABA account has been set up, select "Continue to Step 2".

Create WhatsApp Business Profile
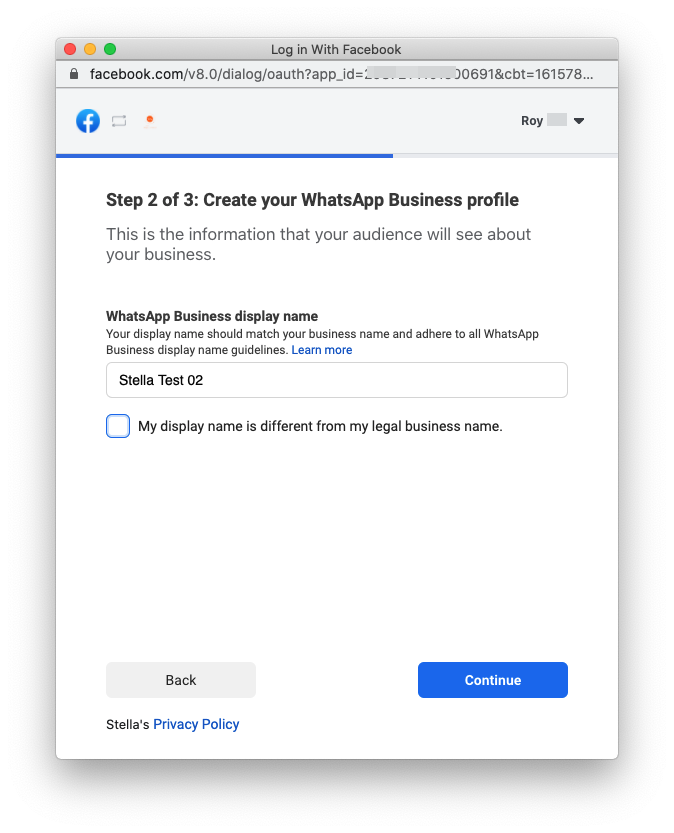
- In Step 2 of 3, create a WhatsApp Business Profile for your client. First, input the WhatsApp Business Display Name.
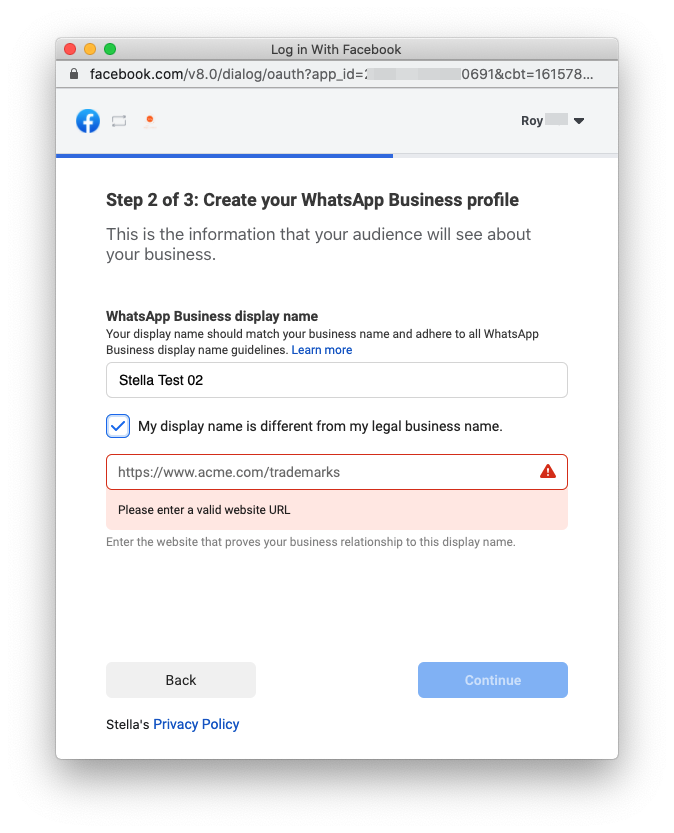
- Tick the checkbox if your client's WhatsApp Business Display Name is different from their Legal Business Name. The client need to provide a website to prove their business relationship with the display name.
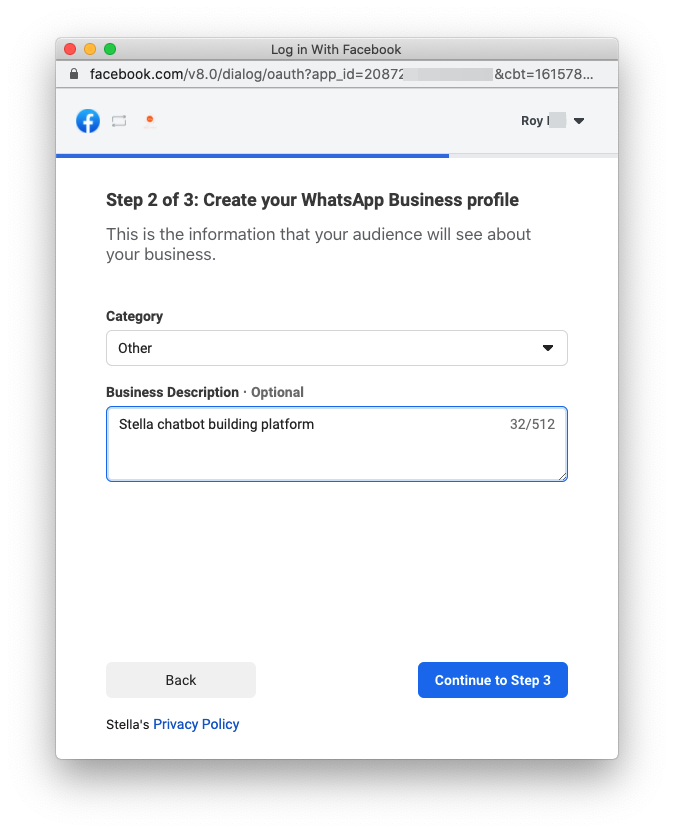
- Then, enter the Category of your client's business and the Business Description.
Verify WhatsApp Business Number
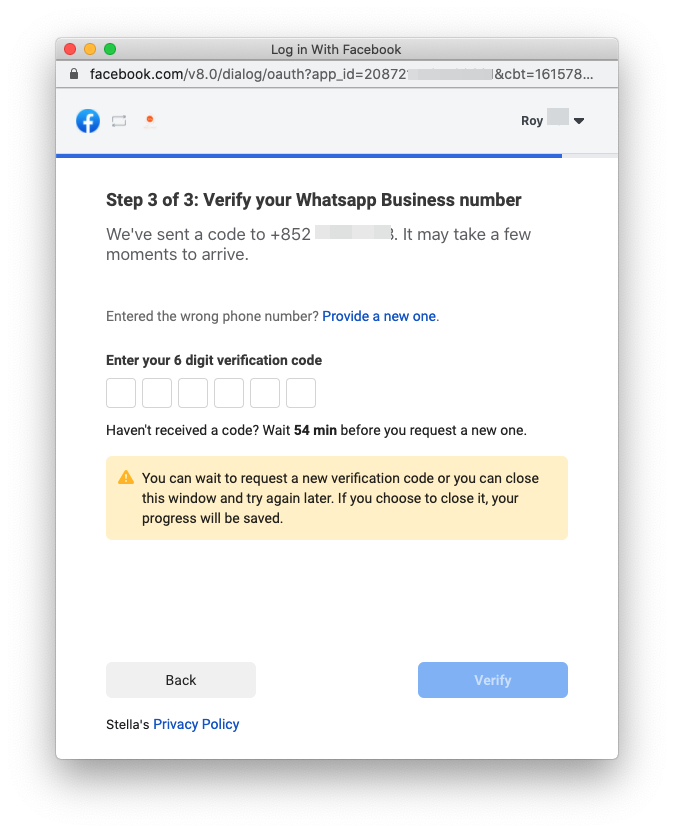
- In Step 3 of 3, enter a phone number with its country code to register the number on WhatsApp. Make sure this number is NOT registered to any existing WhatsApp account. Then, select a Verification Method between Text Message or Voice Call. Select "Send Code".

- Once your client have received the 6-digit verification code via Text Message or Voice Call, enter the code and select "Verify".
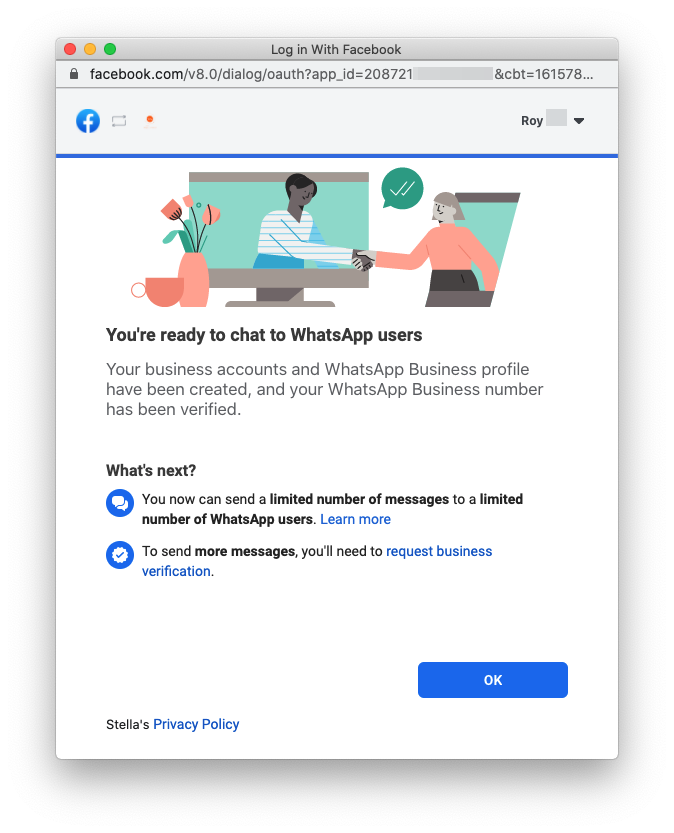
- Once your client's phone number has been verified, select "OK" to complete the setup. Now you can have access to the Sandbox Environment until your WABA is verified.
The unverified state lasts for 30 days with the sandbox experience available, at which point a business will no longer be able to send messages until they complete business verification and pass WhatsApp checks.
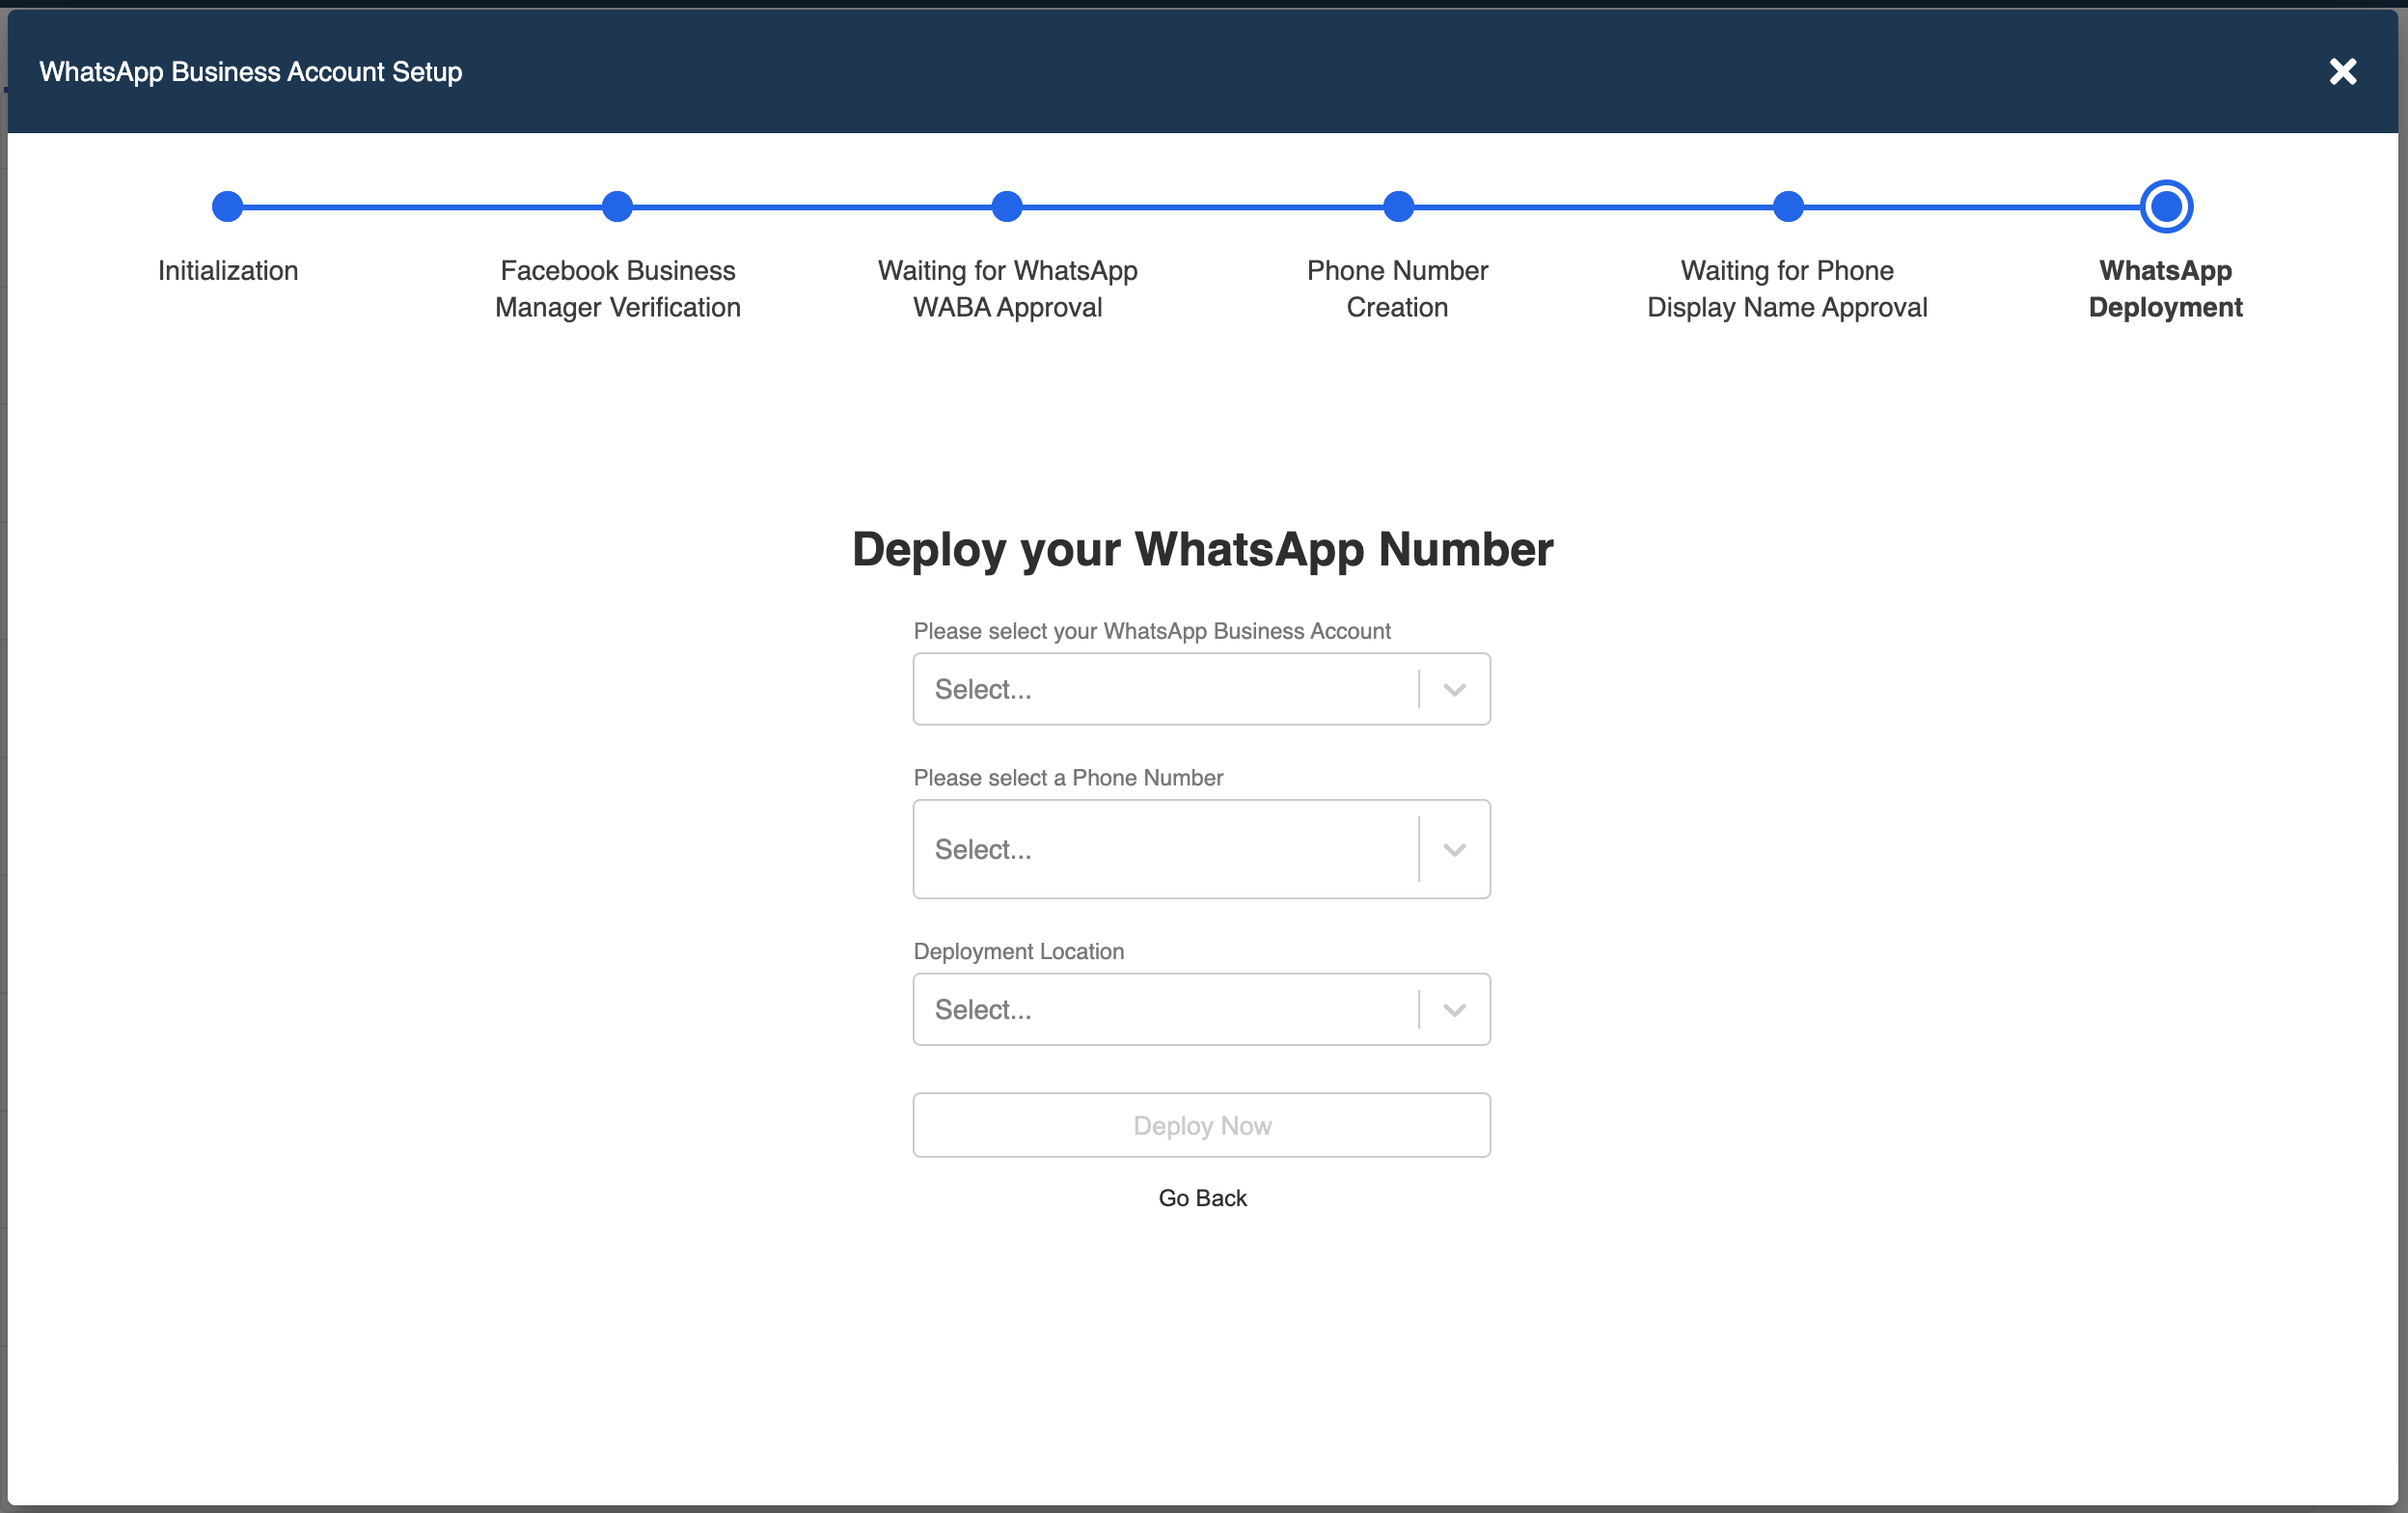
- Then, you can deploy the WhatsApp Number. Select the WABA account, phone number and location, click "Deploy Now".
If you encounter error while deploying WABA, the "Deploy Again" button will be available for retrying the deployment.
- You should be able to see the registered phone number info under section "Connect" now.

Upon the completion of the embedded signup flow, you are able to complete the business verification and check the status of approval. Please refer to Check WABA Status of Approval.
Congratulations! You're all set. You may also access the WhatsApp Server Info & API Path in this page if you want to customize the endpoint. For more information, please refer to our WhatsApp Channel Documentation.