Apply Web Event to Webchat Chatbot
WEB_EVENT allows you to send custom data to Stella to trigger a chatbot. It allows you to create interactions between your website and the webchat plug-in. In other words, when a user clicks a button in the website, a WEB_EVENT is called, and the webchat can be triggered to perform certain actions.
This section will introduce two examples of use cases:
- Match the Locale Settings of Website and Webchat
- Trigger the Chatbot to Save Data from Website
Click here to know more about WEB_EVENT.
Match the Locale Settings of Website and Webchat
The webchat plug-in of Stella allows user to control the locale settings manually. However, with the help of WEB_EVENT, the locale of the webchat can be switched automatically to match with the website language settings.
Expected Outcome #1
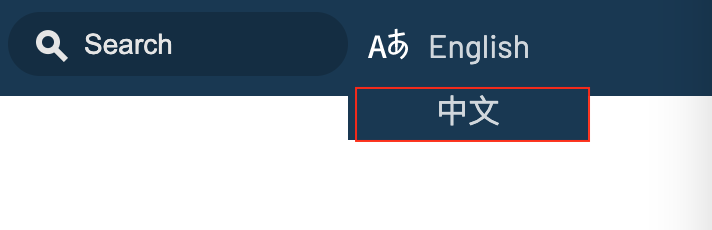
When the user clicks and switches the website language to Chinese, a web event is sent and the webchat is triggered to change its locale settings from English to Chinese.

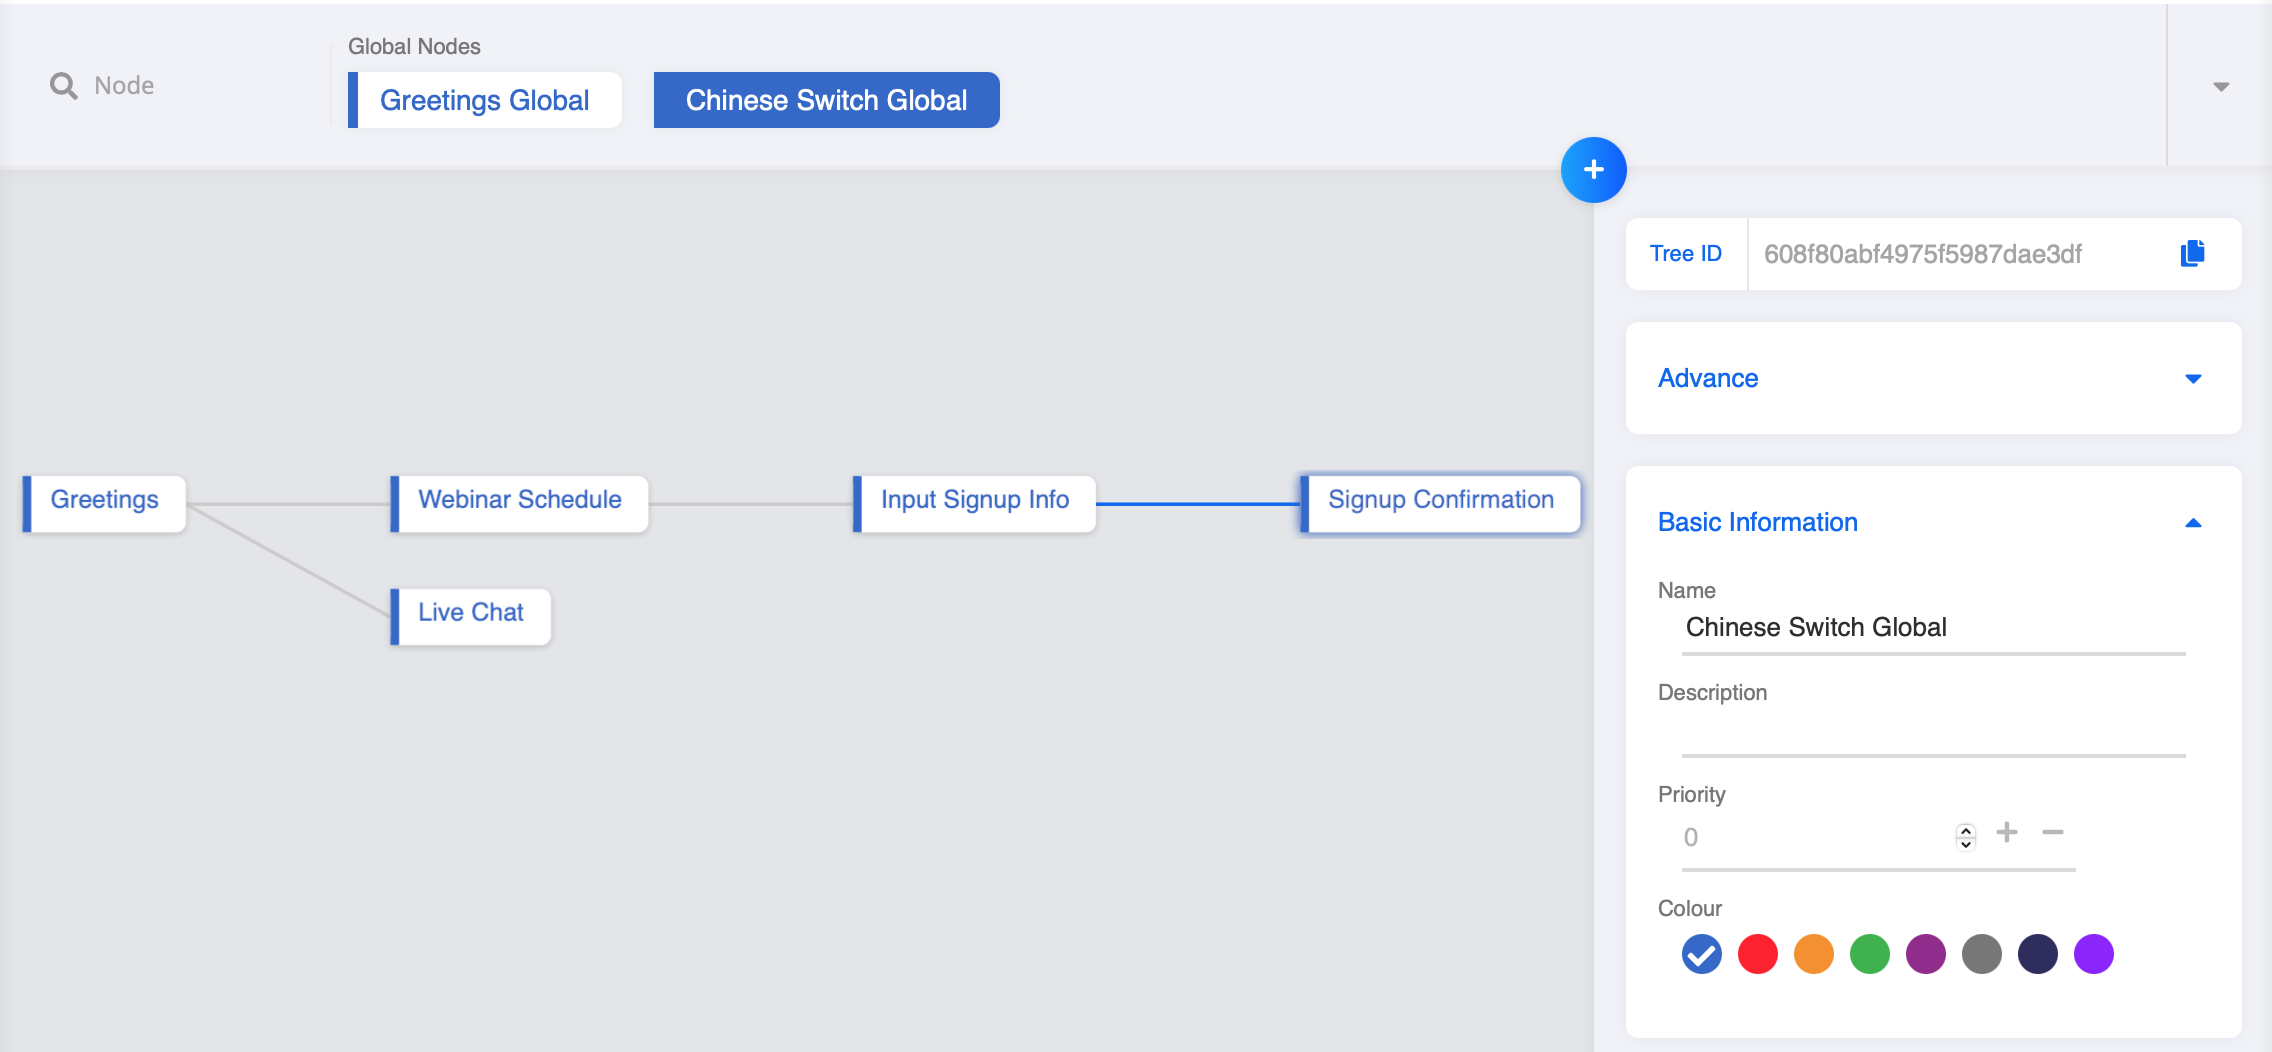
Sample Tree Strucutre
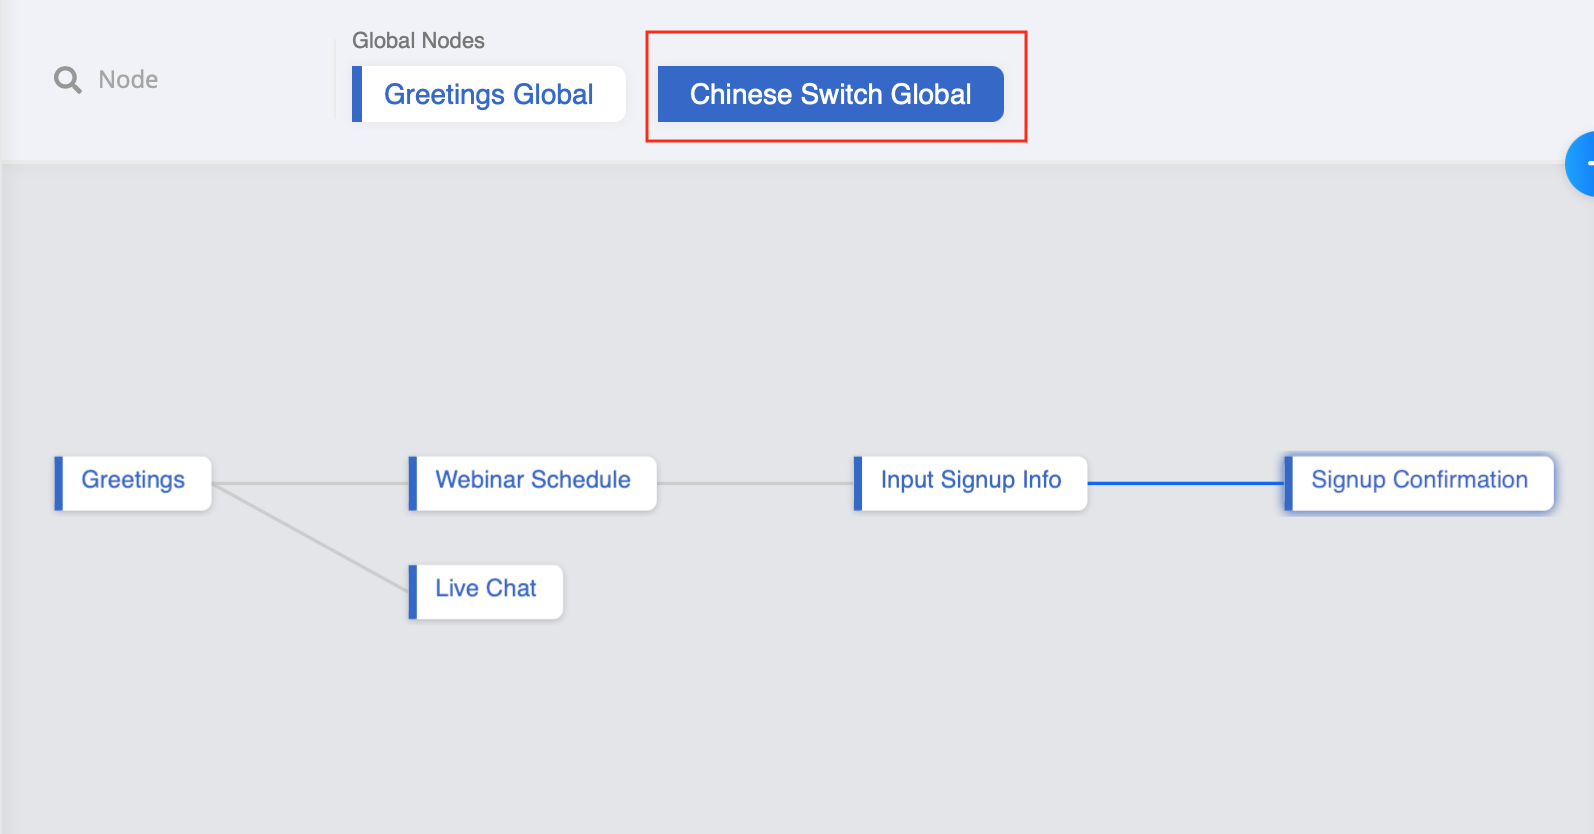
You can use any conversation flow you want, the most important part is the Global Node that identifies WEB_EVENT and switches the locale settings.
Locale Settings
- Please make sure you have set up the locale in settings.
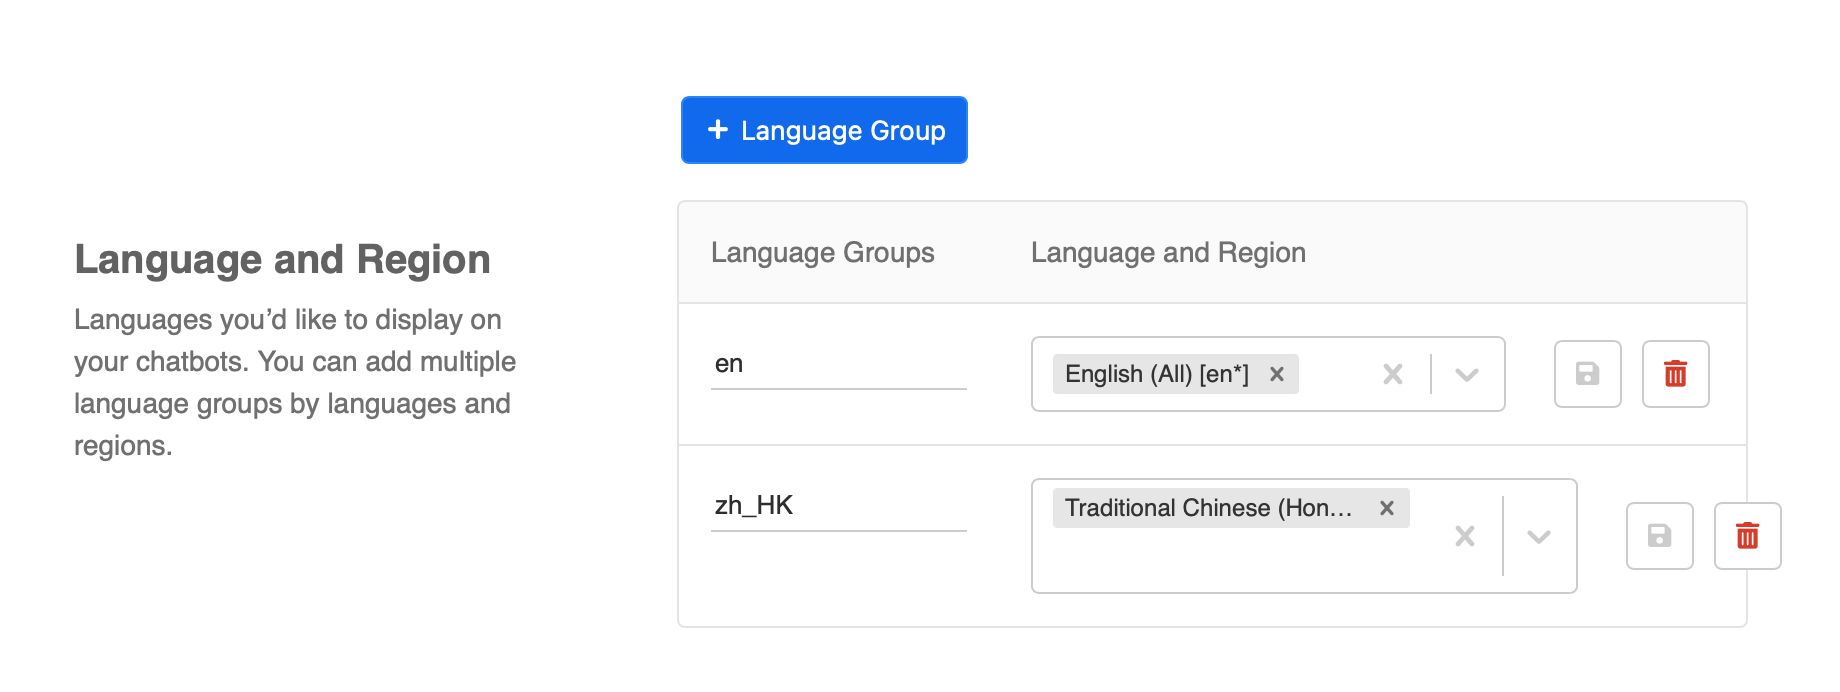
Locale Groups in Response
In Stella, create a webchat channel.
Create a tree, and build up a sample conversation flow.
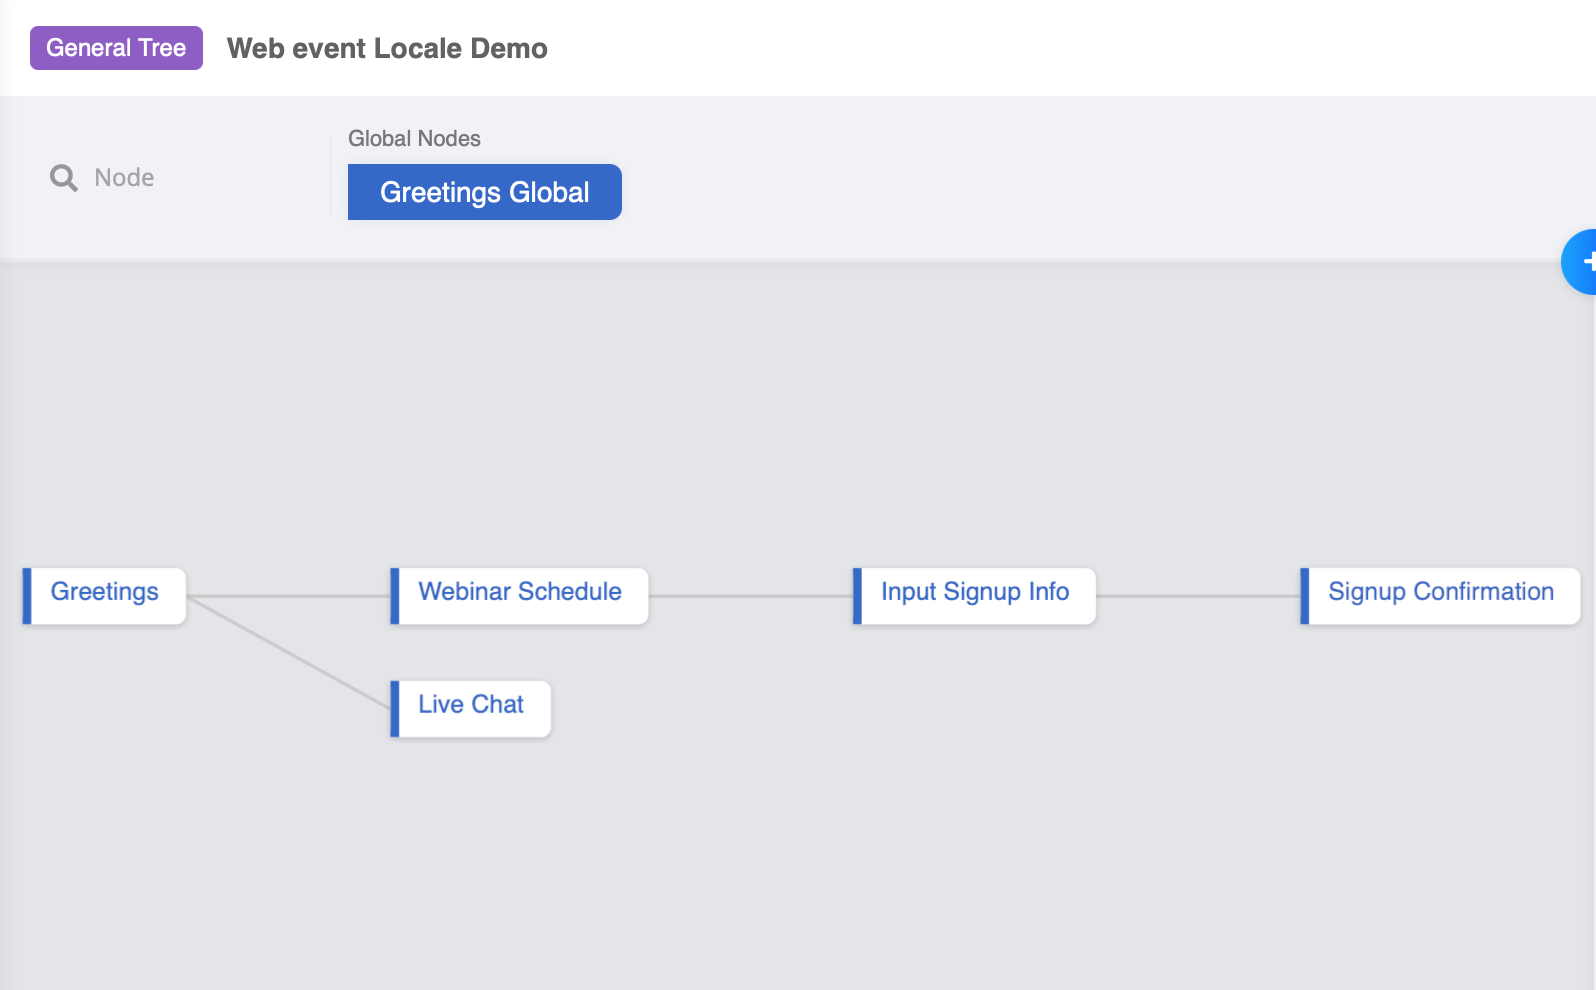
- For each response, select and add the locale groups you want. Input the content for each language setting. For more about setting up locale group response, please refer to here.
![]()
Set up Web Event in Website
- Input the following function into your website code. If you put it in a button, the function can be called when a user clicks on that button in the website.
Radiate.sendEvent("WEB_EVENT", {
  payload: "CH_LOCALE_CHANGE"
}, {
  openMessenger: false
})
Create Trigger to Receive Web Event
- Create a global node.
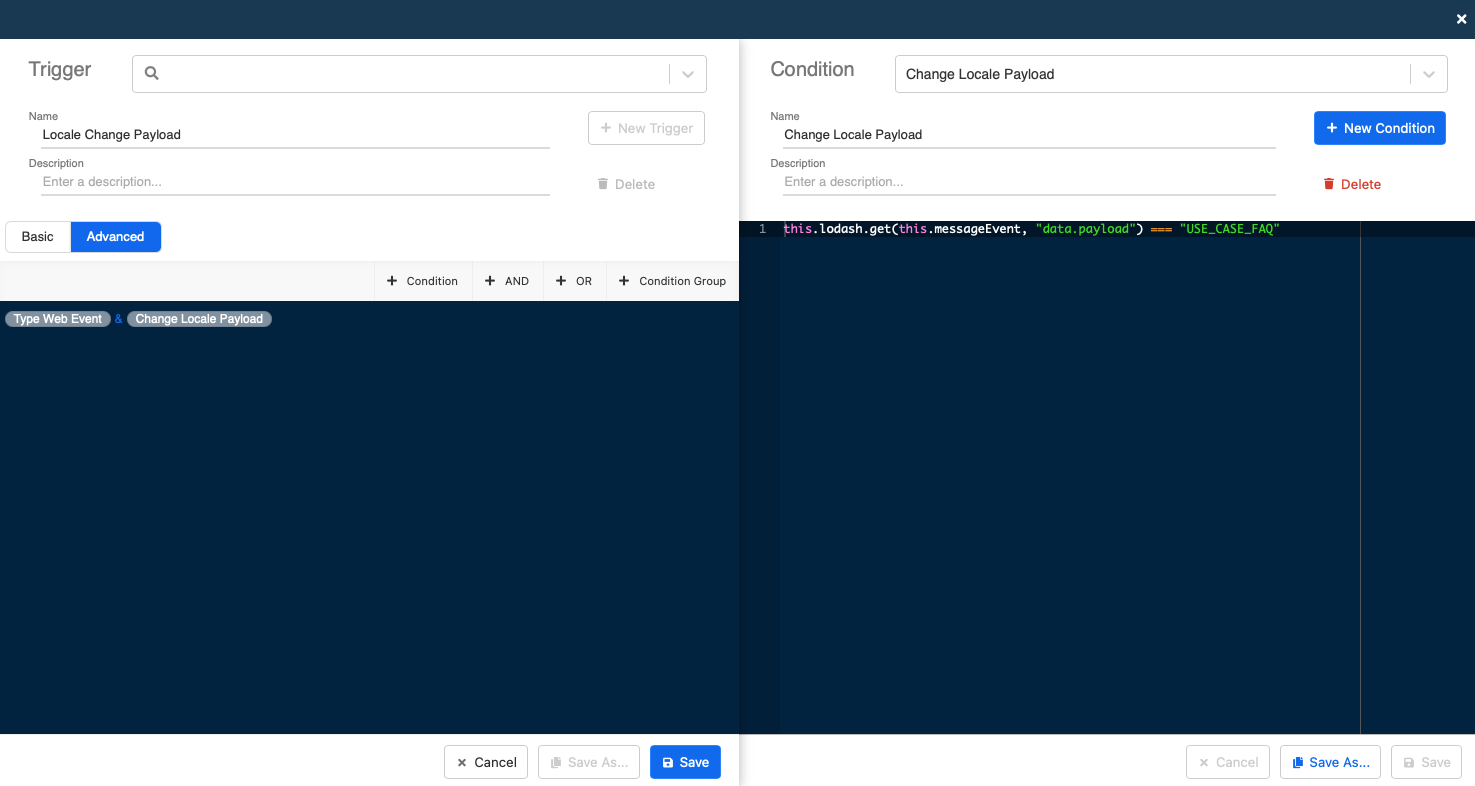
- In "Chinese Switch Global", create a new trigger and create the following conditions. This trigger is for identifying the
WEB_EVENT.
- Condition 1
this.messageEvent.type === "WEB_EVENT"
- Condition 2
this.lodash.get(this.messageEvent, "data.payload") === "CH_LOCALE_CHANGE"
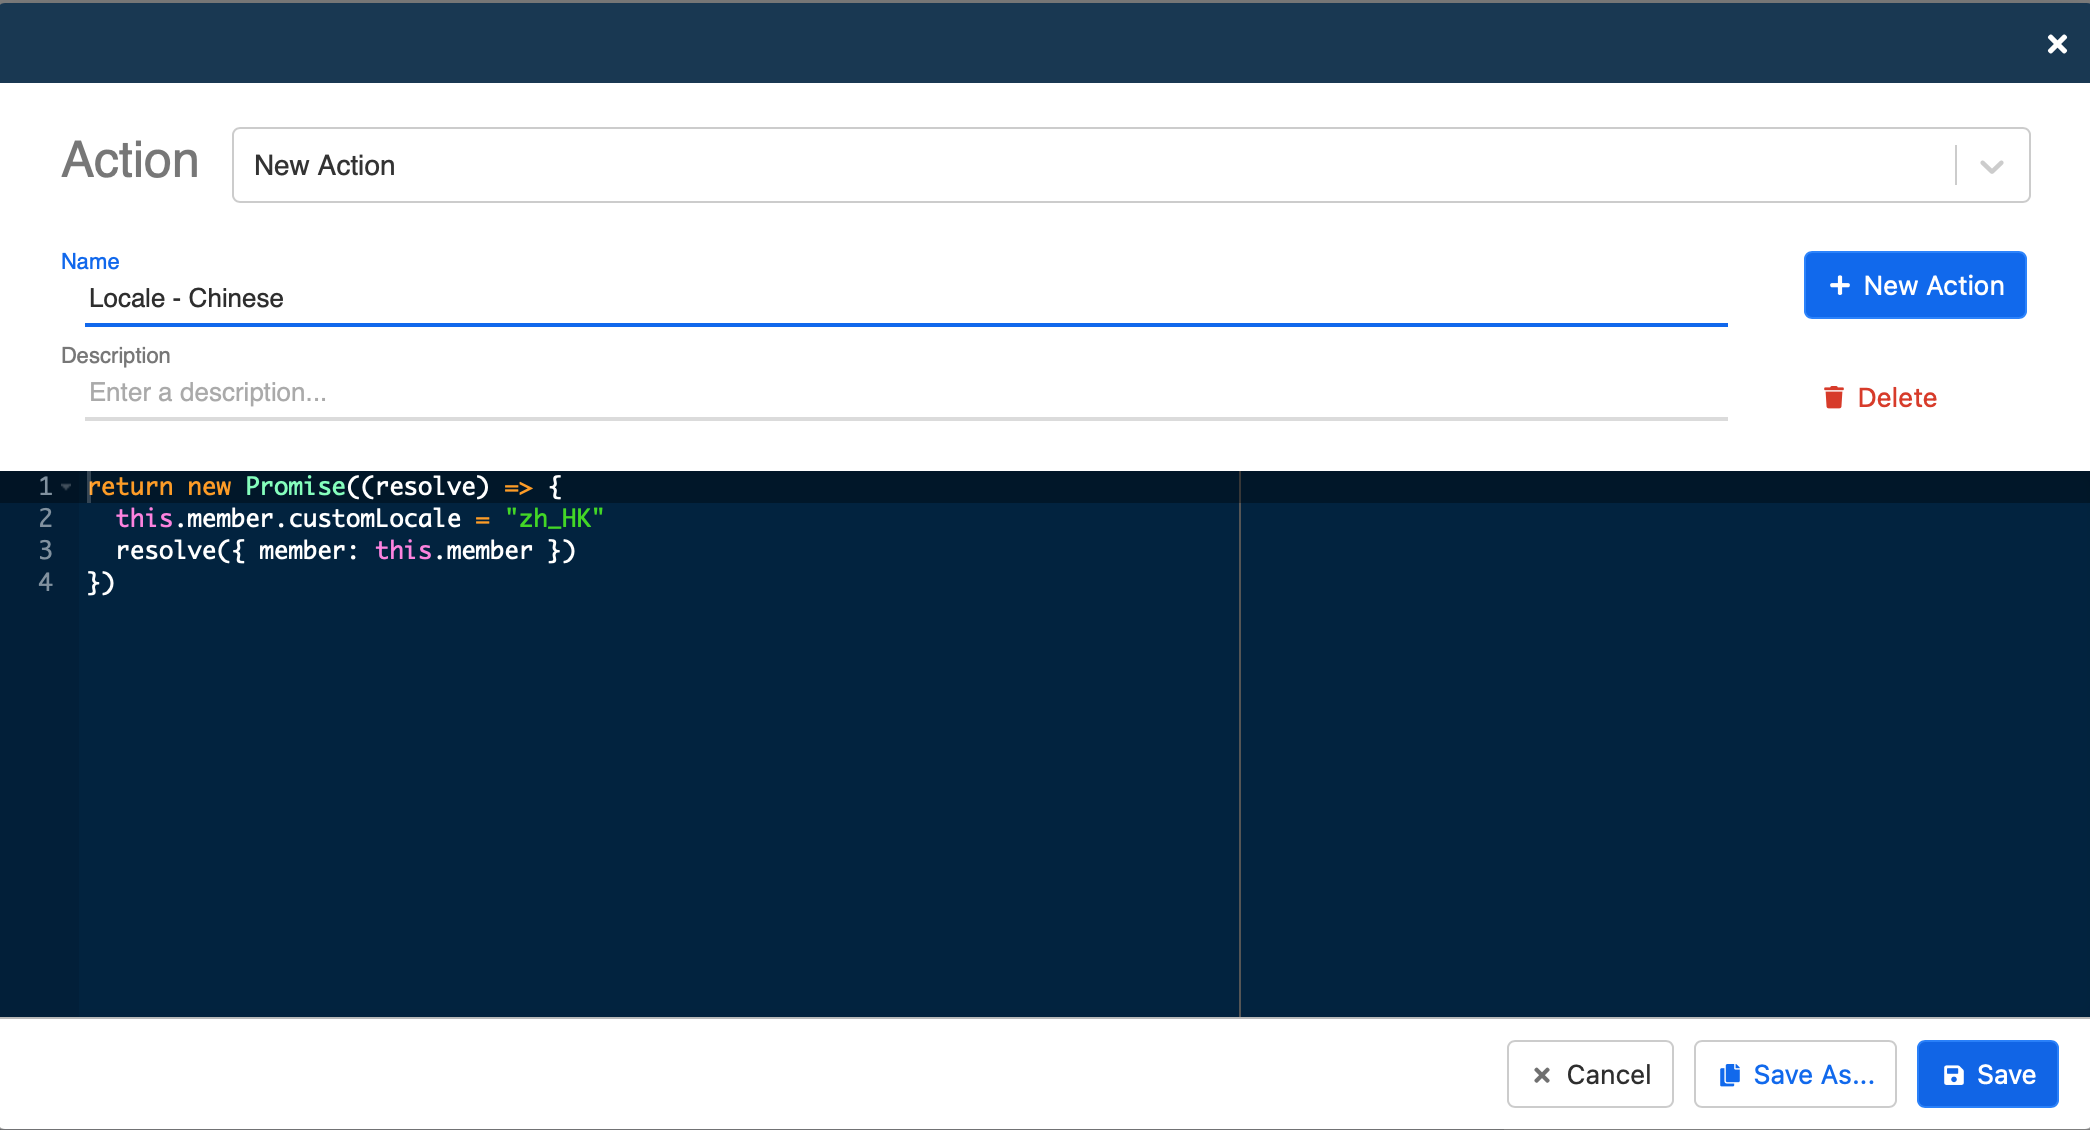
Create Action for Language Switch
- In "Chinese Switch Global", create a new action with the following code. This action can indicate which locale group to use in a response. You need to input the locale into the code, e.g. "zh_HK", please refer to supported locale for more details.
return new Promise((resolve) => {
  this.member.customLocale = "zh_HK"
  resolve({ member: this.member })
})
You can repeat step 4-8 for switching to another language.
Check and see if you can produce the expected outcome.
Trigger the Chatbot to Save Data from Website
Instead of changing locale settings, you can also send custom data to the webchat and ask the chatbot to save certain data from the website.
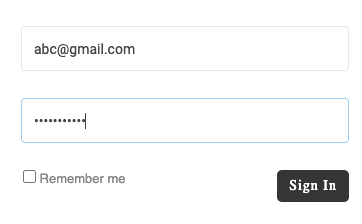
For example, when a user clicks on the login button in your website, a user ID can be sent and saved by the chatbot.
Expected Outcome #2
When a user clicks on the login button, a WEB_EVENT containing the user ID is sent, and the webchat is triggered to save it in tempData.
Sample Tree Strucutre
You can just create a sample conversation flow you want, the most important part is the global node that catches the WEB_EVENT and the User ID.
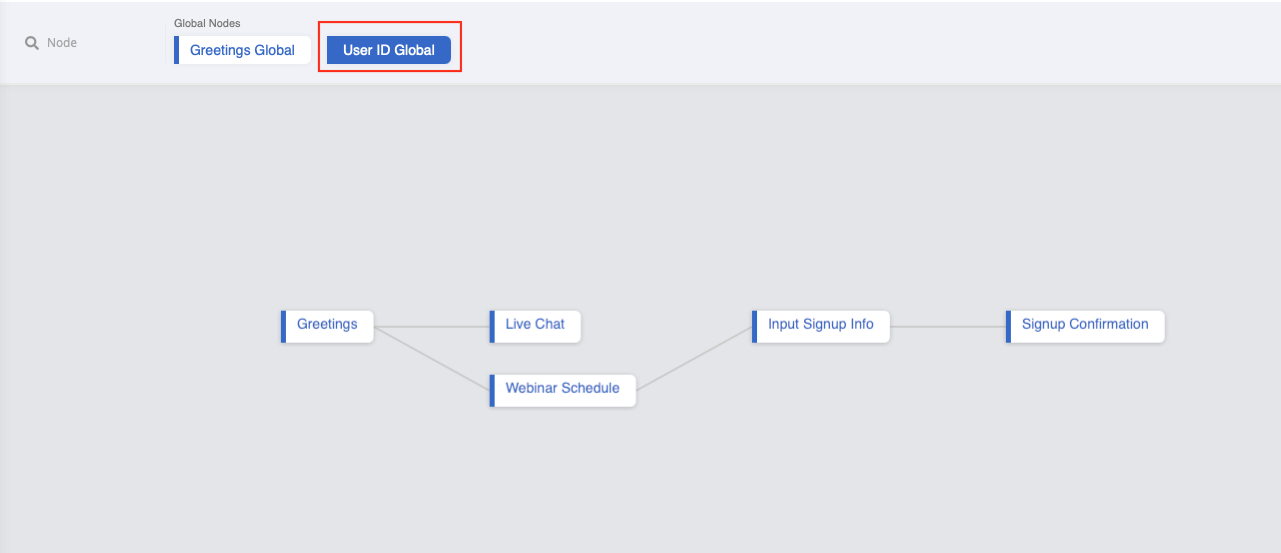
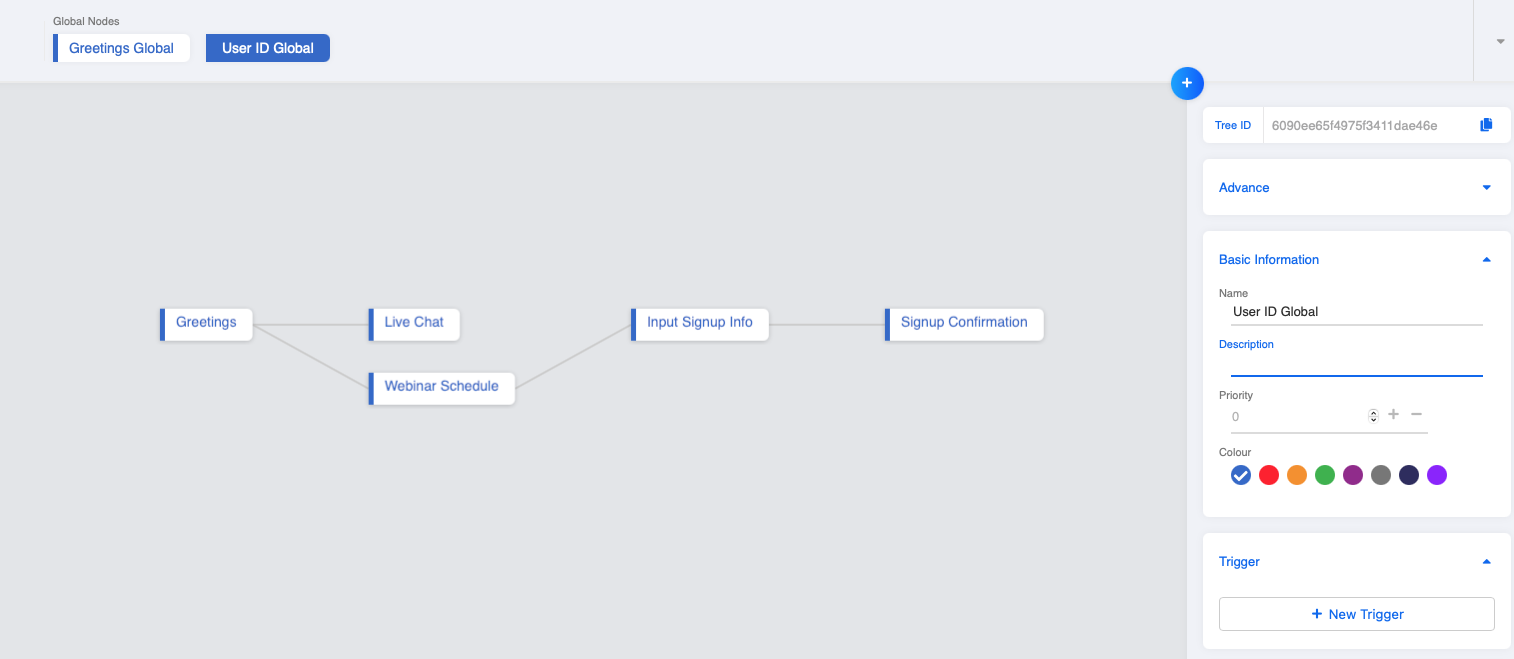
Create Global Node
- Create a tree, and build up a sample conversation flow.

- Similar to the previous use case, create a global node to identify the
WEB_EVENT.
Set up Web Event in Website
- Input the following function into your website code. If you put it in a button, the function can be called when a user clicks on that button in the website.
Radiate.sendEvent("WEB_EVENT", {
  payload: {
    payload: "USER_LOGIN",
    value: <ACCOUNT_ID>
}, {
  openMessenger: false
})
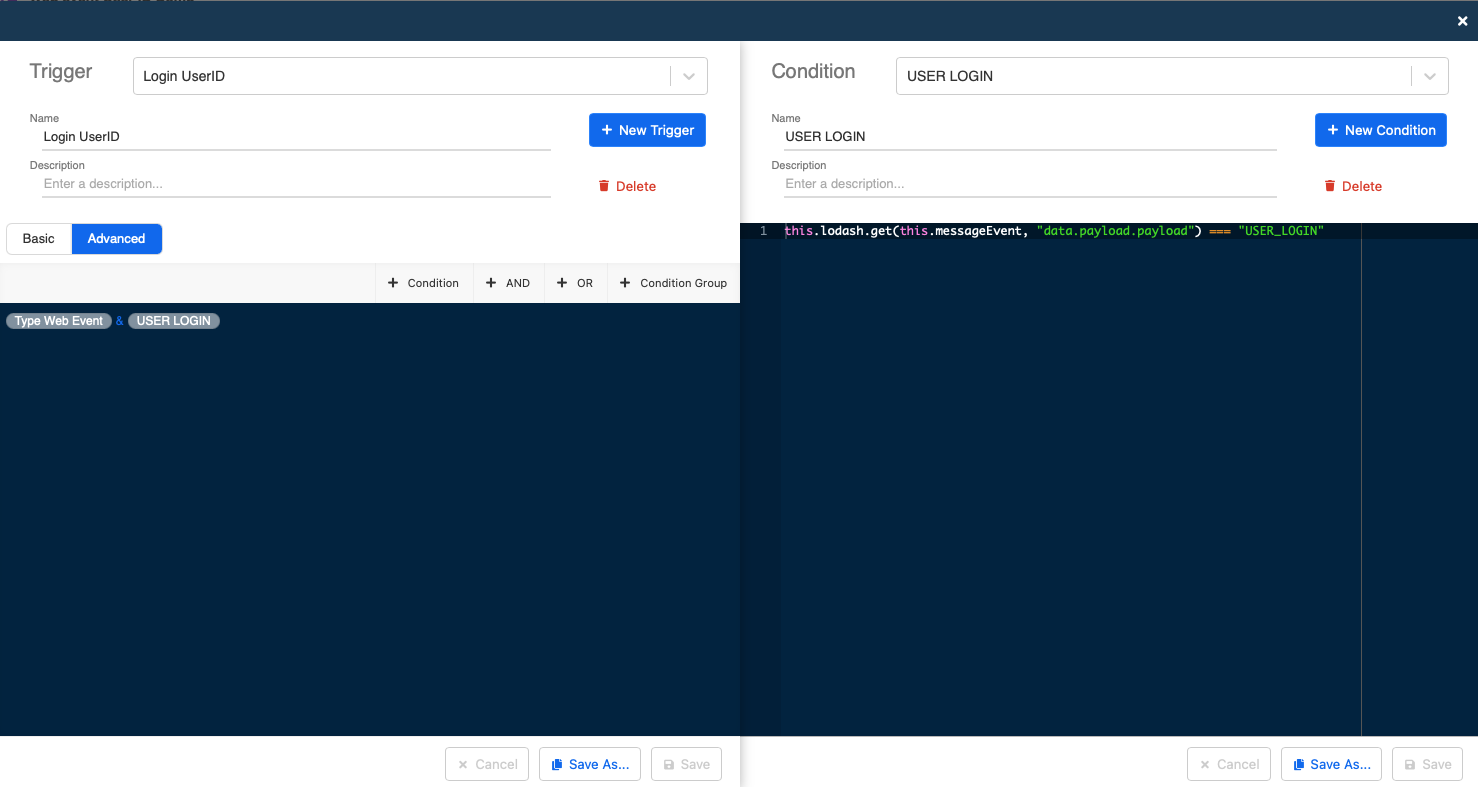
Create Trigger to Match the Payload Value
- In "User ID Global", create a new trigger and the following conditions. This trigger is for matching the WEB_EVENT and its containing value.
- Condition 1
this.messageEvent.type === "WEB_EVENT"
- Condition 2
this.lodash.get(this.messageEvent, "data.payload.payload") === "USER_LOGIN"
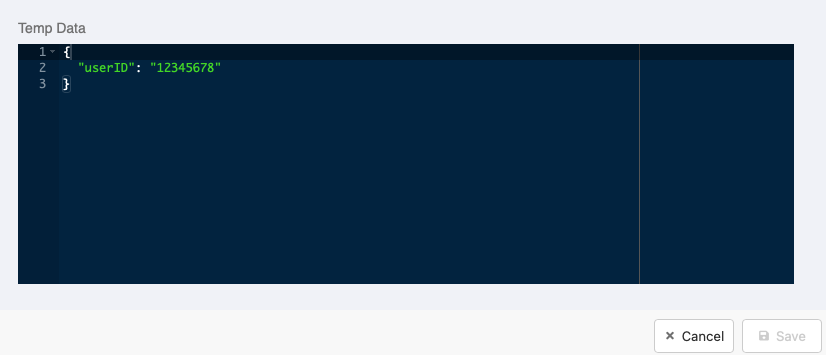
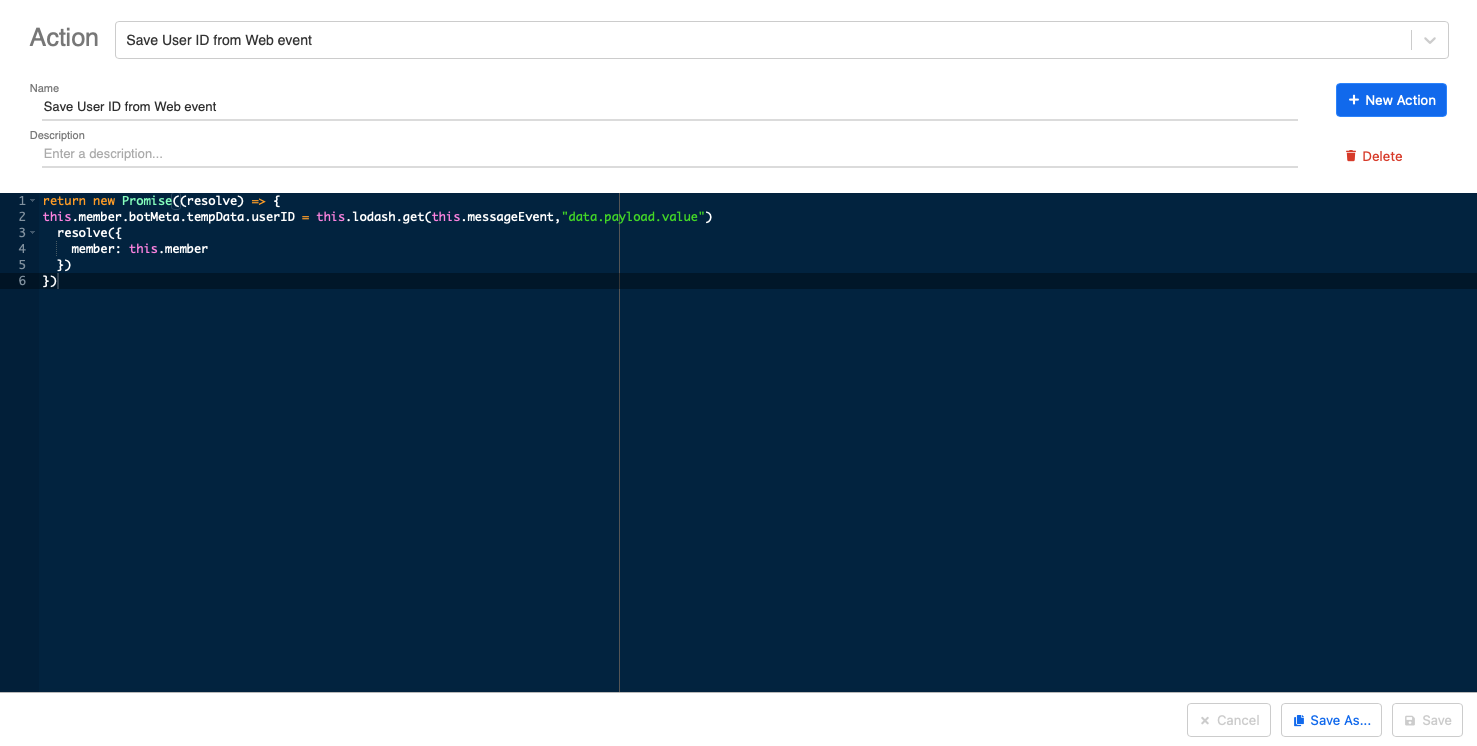
Create Action to Save the data into tempData
- Create an action with the following code to save the payload value captured in step 4, and store it into tempData.
return new Promise((resolve) => {
  this.member.botMeta.tempData.userID = this.lodash.get(this.messageEvent,"data.payload.value")
  resolve({
    member: this.member
  })
})
- Check and see if you can produce the expected outcome.