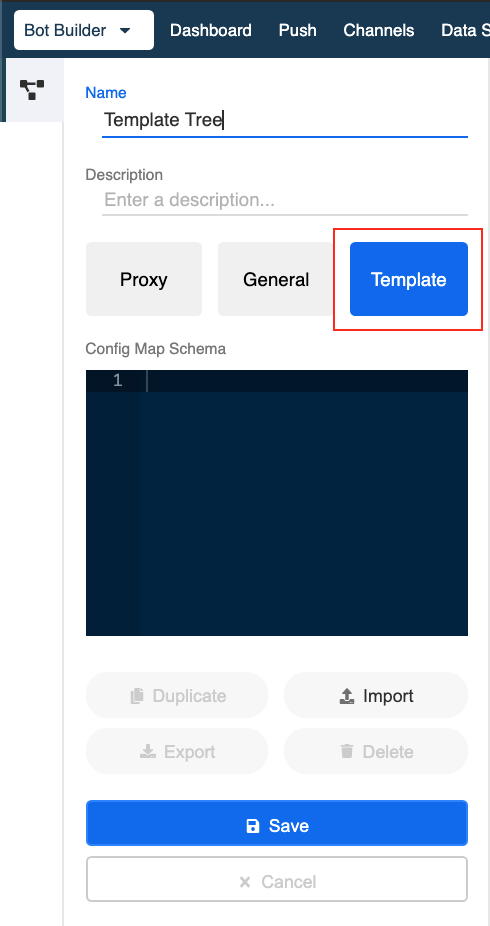
Create Template Tree
There are 2 ways to create a template tree:
Importing
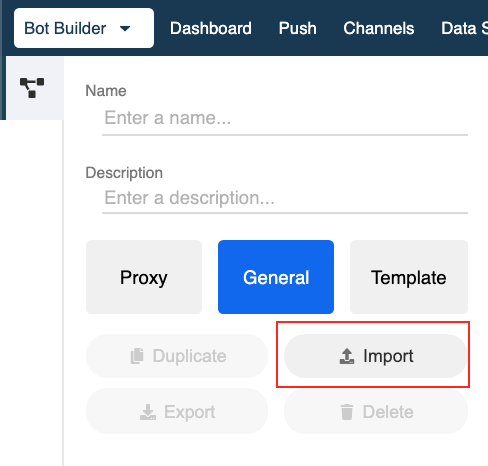
You can create template tree by importing any existing template tree to your Stella account via Tree Manager.
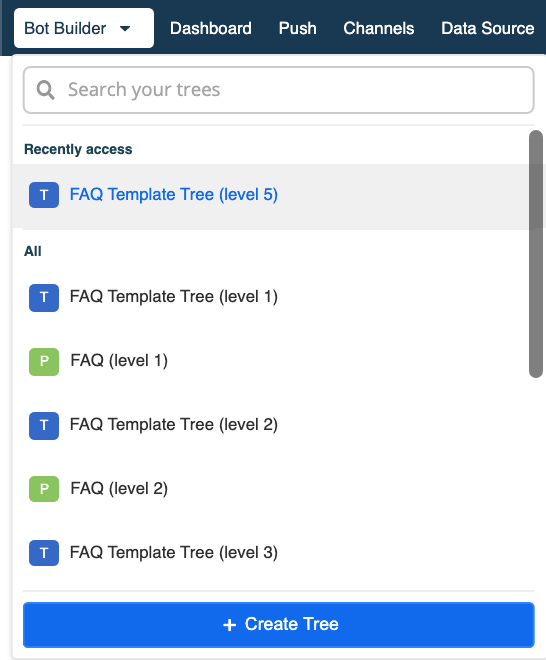
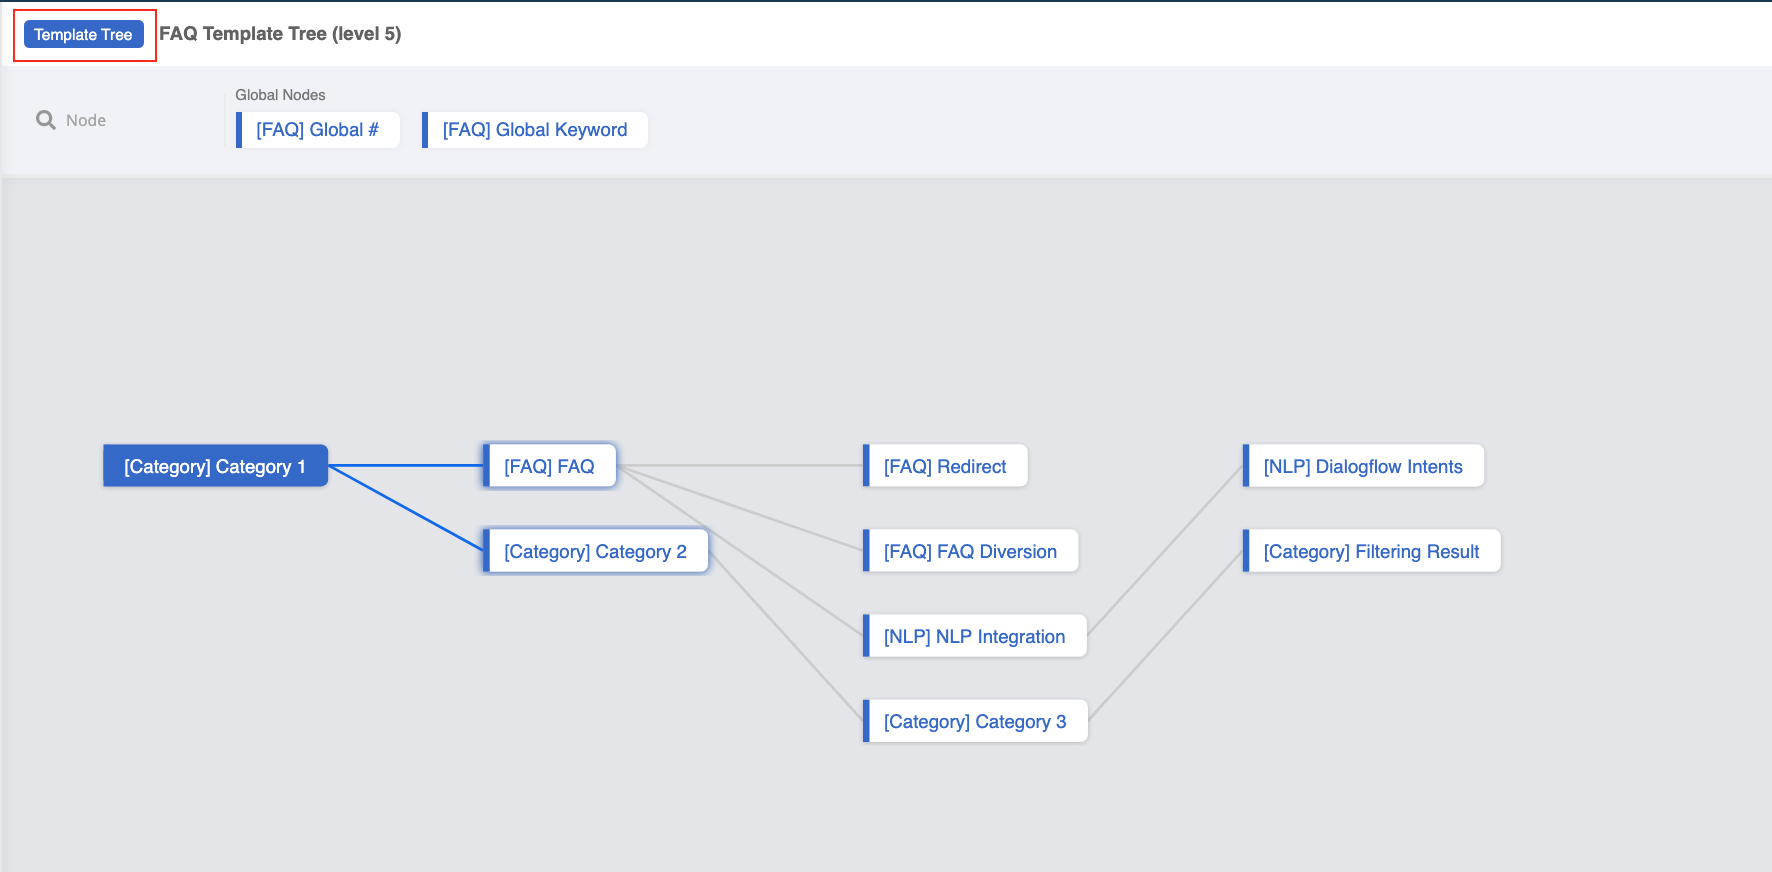
After importing, you will be able to locate the imported template tree in the drop down list of the Tree Manager. A label Template Tree will also be add on top the of the workspace.
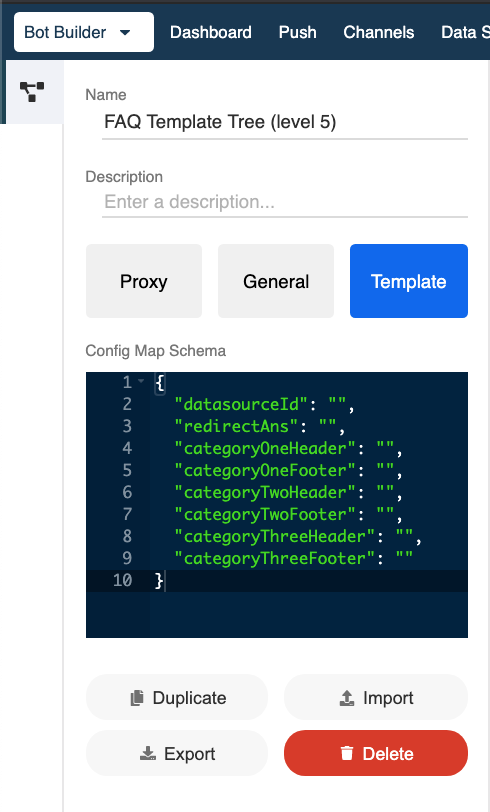
You can also access the config map schema and check the template tree infomation in the Tree Manager.
Building
The second way is to create the template tree from scratch via Tree Manager.
After you have created the tree, you can setup different variables with this.config.variable in any specific node. Let's say you want to change the greeting message for each page, then below is a sample code for the greeting message of the template tree:
return new Promise((resolve) => {
  resolve({
    type: "TEXT",
    text: this.config.greetingMessage
  })
})
For the next step, you should consolidate all the variables into the config map. Here is an example:
{
  "datasourceId": "5ea26a9d5423750009c88801_faq_level_5",
  "noAnswer": "Sorry, I don't have an answer for your question.",
  "question": "Please select a suitable question: ",
  "categoryOneHeader": "Please select your option: ",
  "categoryOneFooter": "Type \"0\" for main menu.",
  "categoryTwoHeader": "Please select your option: ",
  "categoryTwoFooter": "Type \"0\" for main menu.",
  "categoryThreeHeader": "Please select your option: ",
  "categoryThreeFooter": "Type \"0\" for main menu.",
  "greetingMessage": "Hi there! This is an FAQ Chatbot"
}
By simply editing the config map for each proxy tree, the message (variables) can be changed easily for different pages.

