Send Chatbot Message
Preset Chatbot Message
In Inbox Channel, agent can type in text messages to interact with the user during live chat. But agent can also make use of Chatbot Messages. These are Response from your tree node, which are stored in Stella. During live chat, if the user has an enquiry which could be solved by the chatbot, you can send a Chatbot Message Template in this case.
What is your Result?
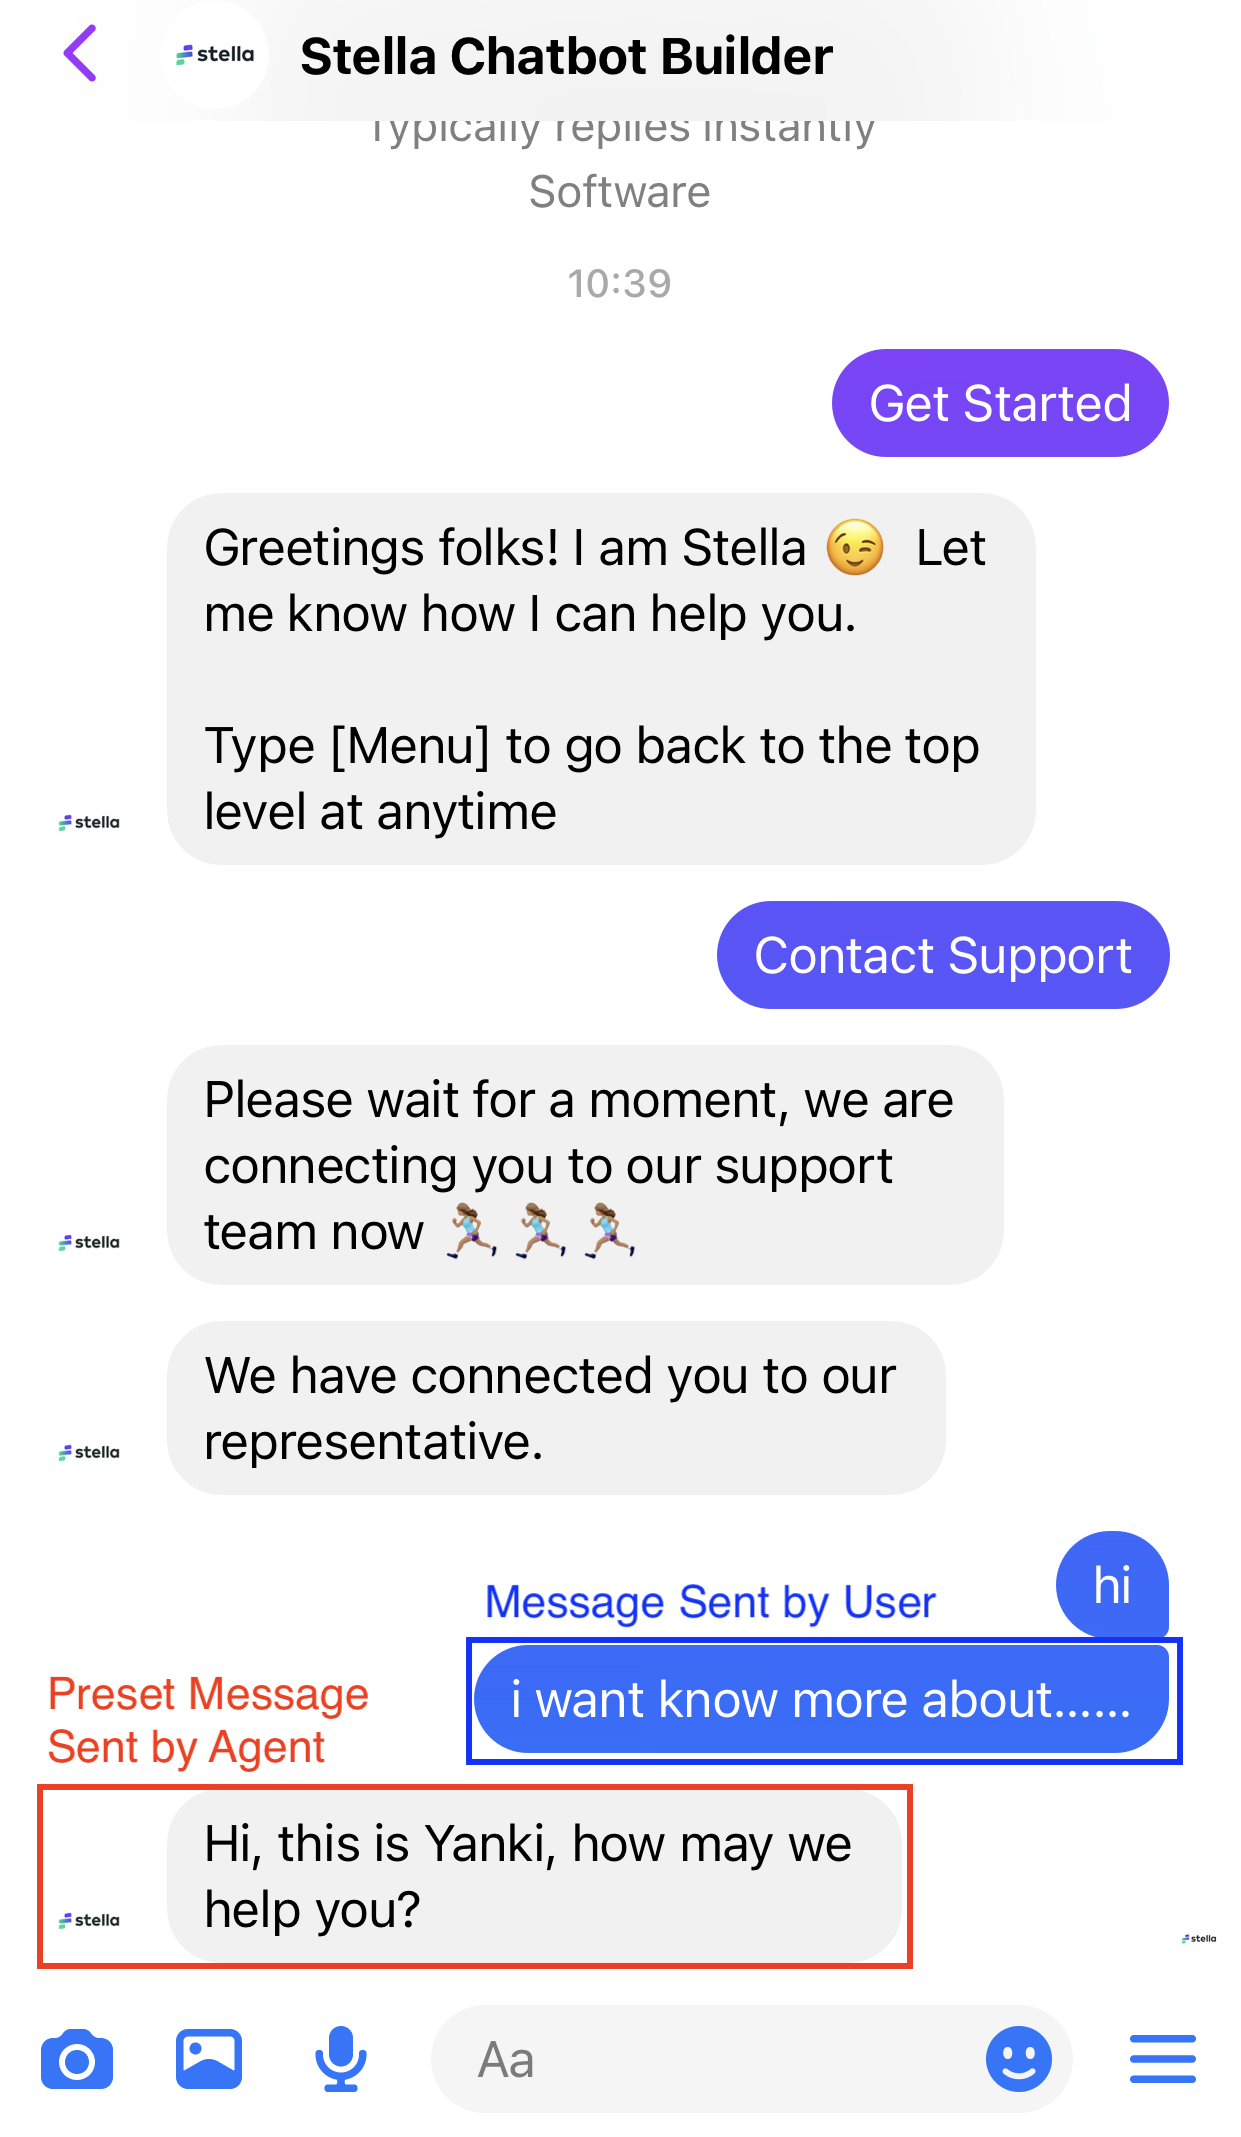
The agent is having live chat with a customer in Messenger. Now, the agent sends a Chatbot Message Template to answer the enquiry.
Create Chatbot Message
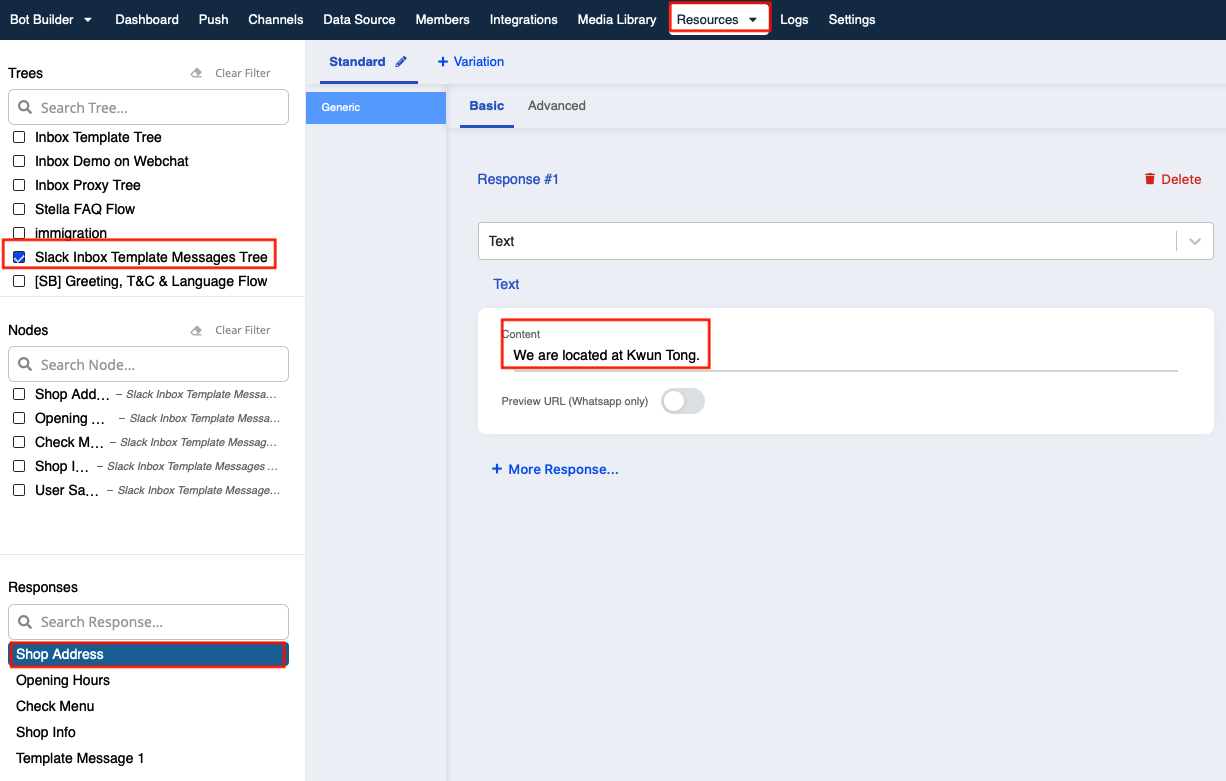
- After the installation of Stella Inbox, a Preset Chatbot Message Tree will also be imported to your Stella app. You can open this tree in Bot Builder Stella.
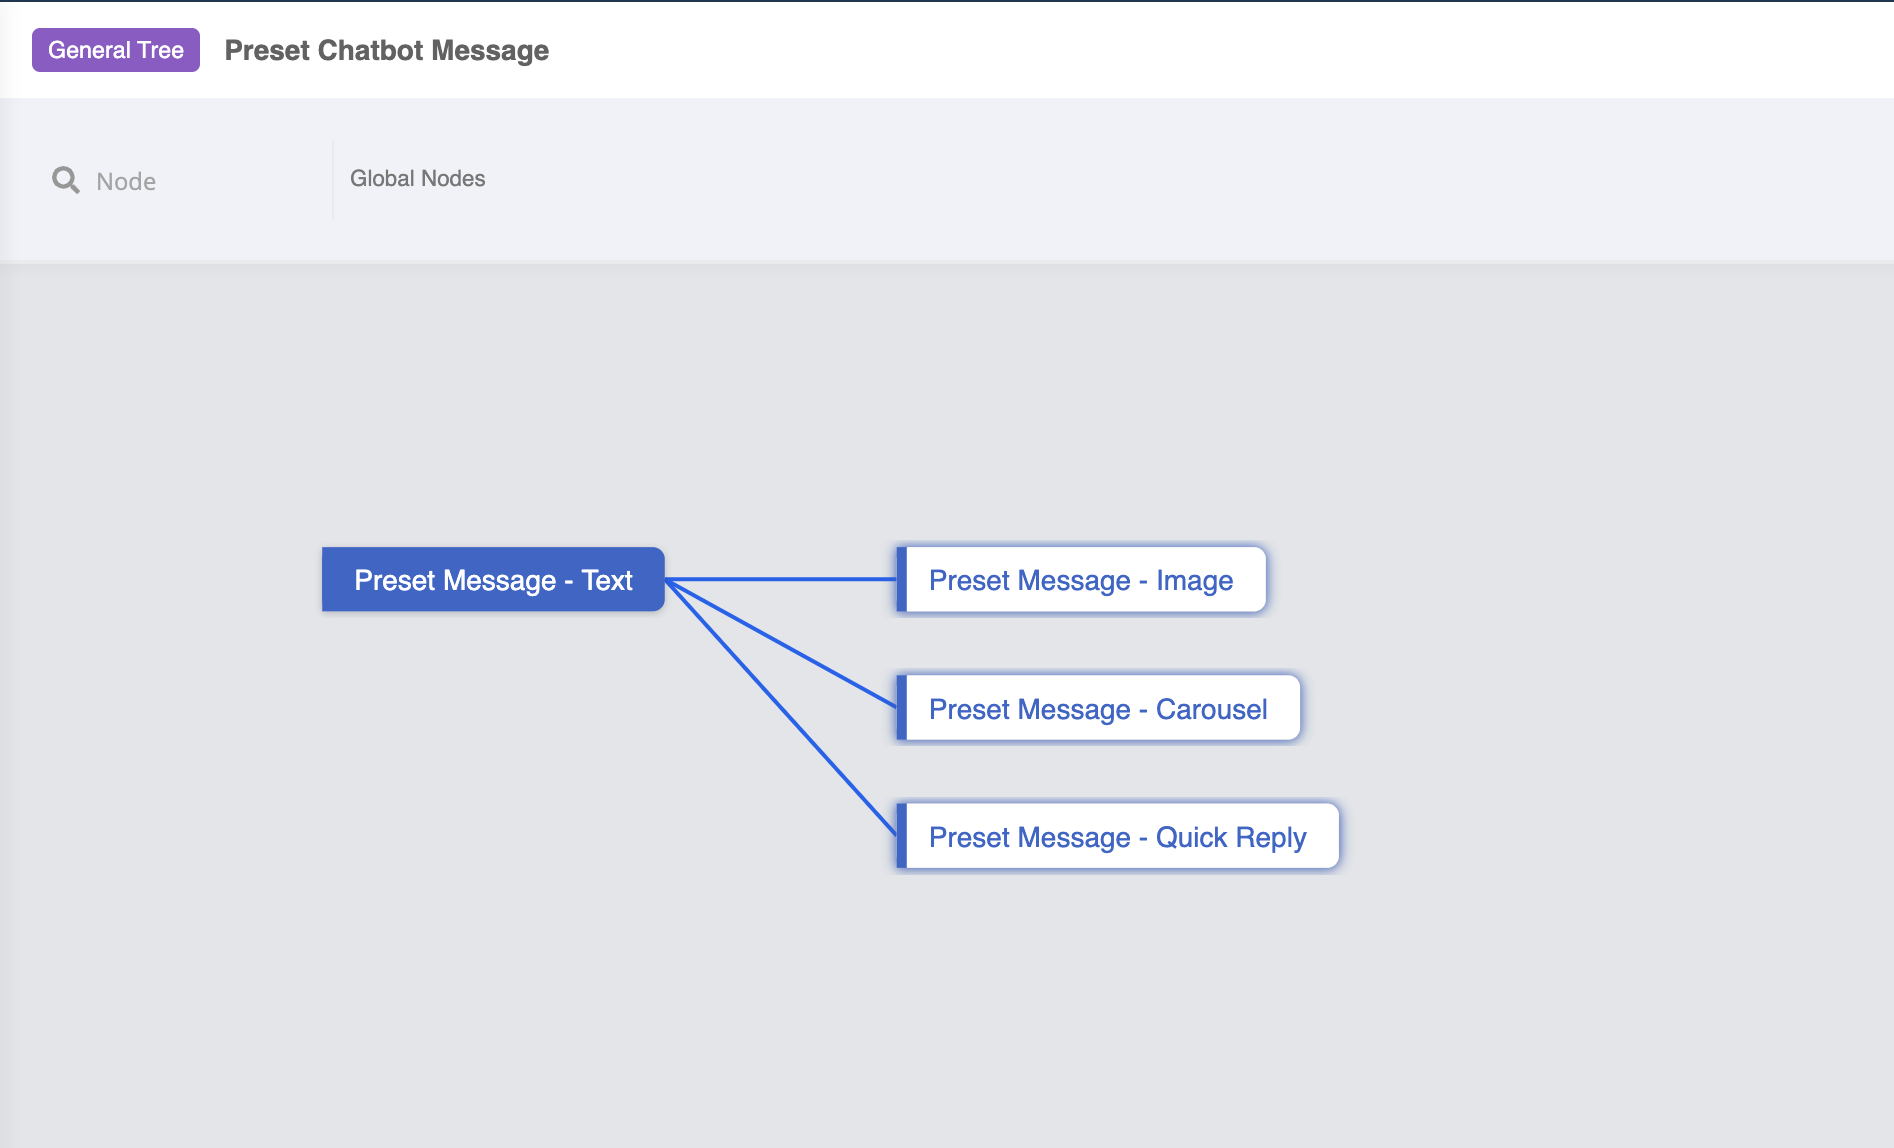
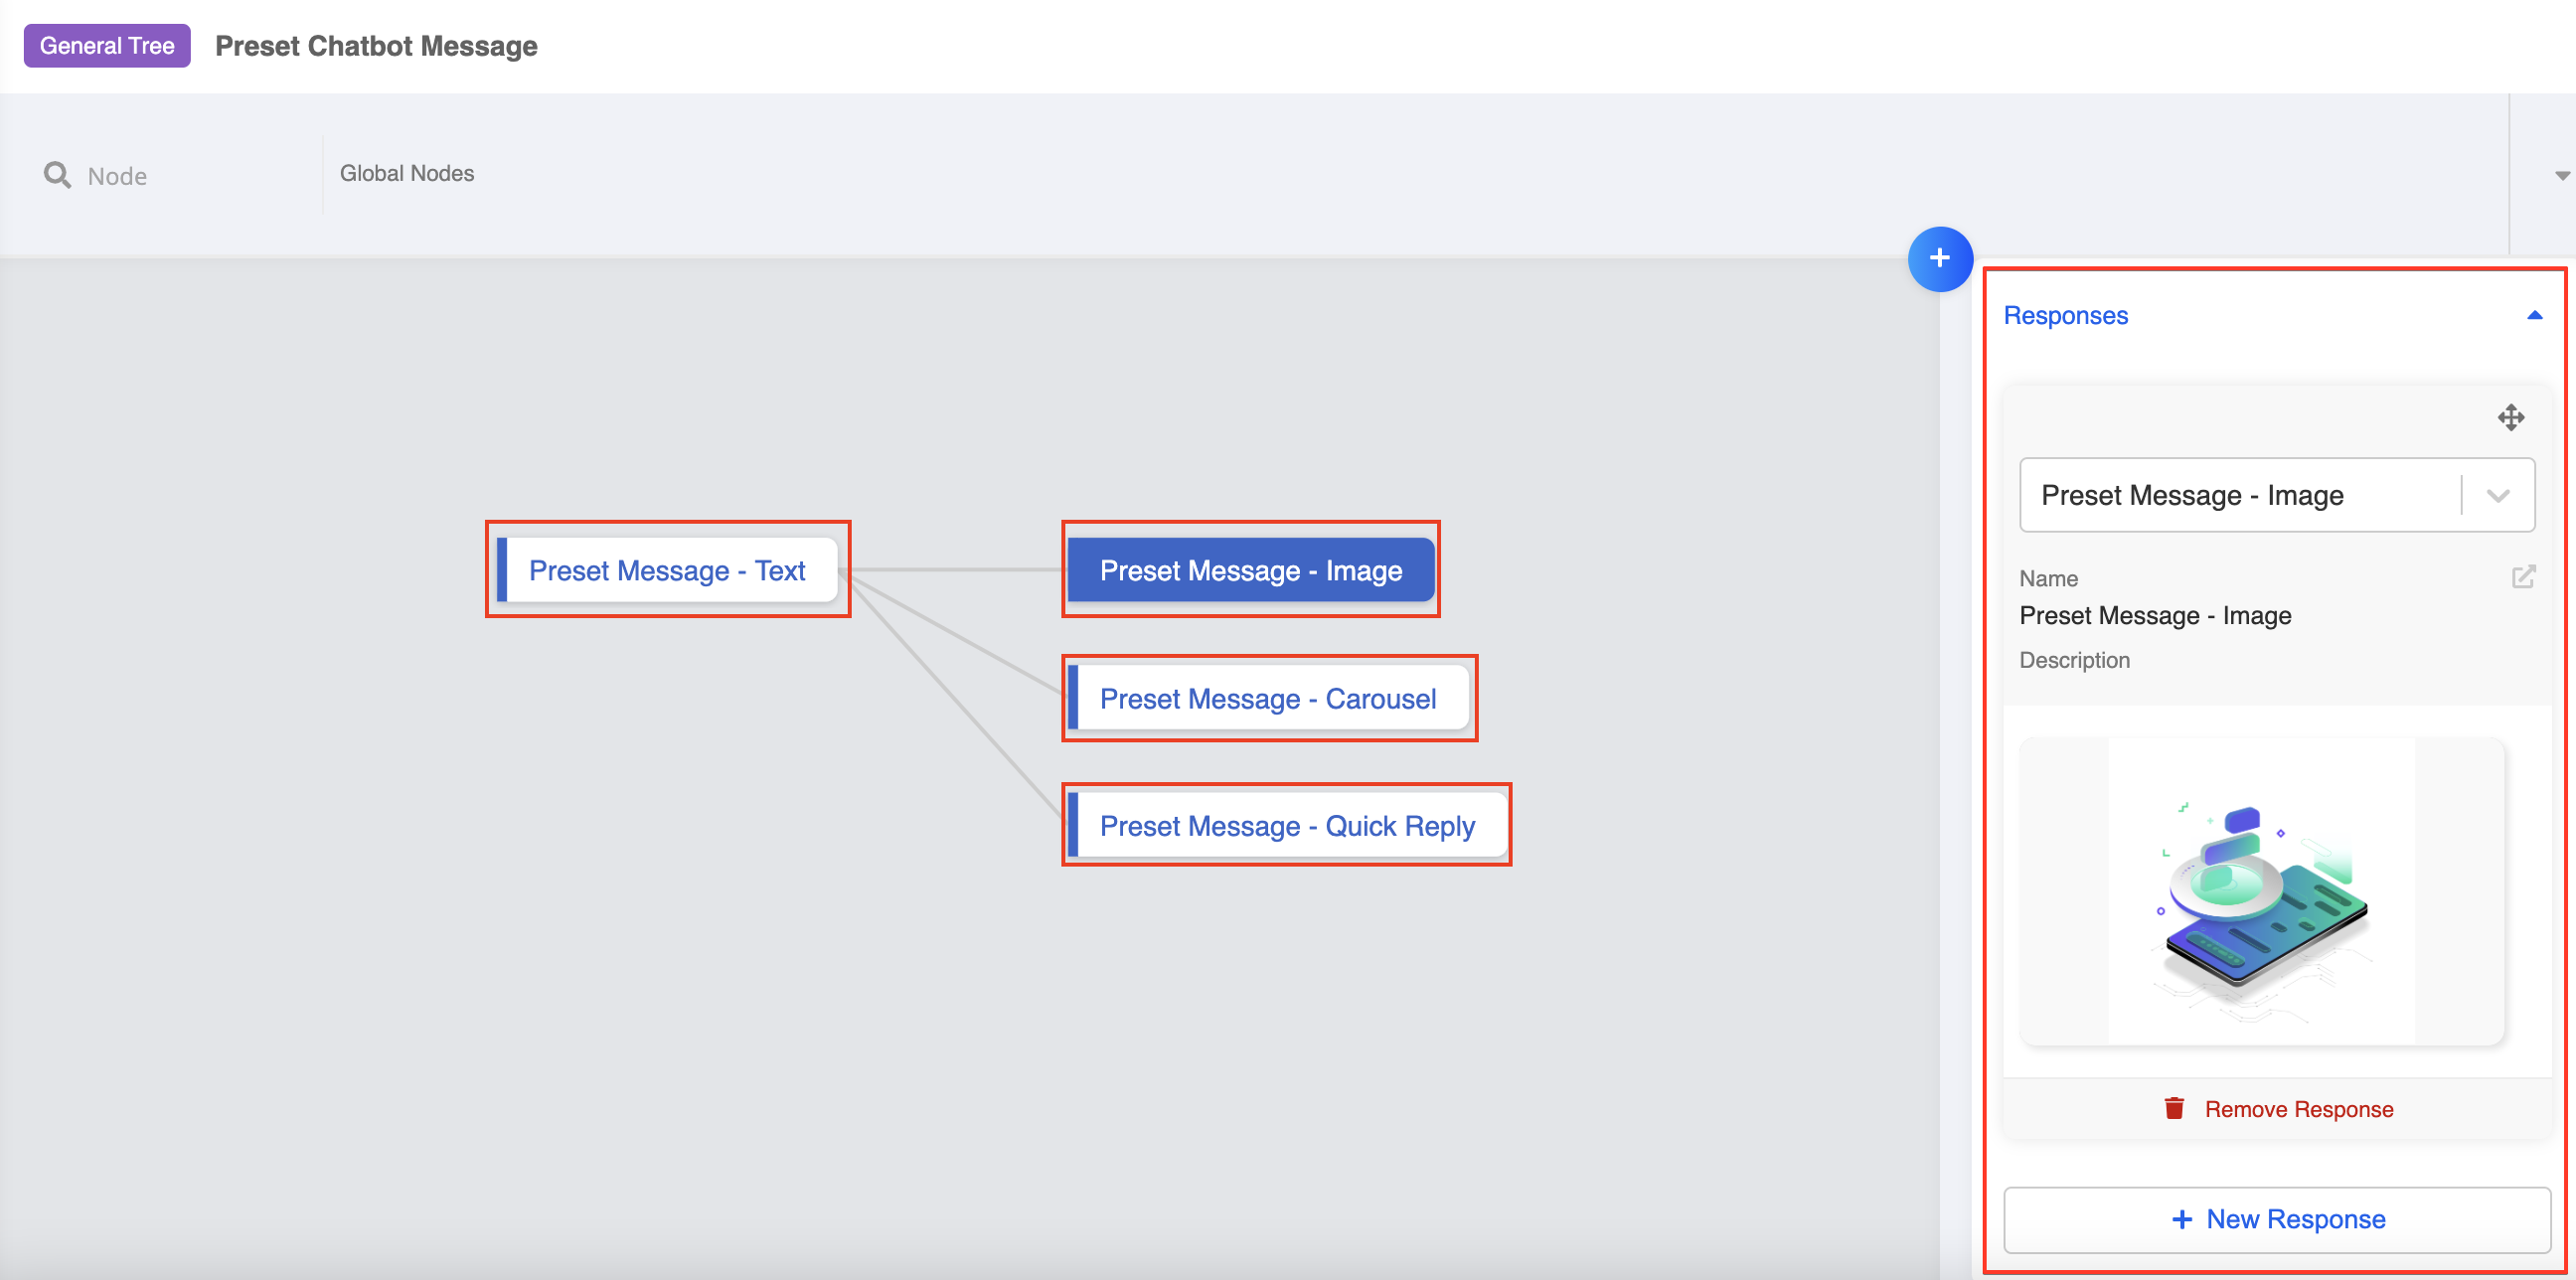
- In default, there are 4 tree nodes in the Preset Chatbot Message Tree. As stated in title of the node, each of them represents a preset message that you can use in Stella Inbox. To view and edit the content of the preset message, you can click on the node, open the Node Inspector on the right and edit the Response.
- In Stella, select Resources, then select Responses. In this page, you can also view the list of your Chatbot Messages by sorting out the corresponding tree.
Send Chatbot Message
- In the Inbox Channel, hover over a message in the inbox channel, select "More actions" on the right, then select "More message shortcuts".
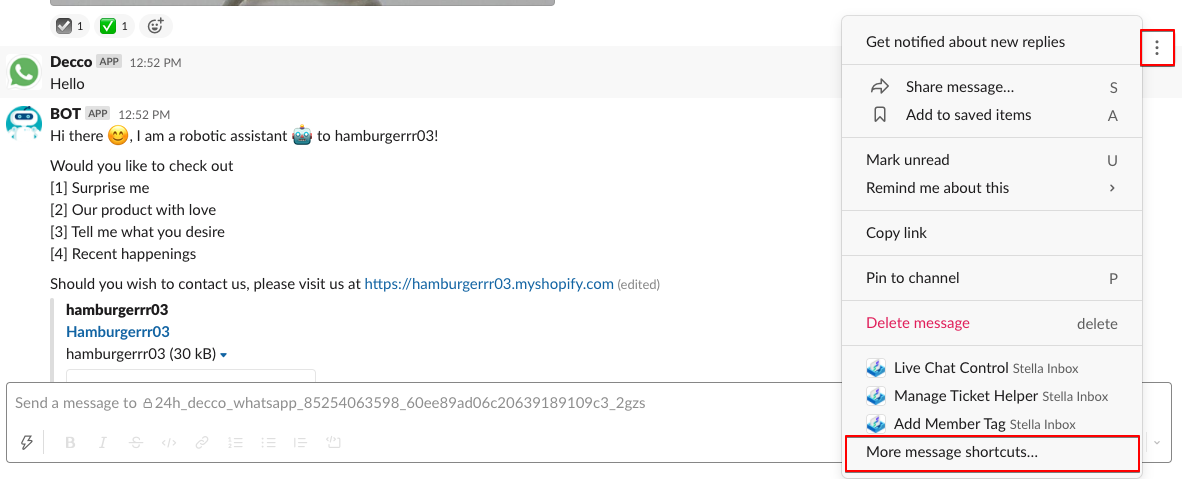
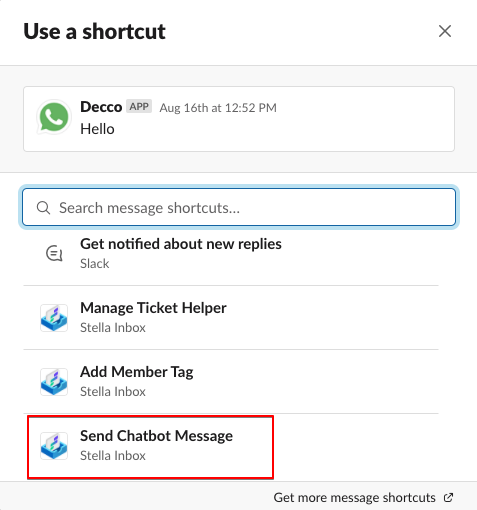
- You can see a list of Message Shortcuts in the menu. Select Send Chatbot Message.
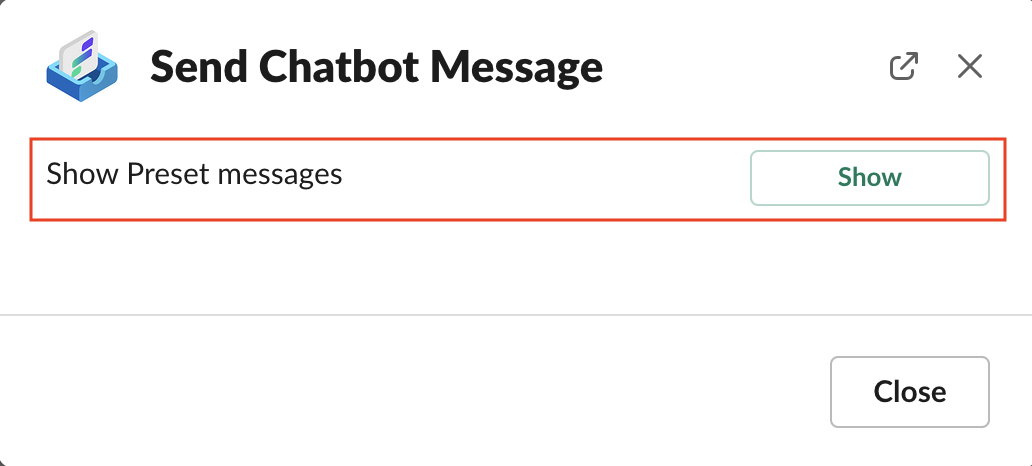
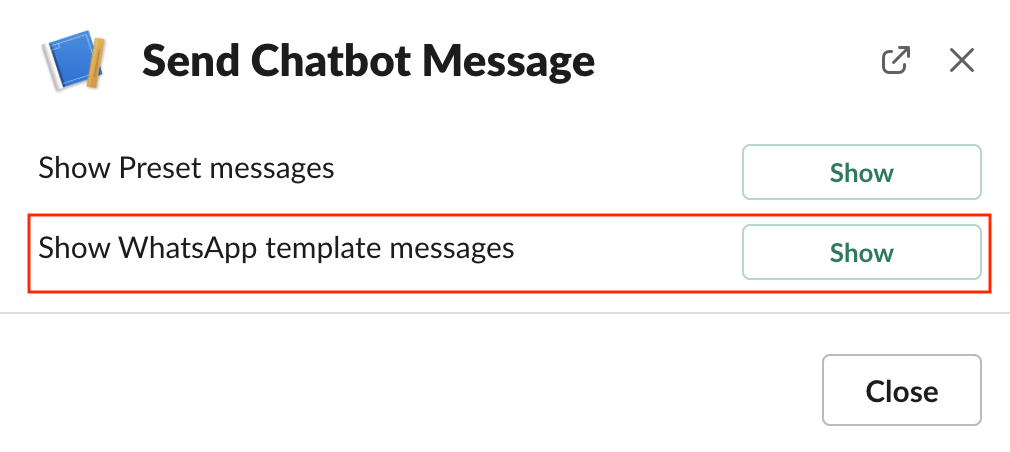
- Click "Show" to view the dropdown list of Chatbot Messages.
- Pick the Chatbot Message from the dropdown list. As you can see, the names of the preset messages is the same as the names of the tree nodes in step 2.

- Select "Submit" to send the chatbot preset message.

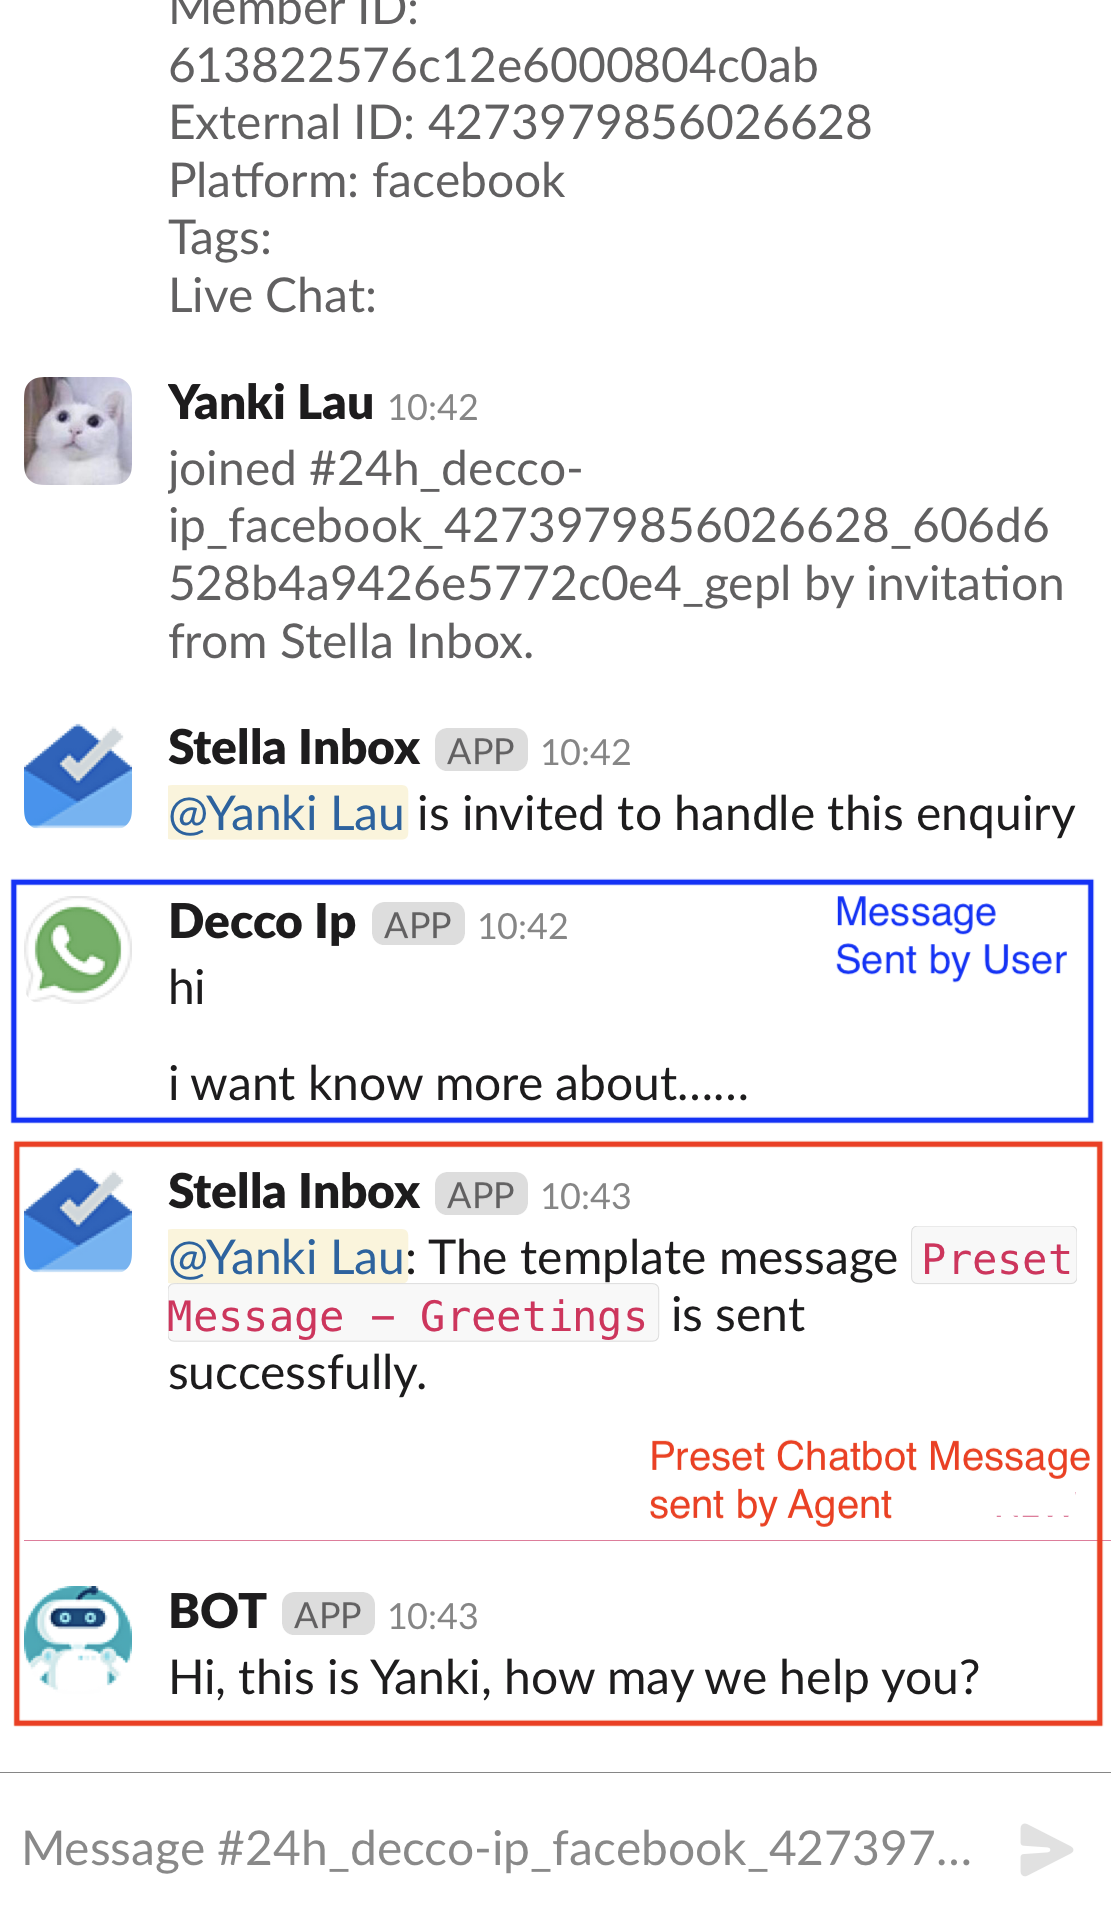
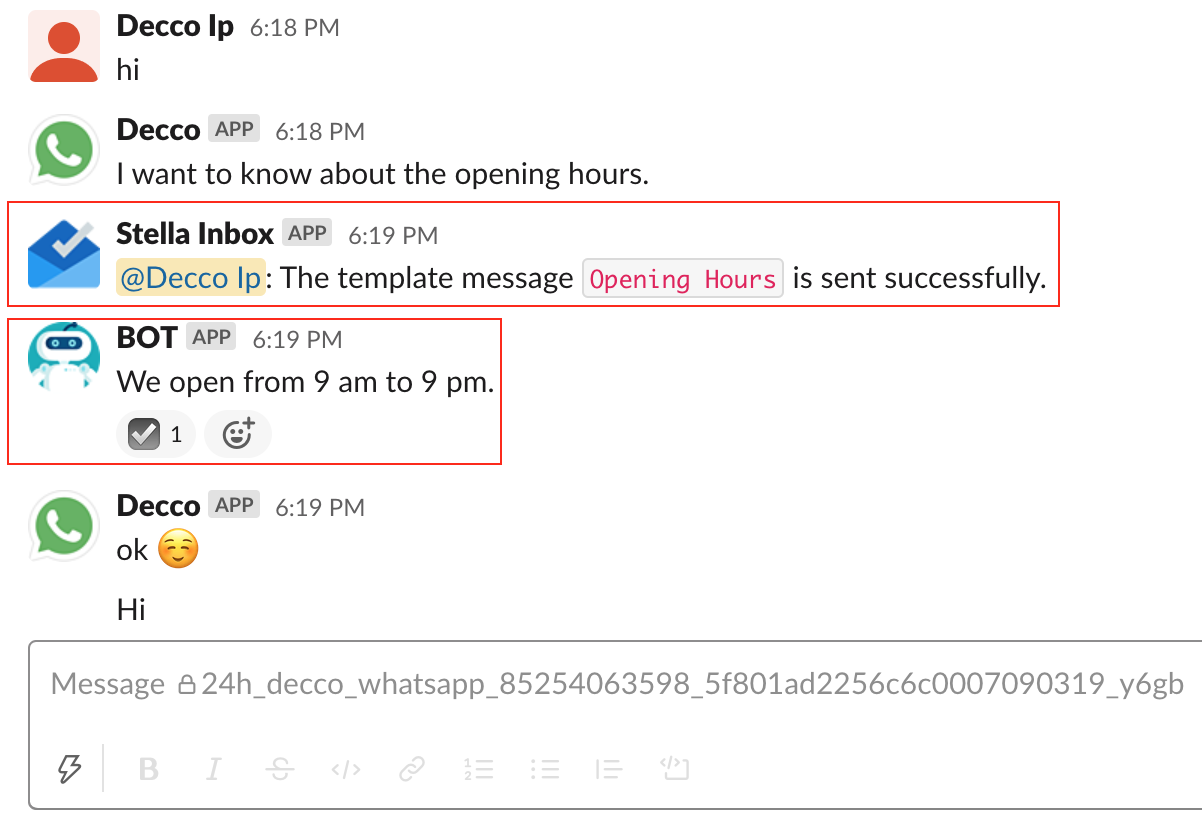
- Stella Inbox would notify you if the Chatbot Message has been successfully sent. The template message is displayed in the Inbox Channel, the "tick" means that this message is sent by Stella Inbox.
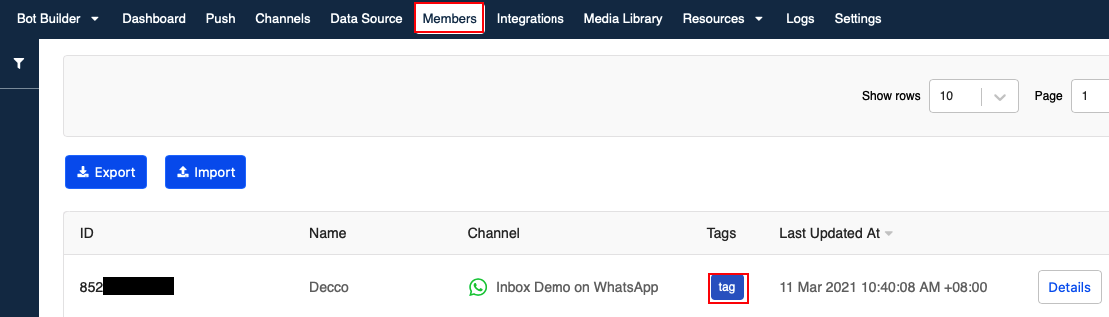
- If you enabled member tagging in the tree node containing the Response, you can log in Stella, select Members and view the member tag.
- Check and see if you can produce the expected outcome.
WhatsApp Message Template
WhatsApp Business API has a 24-hour Customer Care Window policy, if a user has been idled for at least 24 hours since the user's last message sent to an Business Account, this business account can no longer send messages to the user. Instead, WhatsApp allows the use of Templated Messages which can be sent beyond the 24-hour window. These reusable messages require manual approval and will be charged by WhatsApp.
In Stella Inbox, if you want to send a push message to a user who has been unresponsive for at least 24 hours, you can also Send WhatsApp Template.
You can learn more about WhatsApp Business API before starting this section.
What is Idled Time?
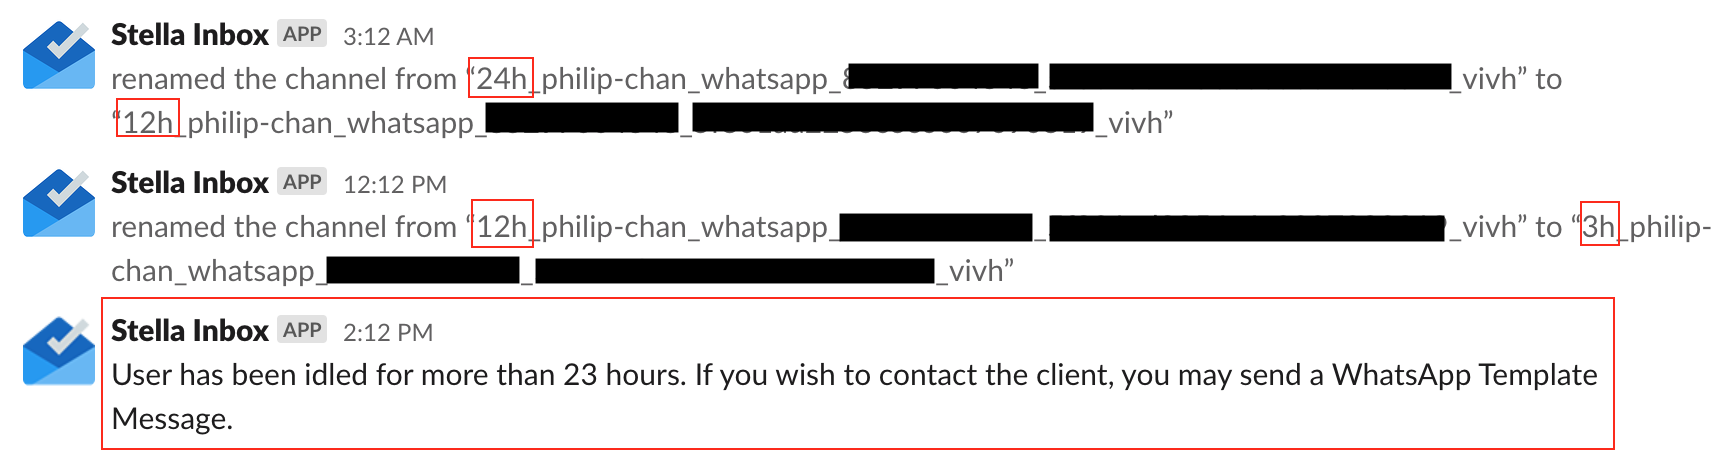
Thereofre, Stella Inbox includes the Idled Time at the start of the name of each inbox channel. An inbox channel with a new conversation should start with "24h", then Stella Inbox would count its Idled Time and edit the name of the inbox channel accordingly. The inbox channel would be auto-archived after two weeks.
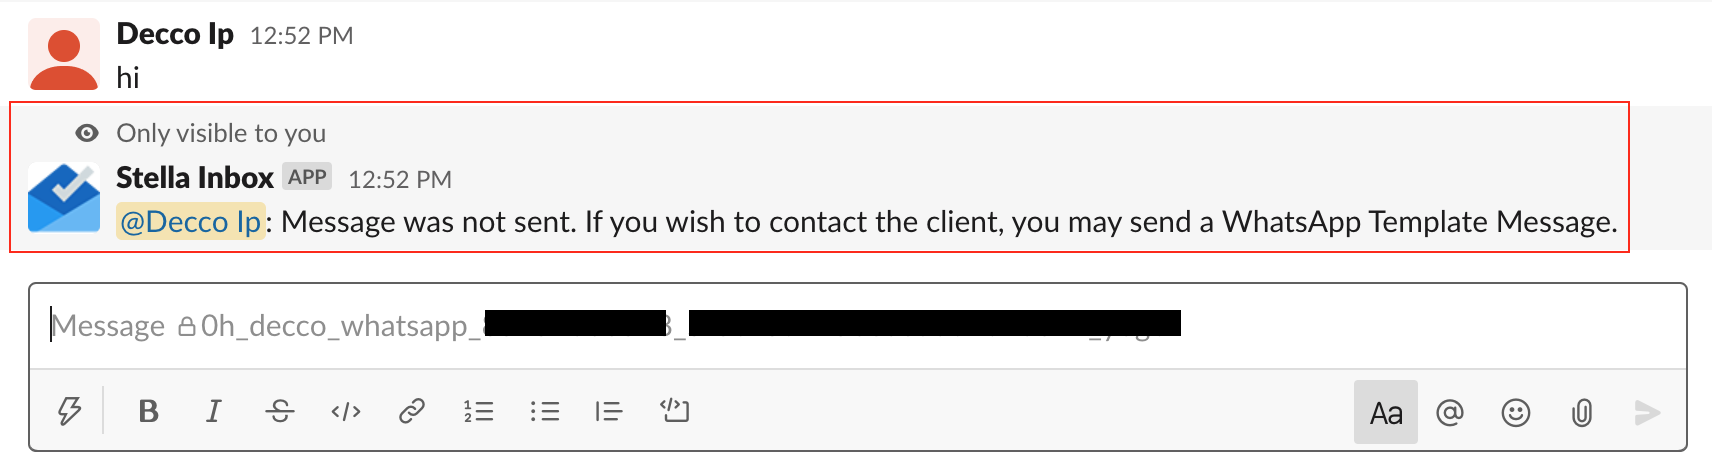
When the 24-hour customer care window has passed and an agent sents a text message in the inbox channel, the following error message would be displayed.
What is your Result?
The agent can reply the customer with a WhatsApp Template.
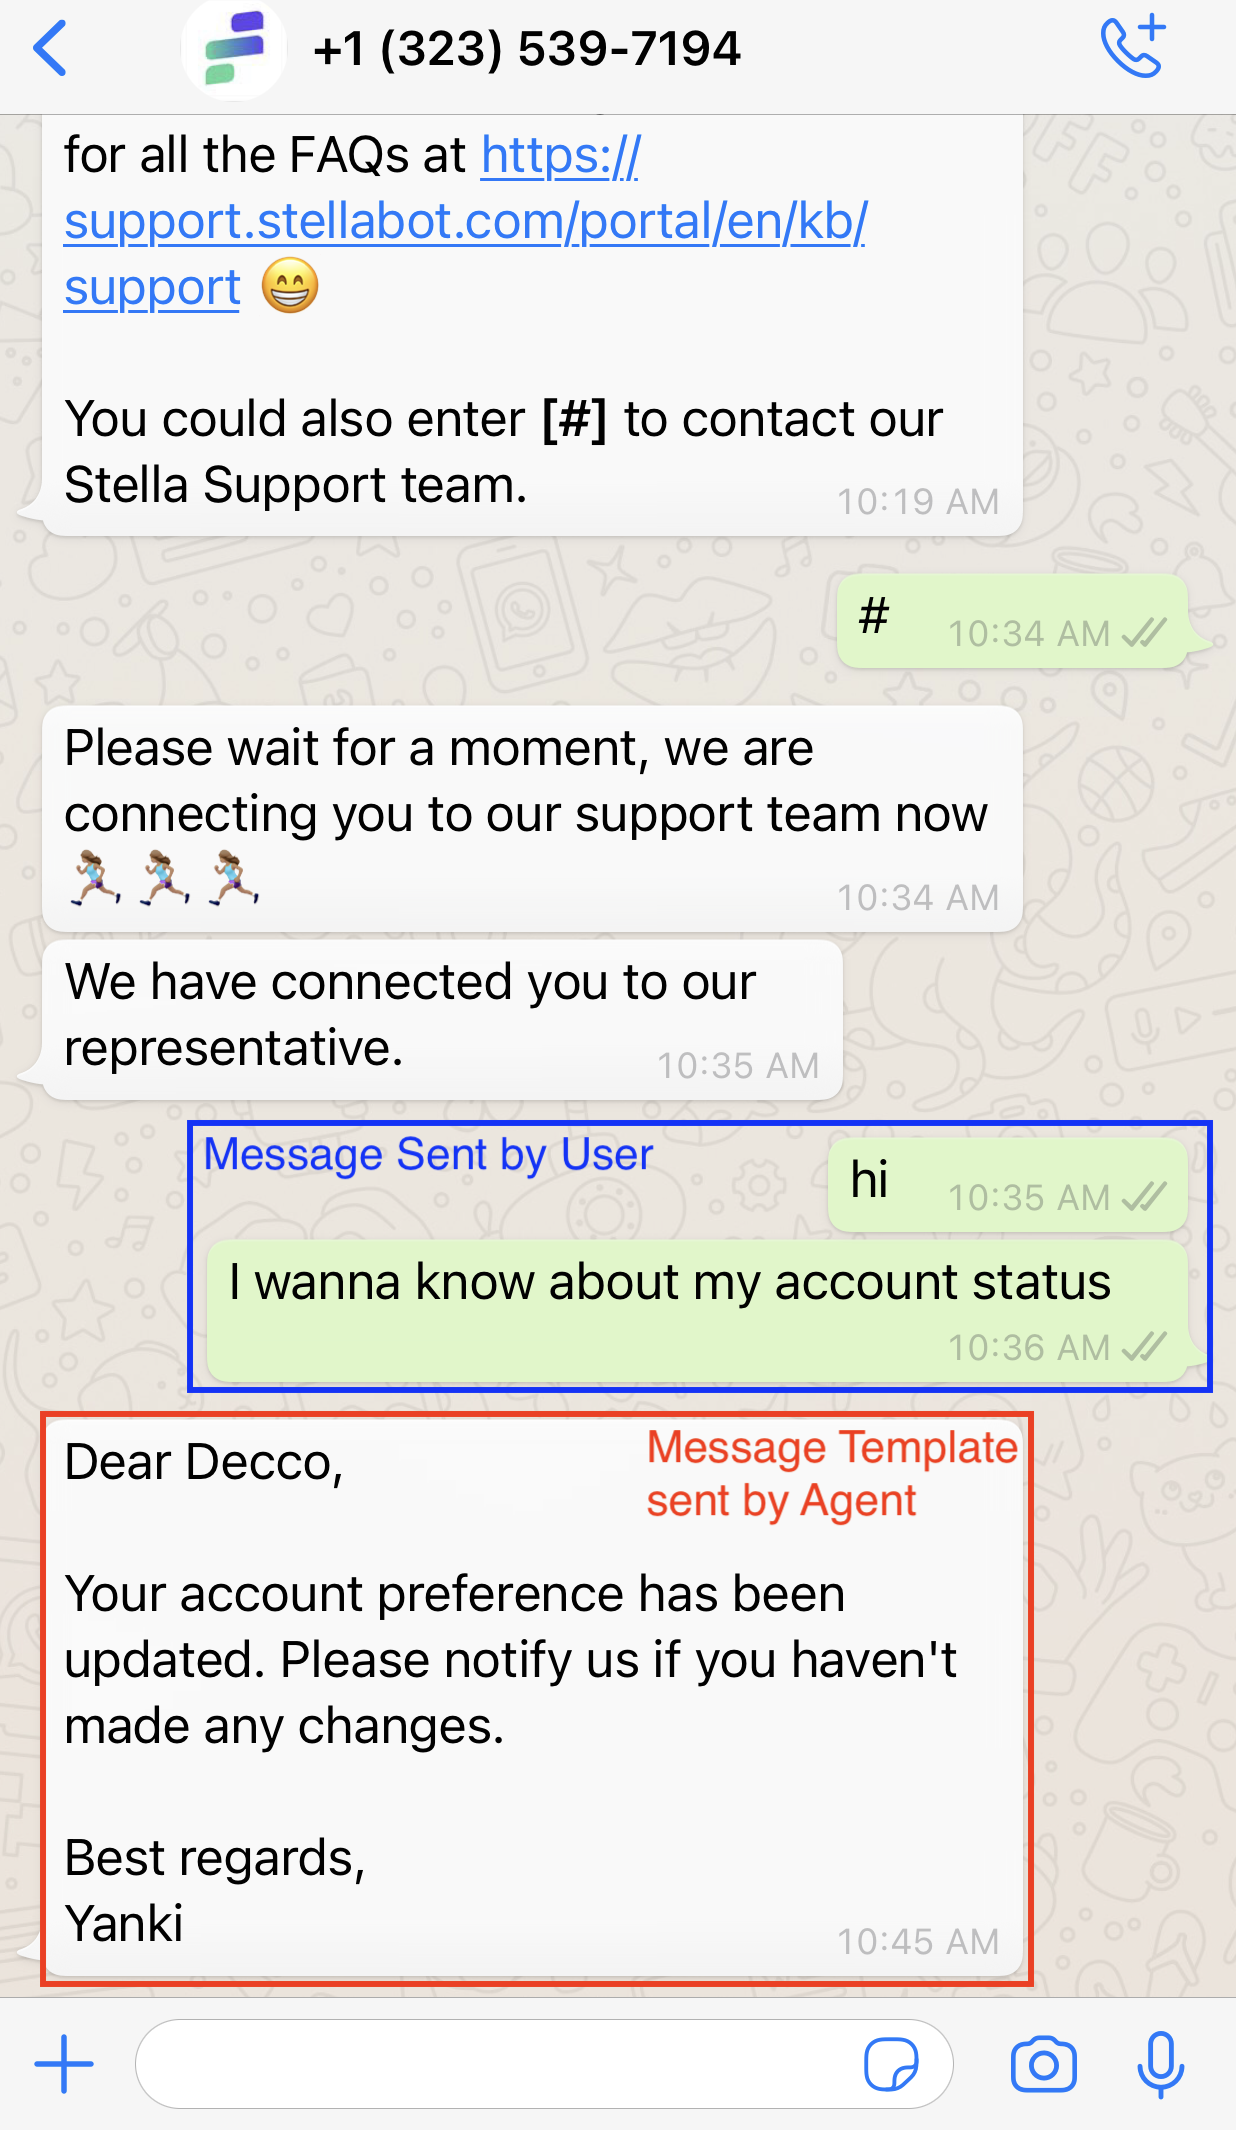
If the user has been idled for over 24 hours, and its time in the inbox channel title has become "0h", the agent can still send a push message with WhatsApp Template.

Create WhatsApp Template
WhatsApp Template has to be approved by WhatsApp before being sent to a user. Approved templates would be saved on Stella, you can reuse them in other conversations.
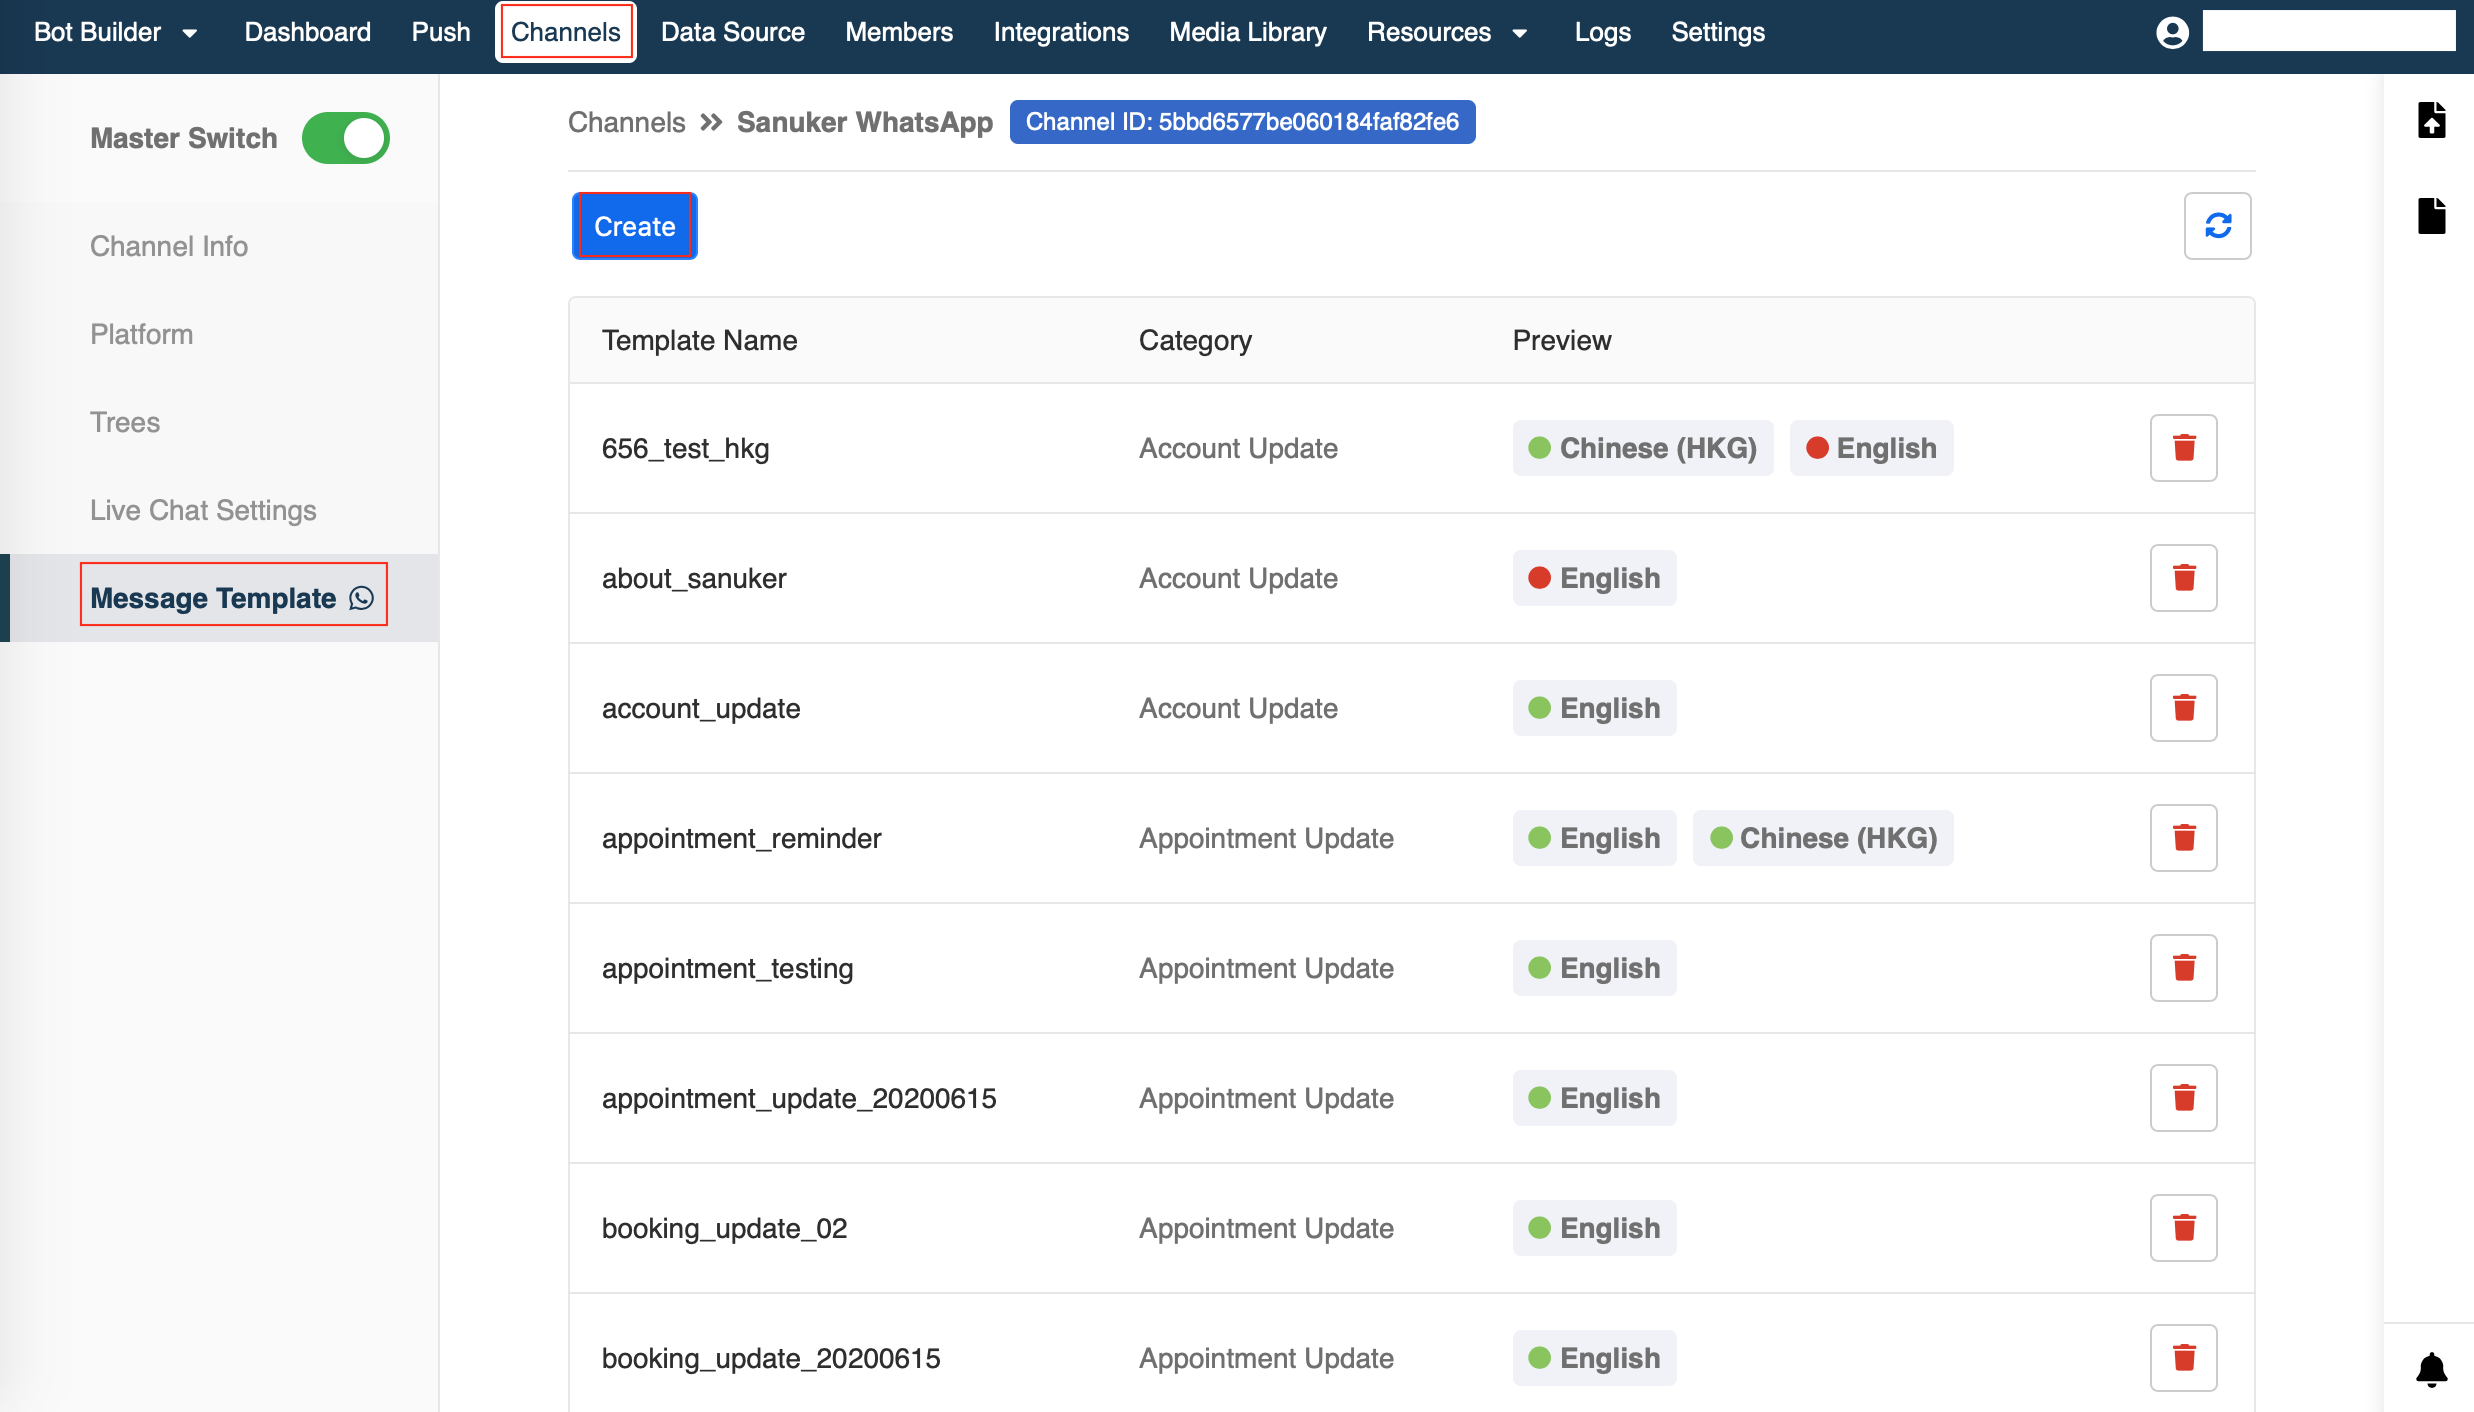
- Log in Stella, select Channel, then select your WhatsApp channel. Click Message Template, then Select "Create" to create a new template.
You can create and view your own templates in this panel. Green Light refers to approved templates and Red Light stands for rejected.
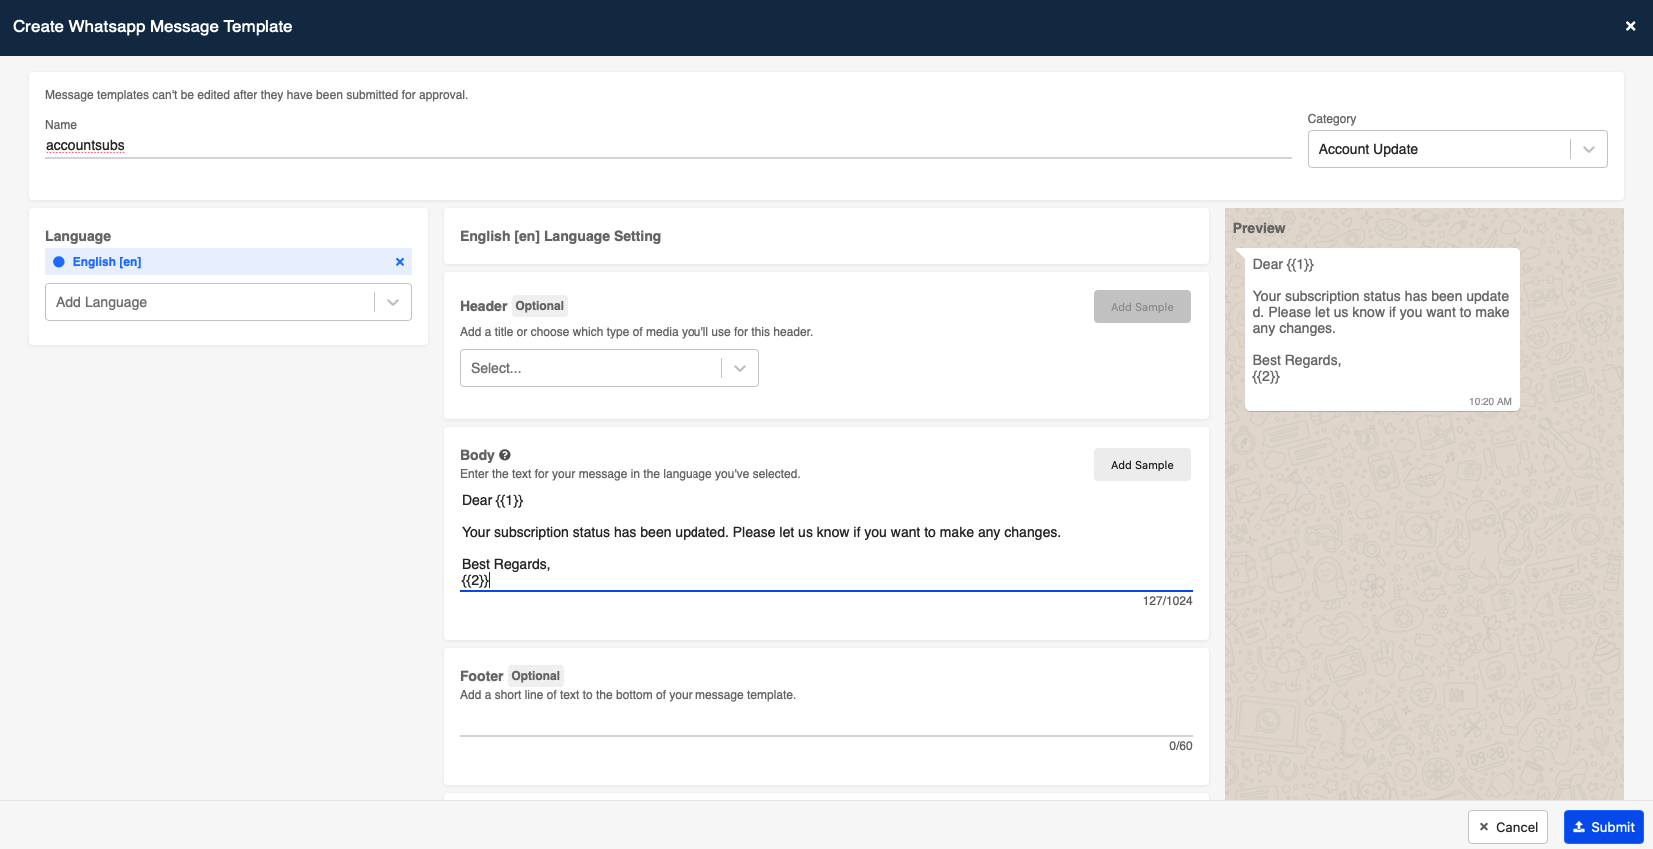
- First, fill in Name, Category and Language. Then input content for the template. It is mandatory to fill in the Body. You can preview your result on the right.
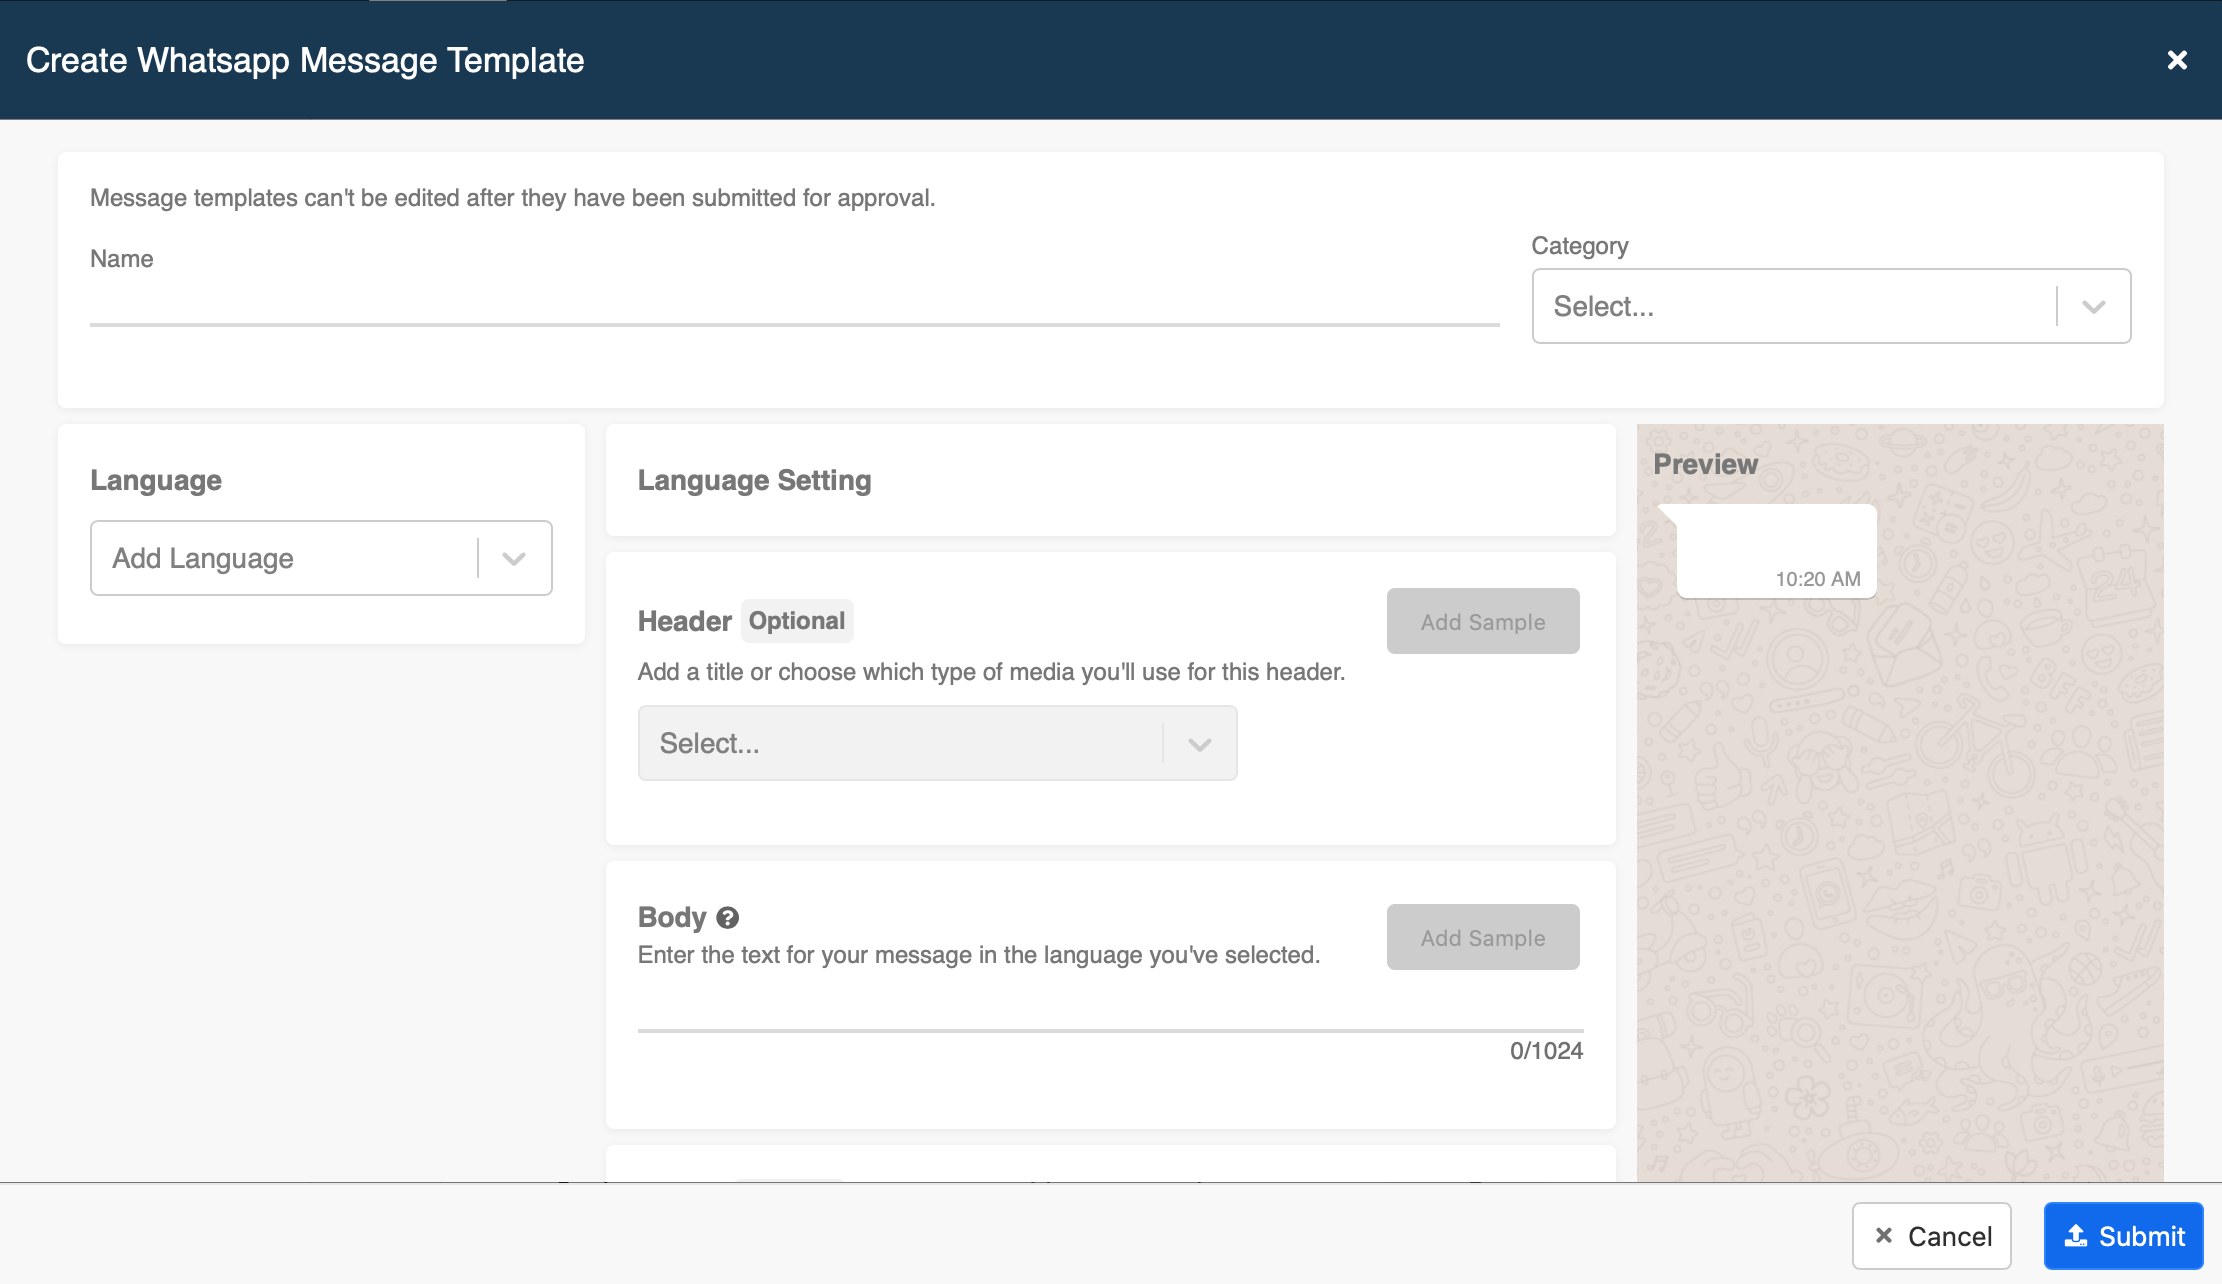
- Media and Text Header, Footer, Buttons like "Quick Reply" and "Call to Action" are optional to your template.
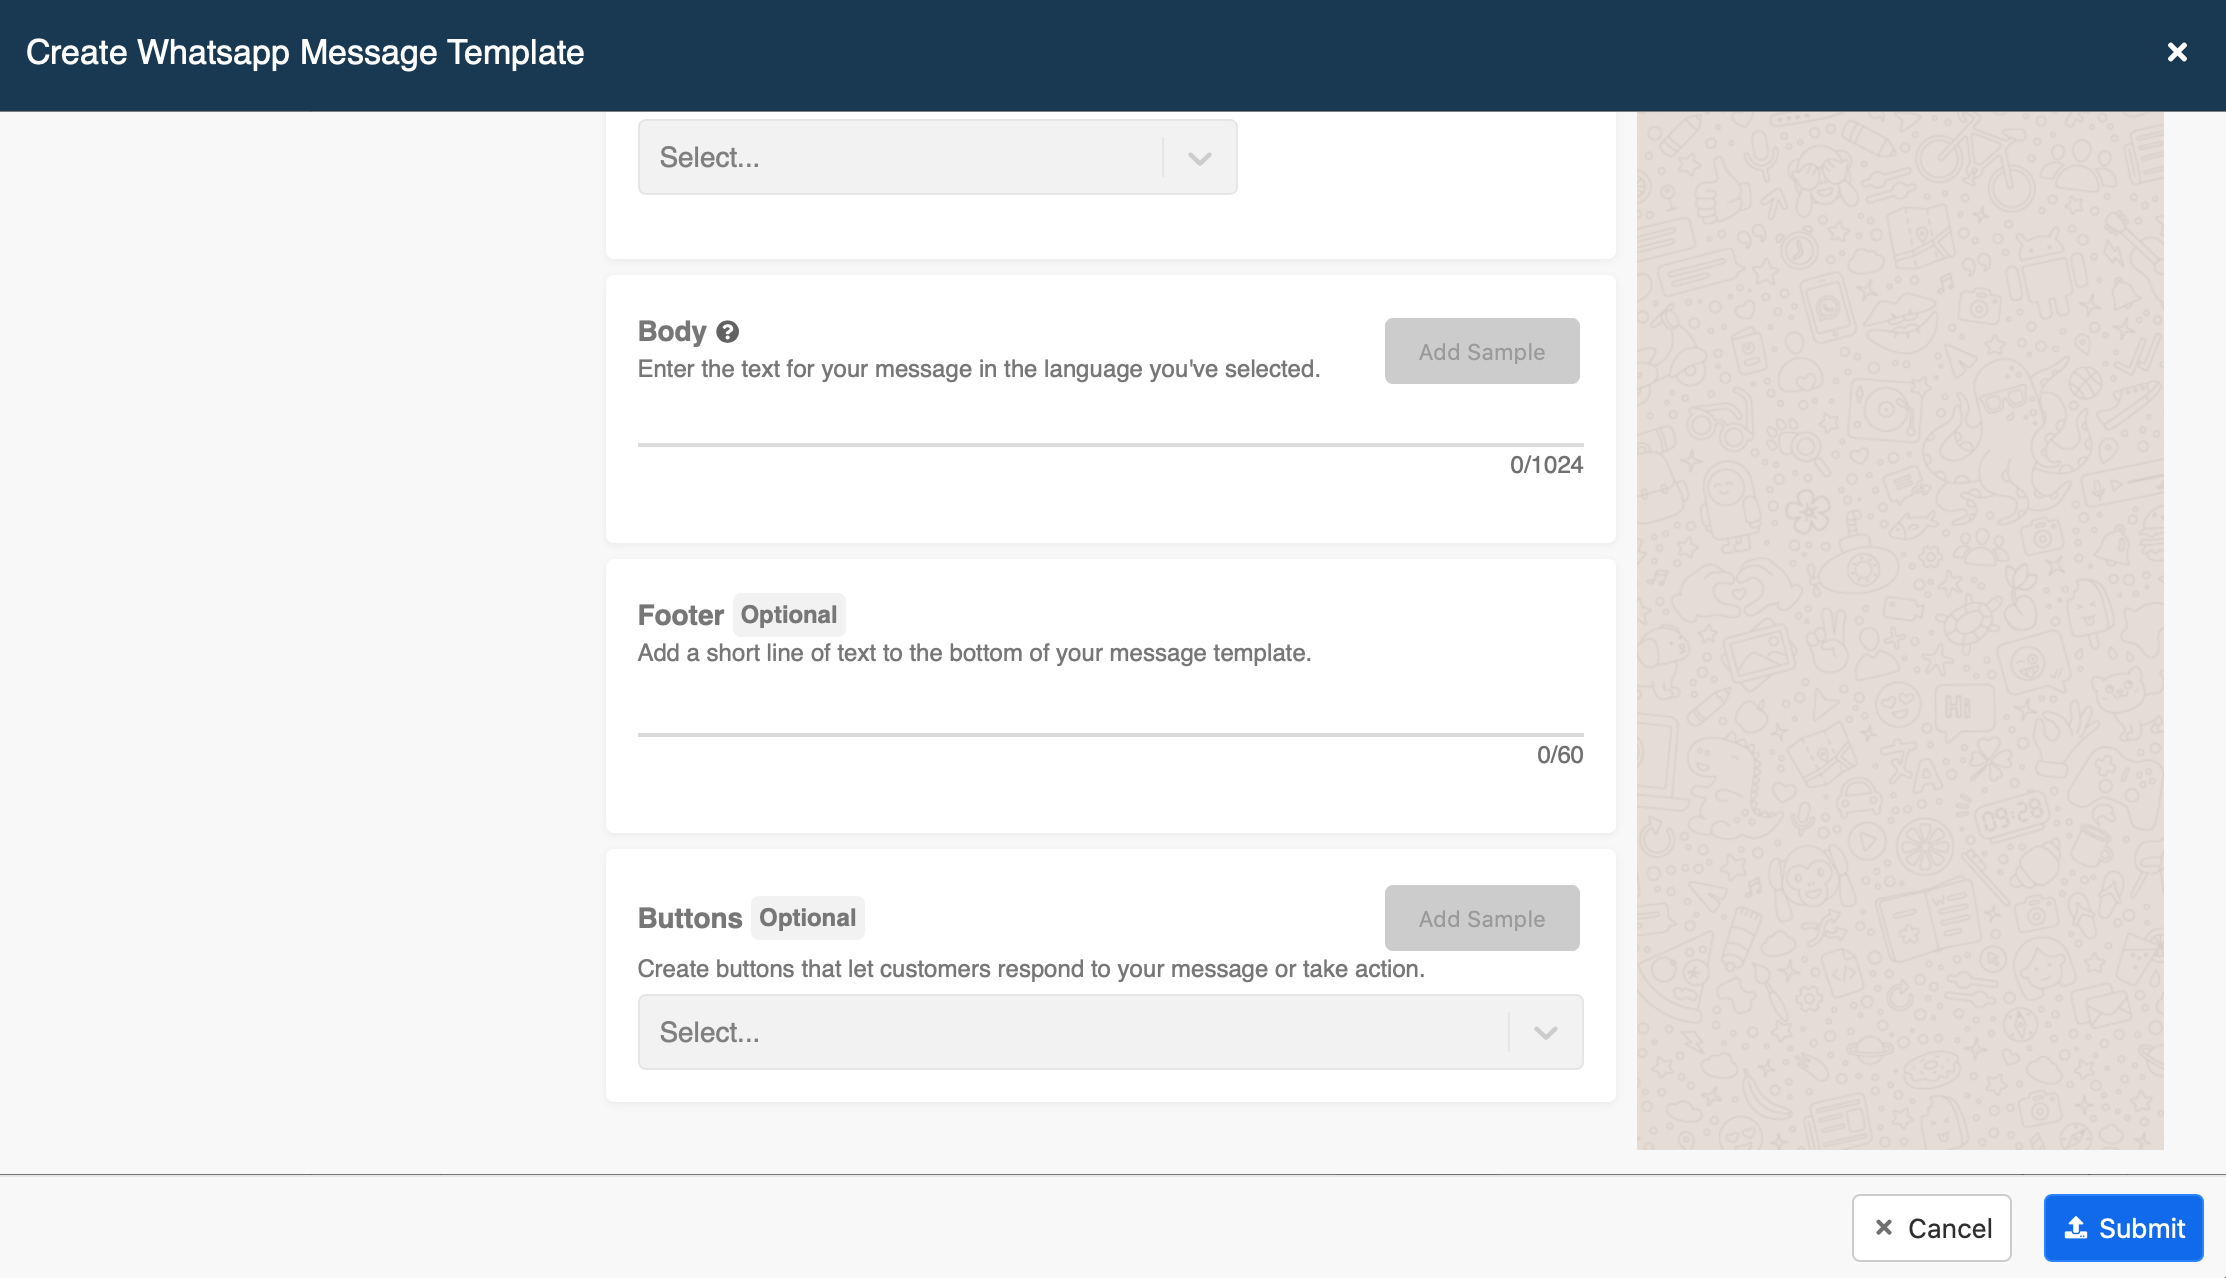
- Using {{number}}, you can also create variables in the message template, which can be filled in before sending out. Once you complete the template, click Submit and the template would be reviewed by WhatsApp. You can view the status of approval in the panel.
Send WhatsApp Template
- Hover over a message in the inbox channel, select "More actions" on the right, then select "More message shortcuts".
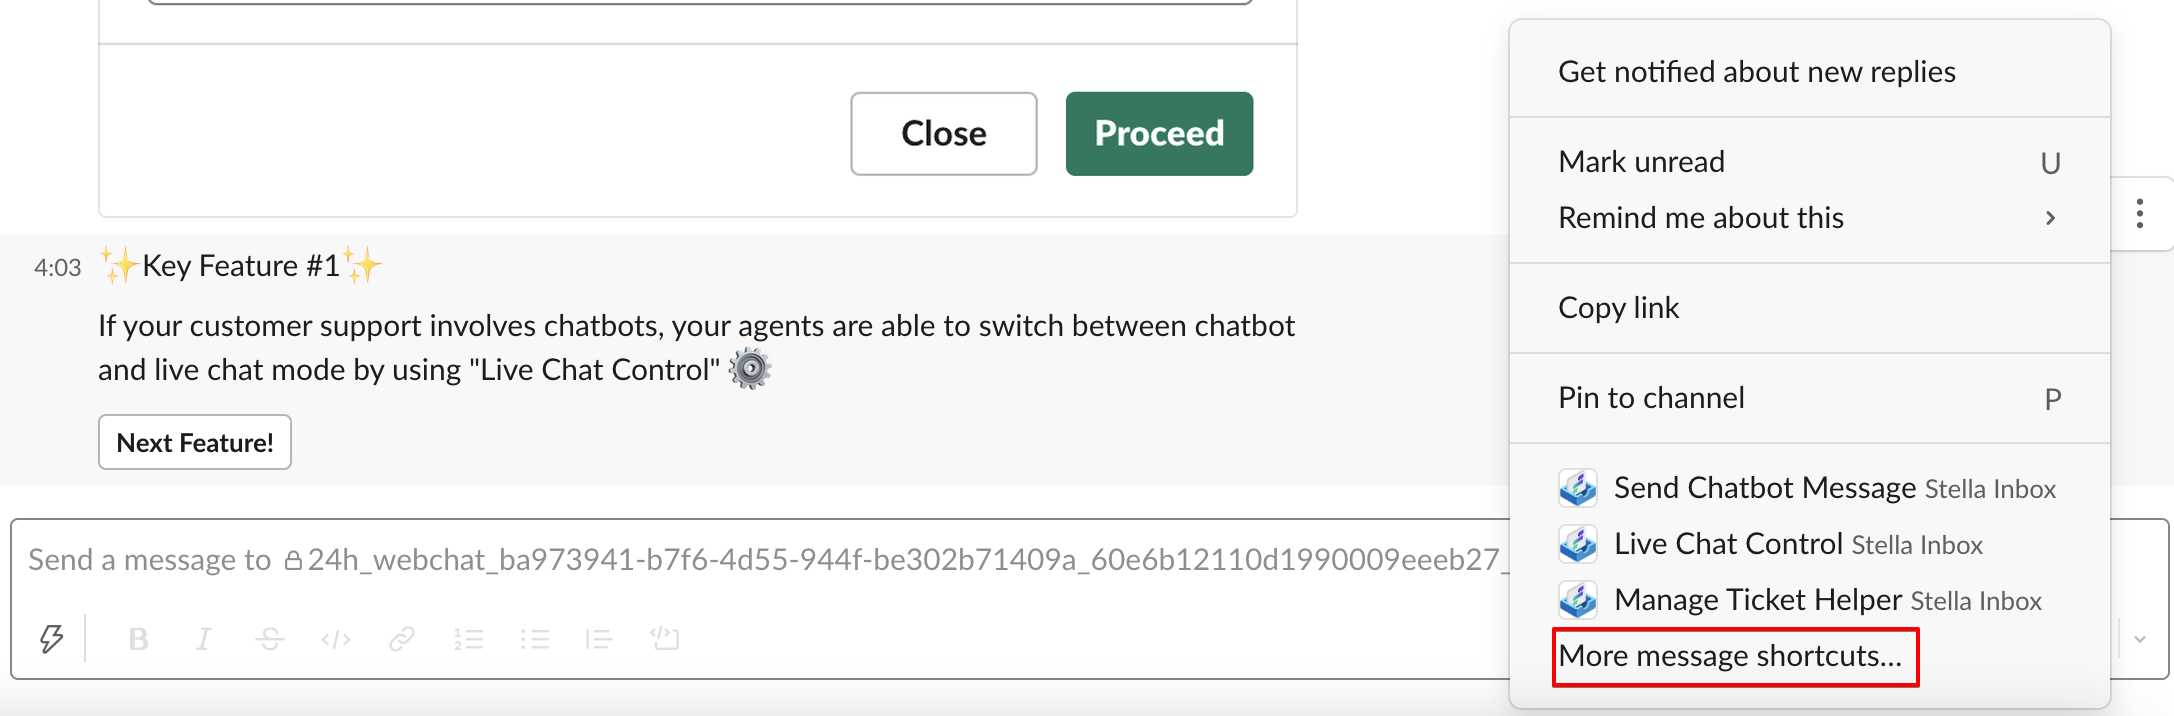
- Select Send WhatsApp Template.
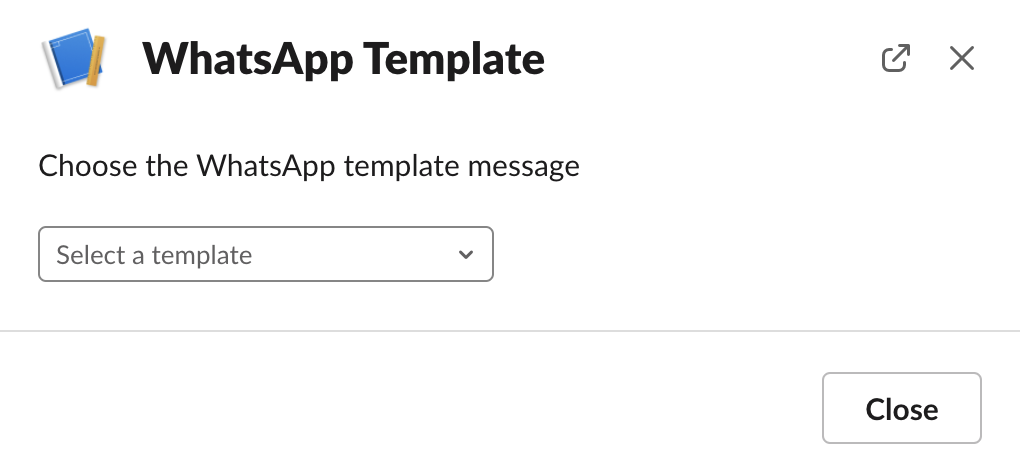
- Select "Show" to show WhatsApp template messages.
- Pick a template from the dropdown list.
- You can see the preview of the WhatsApp Template. Then click "Submit".
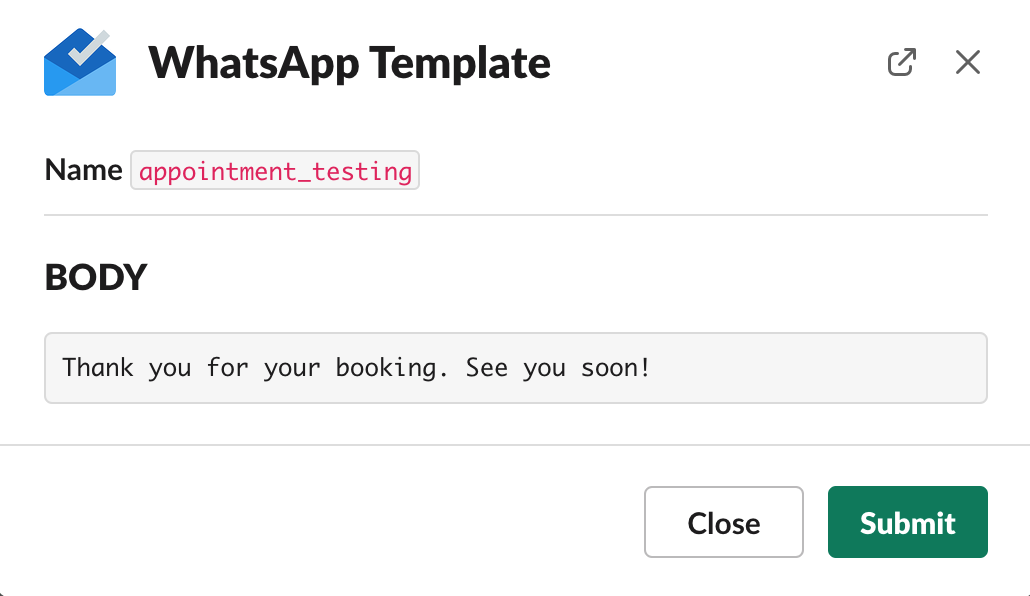
- If you choose a WhatsApp Template with variables, you need to fill in the required variables first, then click "Submit".

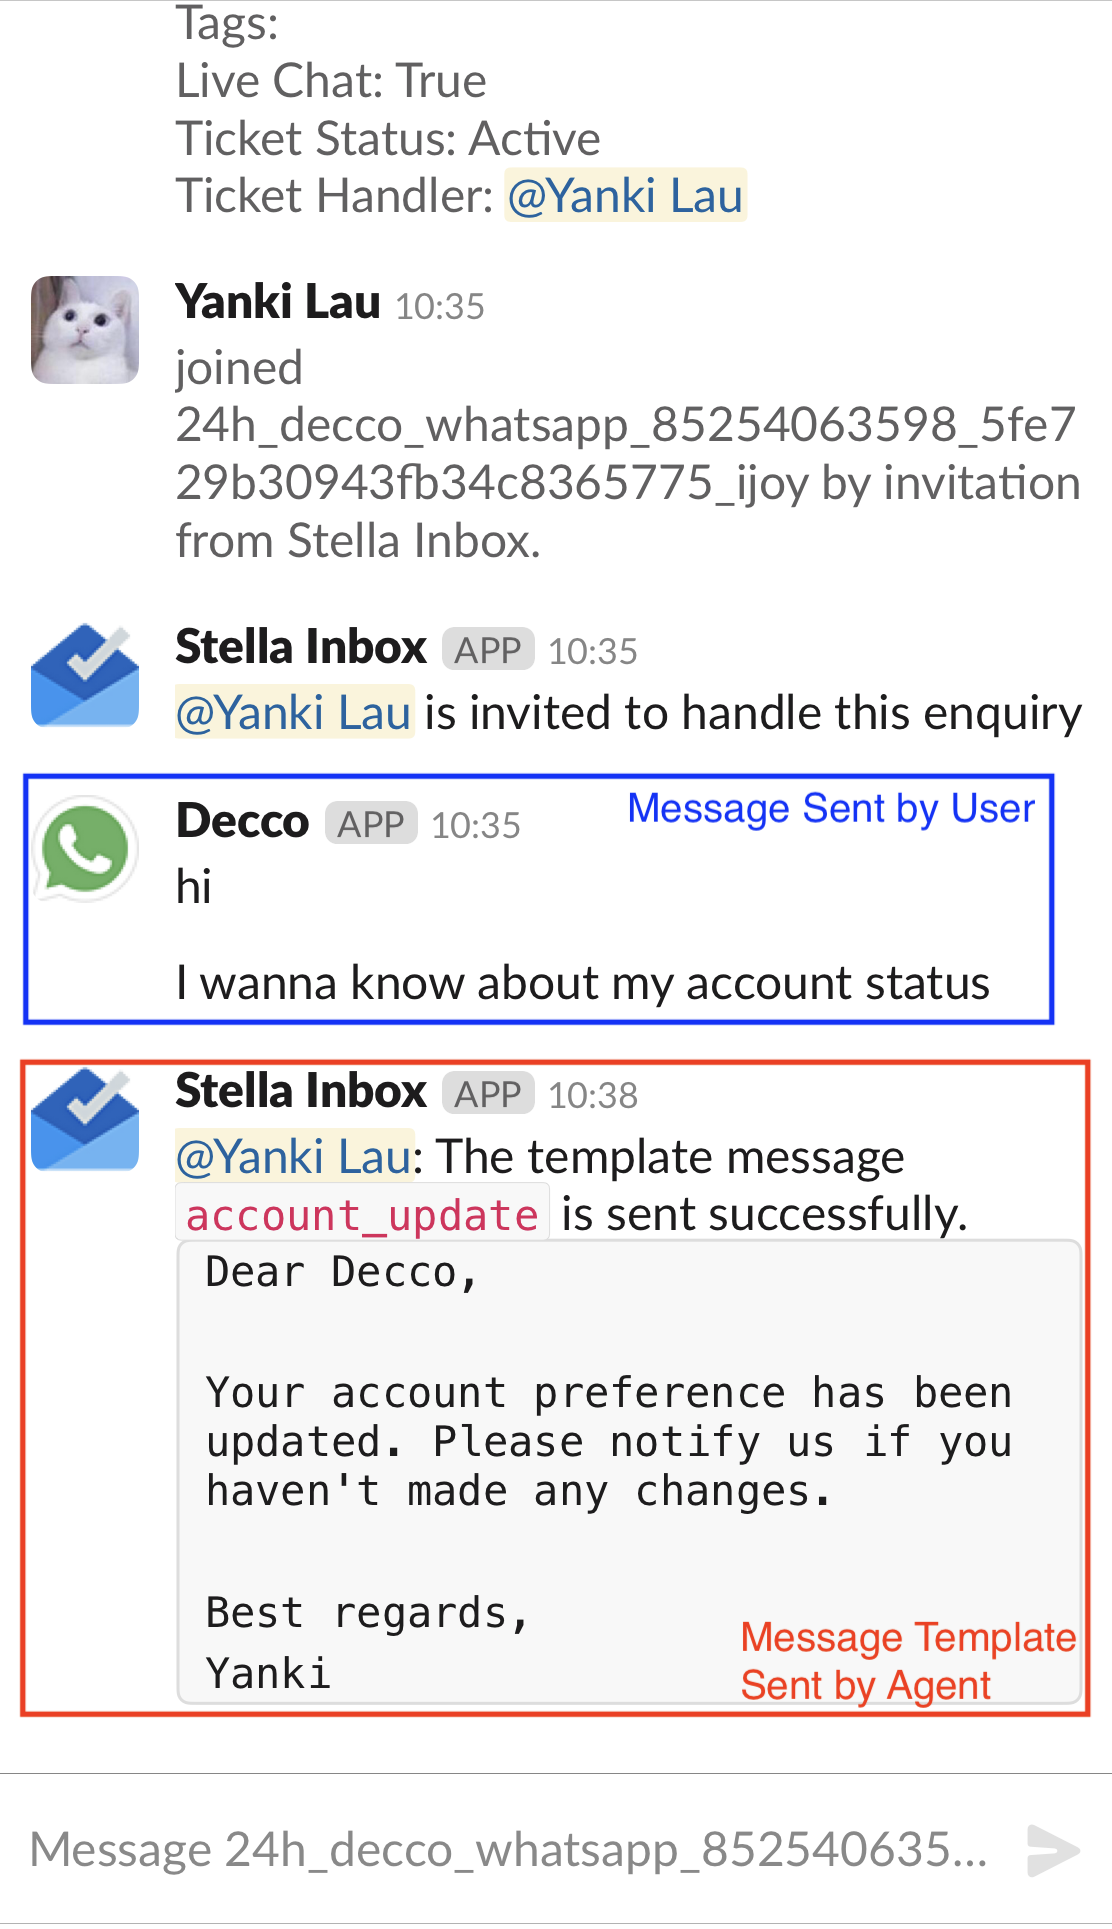
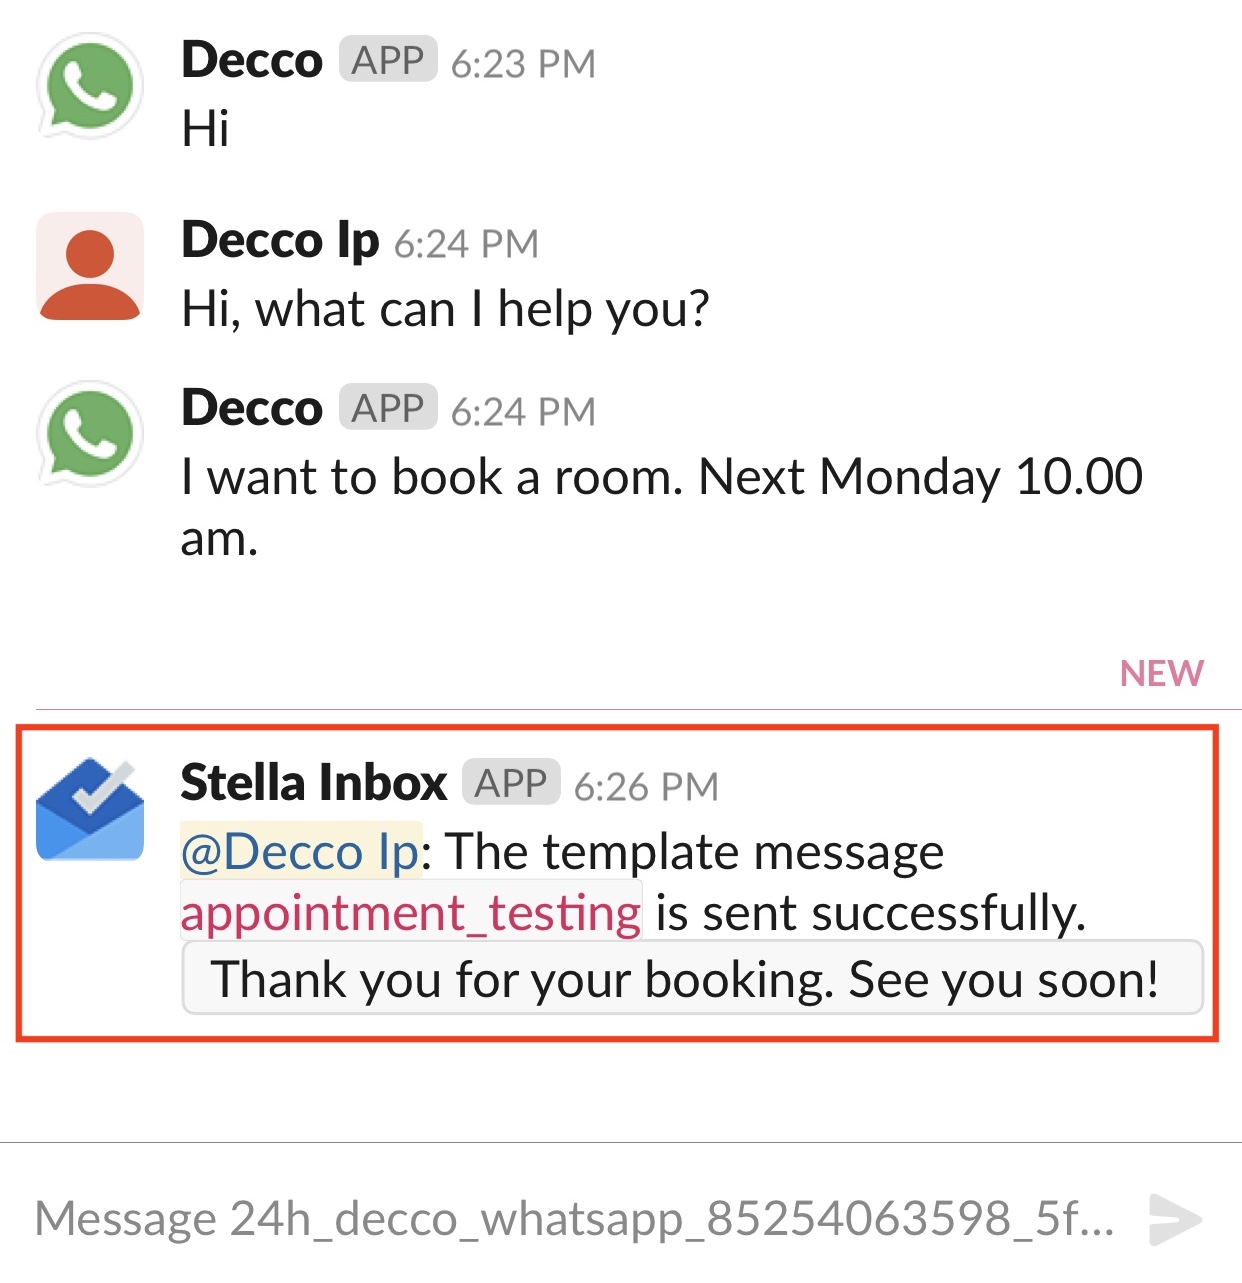
- Stella Inbox would notify you if the WhatsApp Message has been successfully sent. The name and the content of the template message is displayed in the Inbox Channel.
- Check and see if you can produce the expected outcome.